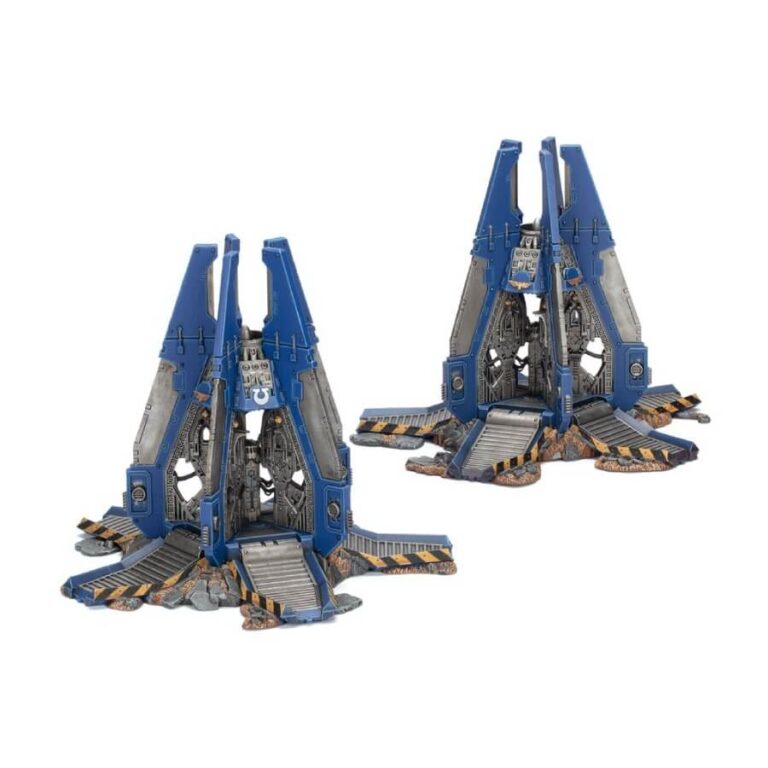
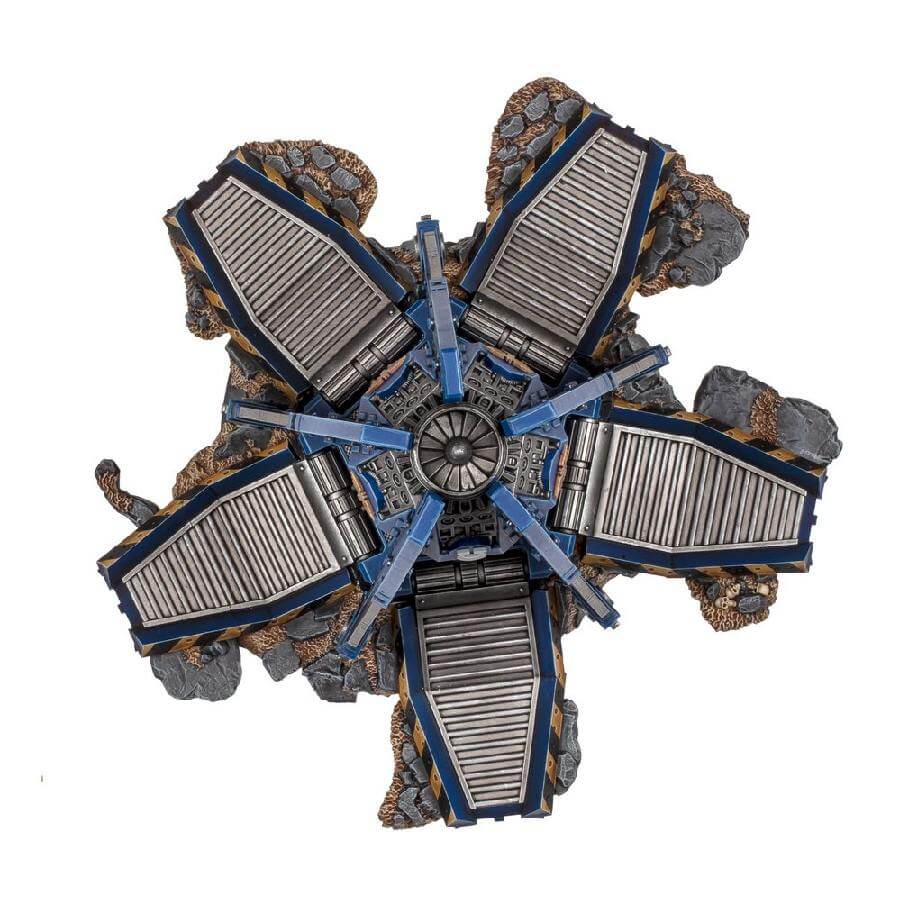
Drop Pods are iconic elements of Space Marine warfare, serving as the ultimate shock assault transport vehicles in Warhammer 40,000. Launched from ships in low orbit, these armoured spearheads slam into the battlefield with devastating force, their hatches blowing open upon violent impact. Within seconds, a fully armed squad of Space Marines bursts forth, weapons firing, ready to unleash a furious assault.
Such deadly orbital strikes sow chaos among enemy ranks, tearing apart defensive lines and exploiting exposed flanks. These Drop Pods allow commanders to deploy their elite troops directly into the heart of the foe’s territory, seizing vital objectives or initiating brutal assaults where least expected. Every Drop Pod is a testament to the Imperium’s raw might and decisive tactics.
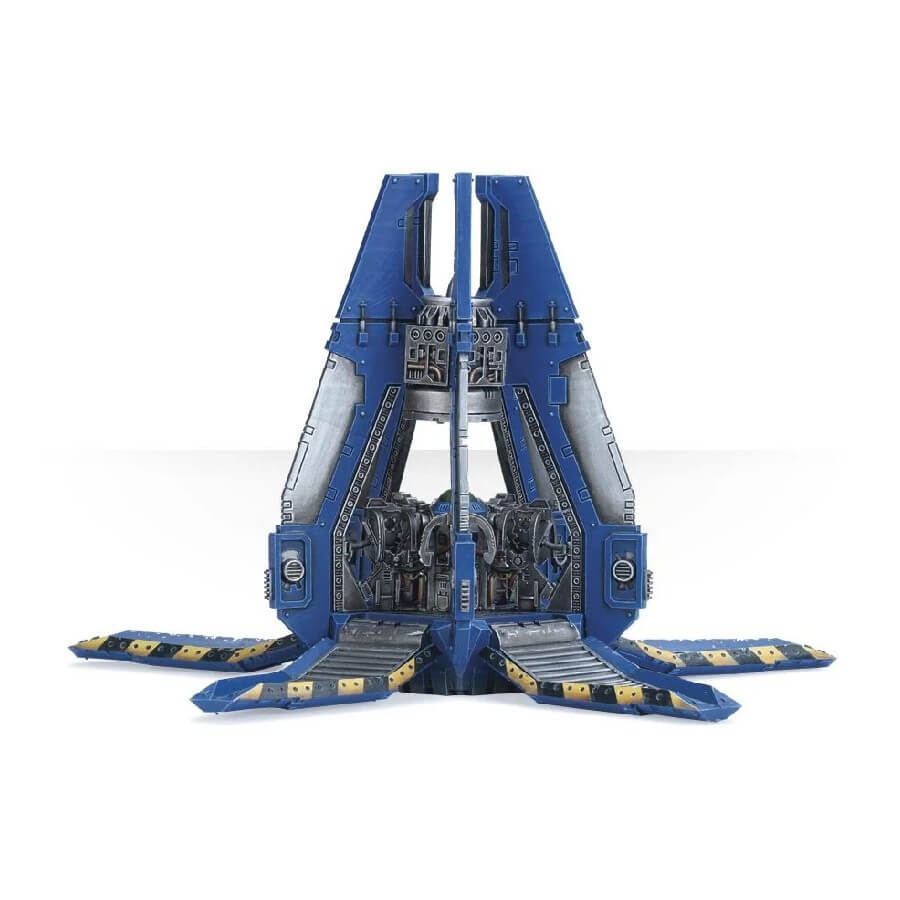
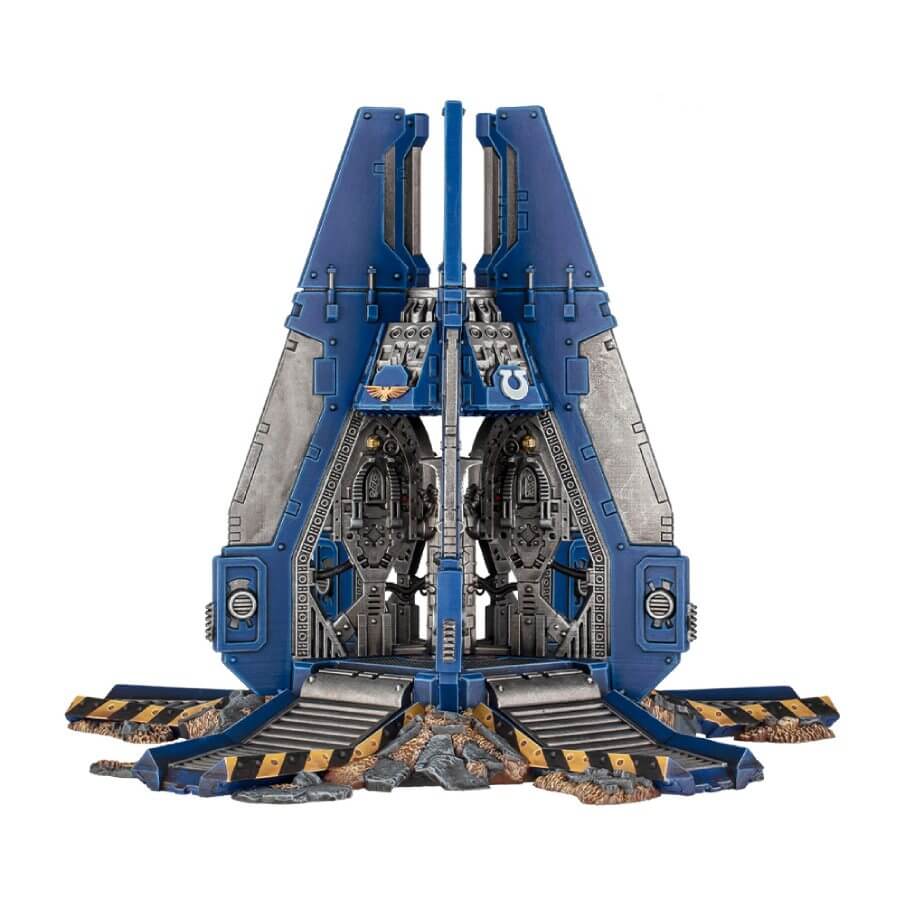
Drop Pod – Old vs New Model Comparison
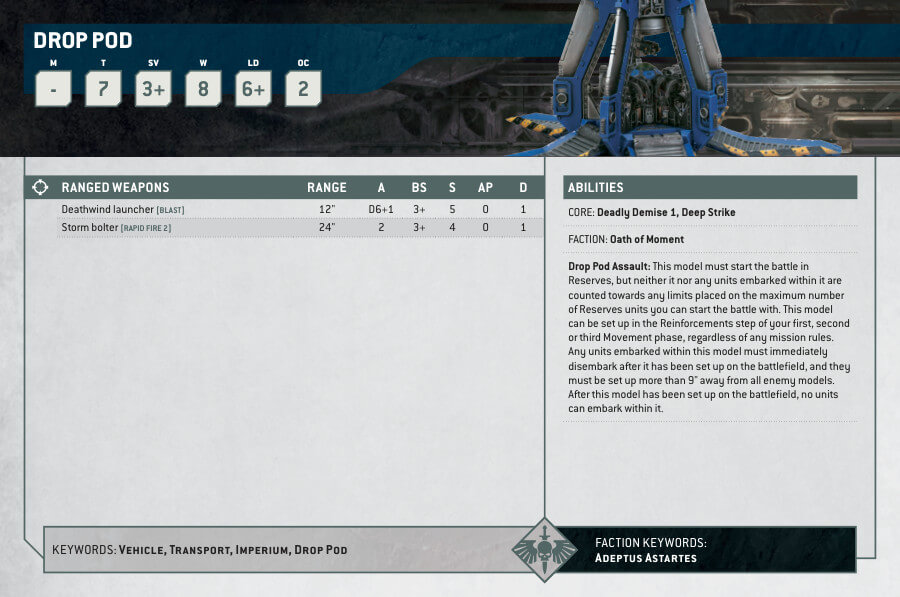
Old Drop Pod Datasheets

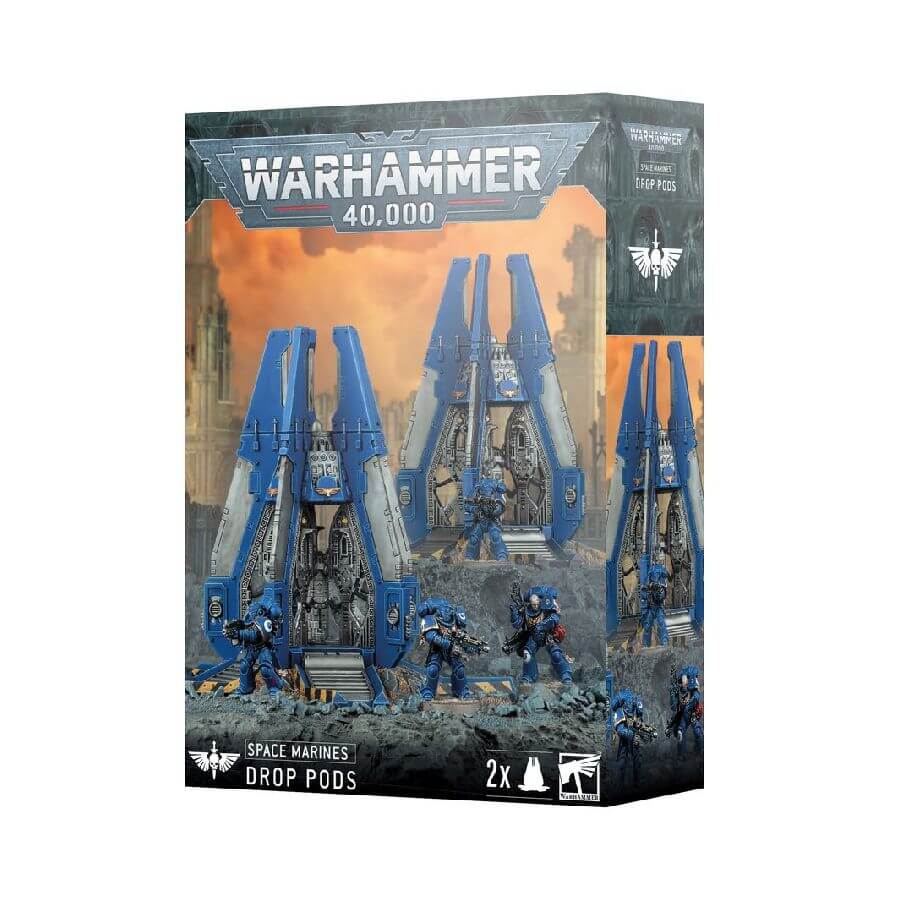
What’s in the Drop Pods box
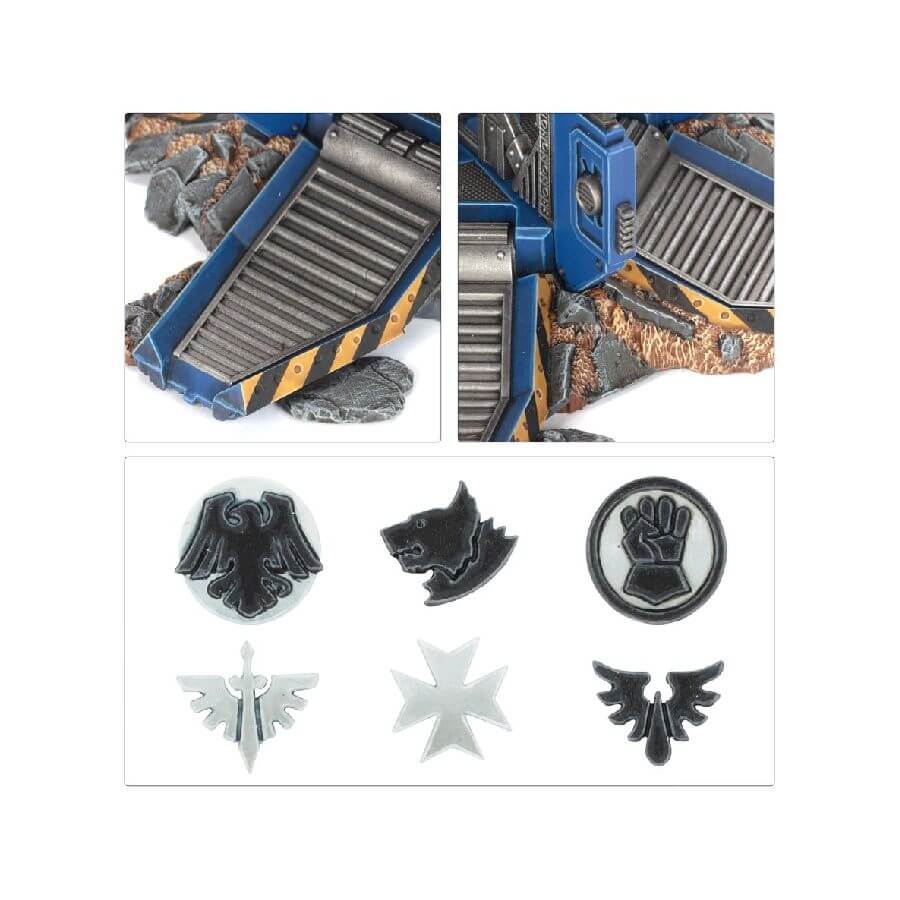
This box has inside 66 plastic components that make 2 Drop Pods. Alongside you get numerous extras:
- x10 Imperial Aquila icons
- x2 Ultramarines icons
- x2 Space Wolves icons
- x2 Imperial Fists/Crimson Fists icons
- x2 Black Templars icons
- x2 Raven Guard icons
- x2 Dark Angels icons
- x2 Blood Angels icons
- x26 pieces of optional rubble
How to paint the Drop Pod set
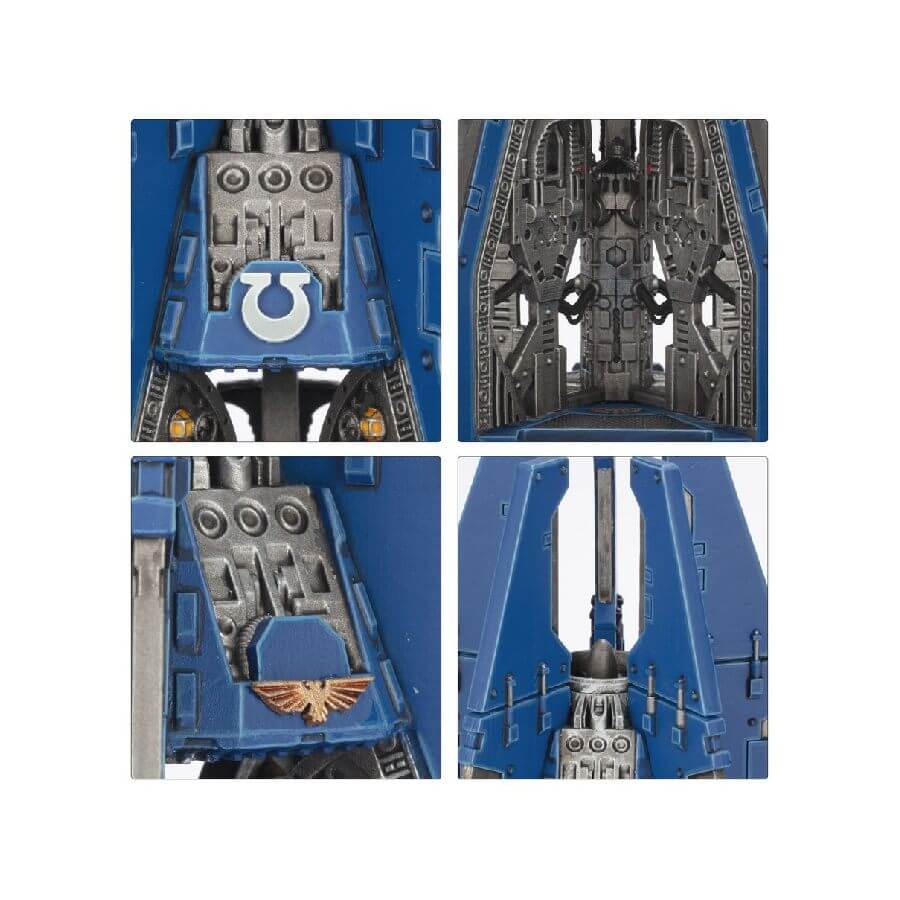
- Step 1: Base Coat for the Main Body
To start painting your Drop Pod, apply a base coat of blue using Ultramarines Blue or another blue shade of your choice. Make sure to cover the entire surface evenly. - Step 2: Adding Grey Details
Next, focus on the details of the Drop Pod. Paint the grey elements, such as the hatches, vents, and any other mechanical parts, using Mechanicus Standard Grey or a similar grey color. - Step 3: Hazard Pattern for Platforms
For the platforms on the Drop Pod, create a hazard pattern using yellow and black. Paint alternating yellow and black stripes or chevrons. You can use Averland Sunset for the yellow and Abaddon Black for the black. - Step 4: Fine-Tuning and Touch-Ups
Take a moment to review your work and make any necessary touch-ups or adjustments. Ensure that the blue and grey areas are neat and consistent, and the hazard pattern is well-defined. - Step 5: Optional Weathering Effects (Advanced)
If you want to add some battle-worn realism to your Drop Pod, you can consider weathering effects. Use dry brushing or sponge painting techniques with Rhinox Hide and Abaddon Black or other black shades, to simulate wear and tear from battle. - Step 6: Final Inspection
Inspect your Drop Pod and make sure all the colors and details are looking great. Ensure that the blue, grey, and hazard pattern are visually appealing and complement each other. If everything is alright, apply a varnish, to protect your model against chipping and wear.
