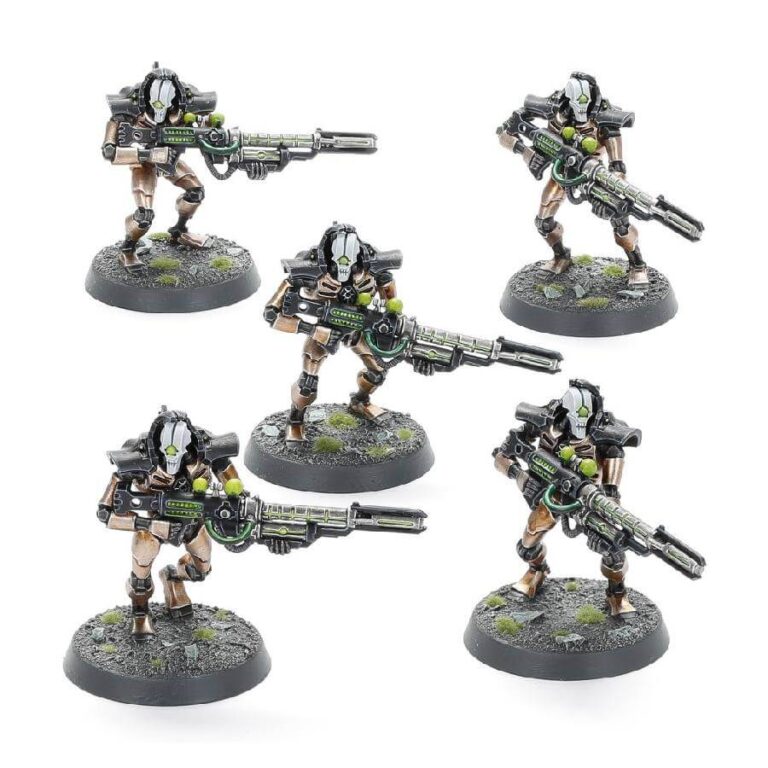
Armed with formidable weaponry like the synaptic disintegrator, the Necron Deathmarks bear the iconic skeletal-metal physique that echoes the essence of their race. Sinuous, metallic joints bind their elongated limbs, while their hauntingly hunched stance exudes an aura of eerie poise. Within an intricately armored cocoon, their heads rest, crowned by industrious shoulder pads that stand as testaments to their mechanical nature. The subtle yet evocative Necron iconography graces their breastbones, marking their allegiance with understated pride.
What’s in the Deathmarks box
- x80 plastic components with which to build 5 Necron Deathmarks or 5 Necron Immortals.
- x2 Necron transfer sheets.
- x5 Citadel 32mm round bases.
How to paint the Deathmarks set
- Step 1: Prime Your Miniatures
Start by applying a thin, even coat of primer to your Deathmarks miniatures. This helps the paint adhere better and sets the foundation for your colors. - Step 2: Basecoat the Metallic Parts
Use a medium-sized brush to apply a basecoat of a metallic color, like Leadbelcher, to the skeletal-metal parts of the Deathmarks. Ensure you cover all the metal areas with an even layer. - Step 3: Paint the Robes and Armor
With a smaller brush, paint the robes and armor using a color like Abaddon Black. This dark color will provide a stark contrast to the metallic parts. - Step 4: Highlight the Metallic Parts
Using a lighter metallic paint such as Ironbreaker, carefully paint the edges and raised areas of the skeletal-metal parts. This creates a sense of dimension and depth. - Step 5: Add Accent Colors
Choose an accent color, like Gauss Blaster Green, for specific details such as the glowing parts or iconography on the models. This adds visual interest and draws the eye. - Step 6: Apply a Wash for Depth
Use a wash like Nuln Oil to apply shading to the metallic areas. Apply the wash to the recesses and joints, allowing it to settle and create depth. - Step 7: Highlight the Robes and Armor
Using a lighter grey, like Administratum Grey, carefully highlight the edges of the black robes and armor. This will make them pop and add contrast. - Step 8: Paint the Details
Use a fine brush to paint smaller details, such as the intricate symbols and icons on the models, using colors that match your accent color and metallics. - Step 9: Seal Your Work
Protect your paint job by applying a matte varnish spray. This prevents chipping and adds a consistent finish to your Deathmarks.

