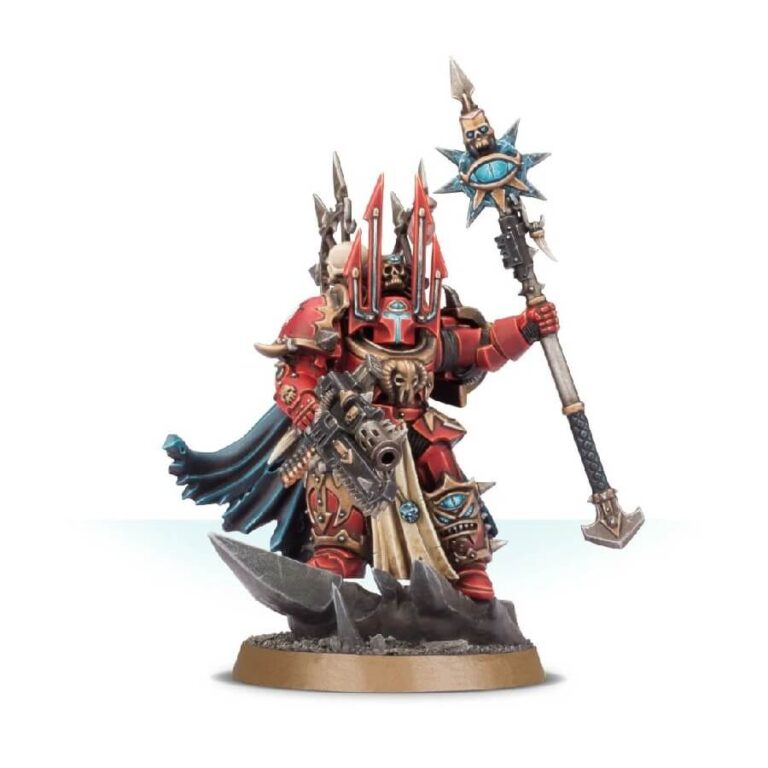
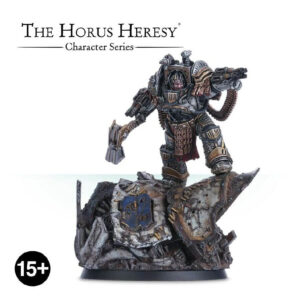
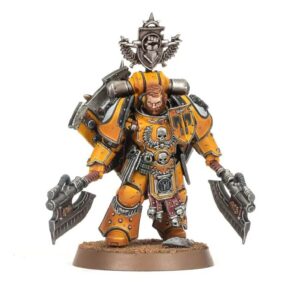
The Sorcerers within the Traitor Legions possess extraordinary psychic abilities, having previously served as Librarians before succumbing to chaos or betraying their former loyalties. Donning the mighty Terminator armor and wielding force weapons as conduits for their immense power, these Sorcerers become formidable foes on the battlefield.
Harnessing the corrupting energies of the Warp, these Sorcerers wield their psychic abilities to devastating effect. They can unleash destructive bolts of warpfire, summon daemonic entities to aid them in battle, or manipulate the fabric of reality itself.
Their mastery over psychic powers grants them unparalleled versatility, allowing them to support their fellow Chaos Space Marines, weaken enemy defenses, or strike down their adversaries with precision.
In addition to their formidable psychic powers, Sorcerers in Terminator armor are protected by the thick plating and enhanced resilience of their warplate. This allows them to withstand substantial punishment on the battlefield, shrugging off blows that would incapacitate lesser warriors. Their force weapons, imbued with malevolent energies, can slice through armor and flesh with ease, making them a grave threat to any who dare oppose them.
As leaders within the Chaos Space Marines faction, Sorcerers provide invaluable strategic guidance and mystical support to their warbands. Their intricate knowledge of forbidden lore and the whispers of the Warp can sway the tides of battle and manipulate fate itself. With their commanding presence and devastating powers, these Sorcerers inspire fear and awe in their allies and adversaries alike, cementing their role as key figures in the chaos-infested ranks of the Traitor Legions.
What’s in the Sorcerer Lord in Terminator Armour box
- x41 plastic components that make 1 Sorcerer in Terminator Armour and includes options that allow you to build a Chaos Lord in Terminator Armour instead, as well as a selection of combi-weapons, power weapons and more, allowing you to customise the model to suit your playing style.
- x1 Citadel 40mm Round Base
How to paint the Sorcerer Lord in Terminator Armour set
- Step 1: Priming the Miniatures
Before you start painting, ensure that your miniatures are clean and free from any debris. Use Chaos Black spray primer to create a smooth surface for painting. Hold the can about 6-8 inches away from the models and apply an even coat, ensuring all sides are covered. - Step 2: Basecoating the Armor
Using a medium-sized brush, apply a base coat of Abaddon Black to the armor plates. Take your time to ensure even coverage and avoid leaving any unpainted areas. Be careful around smaller details and crevices. - Step 3: Painting Trim and Details
Switch to a smaller brush and paint the trim and details with Leadbelcher. This includes the trim on the armor, weapon handles, and any other decorative elements. Take your time to paint with precision, highlighting the intricate details of the model. - Step 4: Painting Cloth and Fabric
Switch to Mephiston Red and carefully paint any cloth or fabric parts, such as robes or capes. Apply thin coats to build up the color, and use additional layers or shading techniques to add depth and realism to the fabric. - Step 5: Painting Metallic Elements
Switch to Retributor Armor and paint any metallic elements, such as the Terminator armor’s joints, chains, and weapons. Use a steady hand to ensure clean and even coverage, and consider using a finer brush for smaller details. - Step 6: Painting Exposed Flesh
Switch to Rakarth Flesh and carefully paint the Sorcerer’s exposed flesh areas, such as the face and hands. Take your time to capture the details and add highlights and shading where appropriate to bring the flesh to life. - Step 7: Adding Psychic Energy Effects
Switch to Warpfiend Grey and carefully apply the color to any psychic energy effects or runes on the model. This will create a vibrant and otherworldly appearance, adding a touch of mysticism to your Sorcerer. - Step 8: Applying a Wash
Apply a wash of Agrax Earthshade to the entire model. This will flow into the recesses and crevices, enhancing the depth and shading of the different paint layers. Use a brush to carefully apply the wash, allowing it to settle and dry naturally. - Step 9: Highlighting Metallic Areas
Switch to Stormhost Silver and highlight the edges of the armor plates and other metallic areas. This will create a metallic sheen and add definition to the model. Use a smaller brush and a steady hand for precision highlighting. - Step 10: Adding Shadows and Contrast
Apply Nuln Oil to the recesses and crevices of the model. This will create shadows and further enhance the contrast, giving your Sorcerer a more realistic and three-dimensional appearance. Use a small brush to carefully apply the wash, focusing on the areas that require additional depth. - Step 11: Painting Eyes and Symbols
Switch to a fine-tipped brush and paint the eyes and symbols on the model using Yriel Yellow. Take your time to ensure clean lines and capture the details of the eyes and intricate symbols. This will add character and make them stand out. - Step 12: Painting the Base
Using Abaddon Black, carefully paint the base of the model. Ensure a clean and uniform appearance, covering any remaining unpainted areas. Take your time to avoid getting paint on the model itself. - Step 13: Adding Texture to the Base
Apply a dry brush technique using Ushabti Bone to add texture and a worn look to the base. Dip the tip of a dry brush into the paint, then wipe off most of the paint on a tissue. Lightly brush the paint over the base, allowing the texture to catch on the raised surfaces. - Step 14: Sealing the Model
Once the paint is dry, seal your Sorcerer with a matte varnish. This will protect the paintwork and give the model a finished look. Follow the instructions on the varnish bottle for best results

