
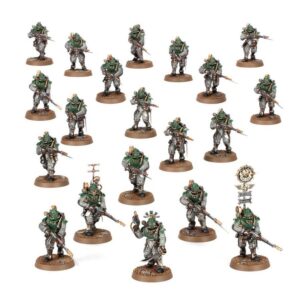
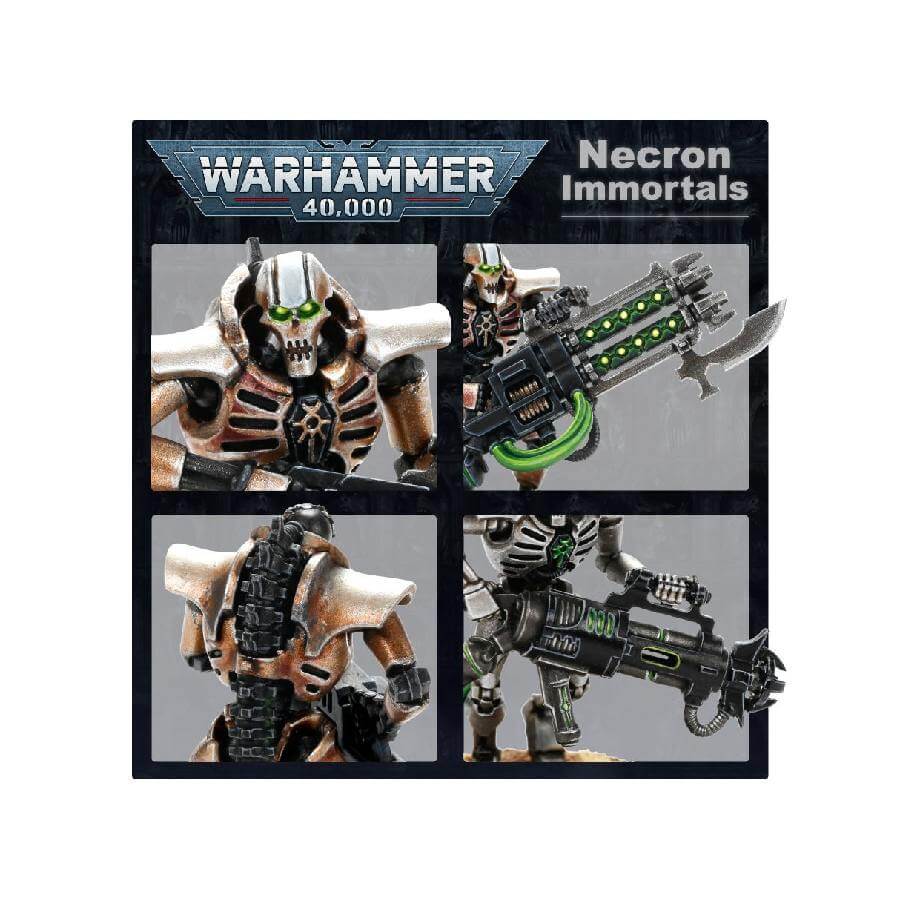
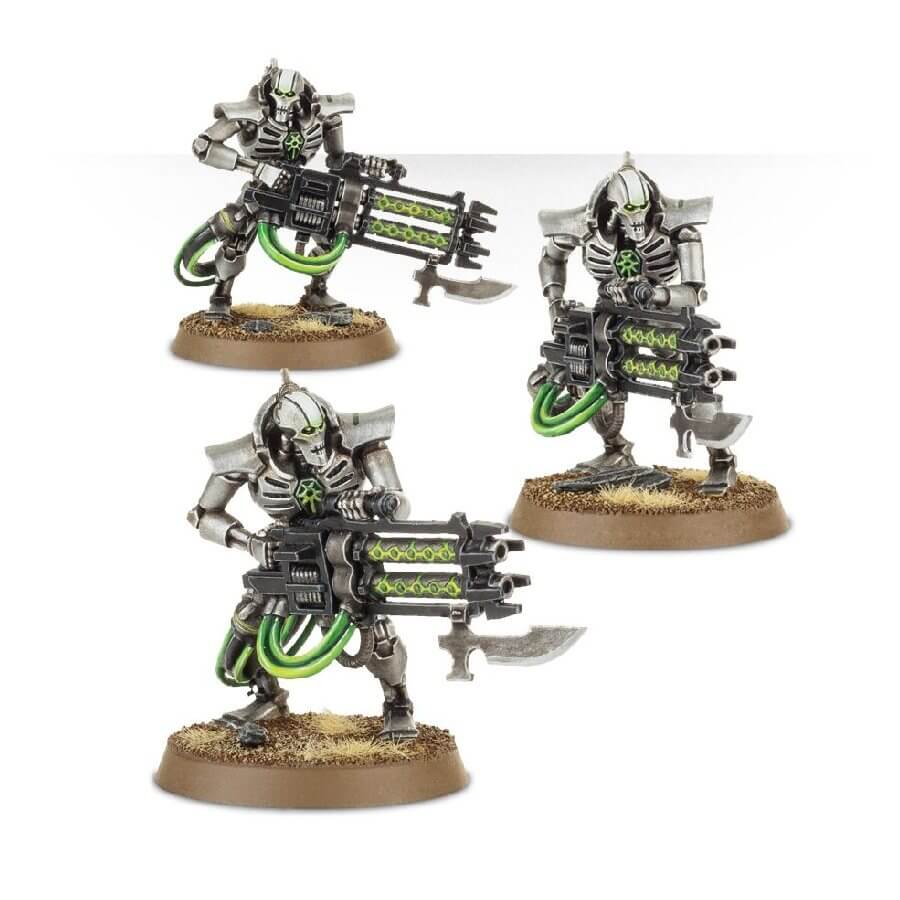
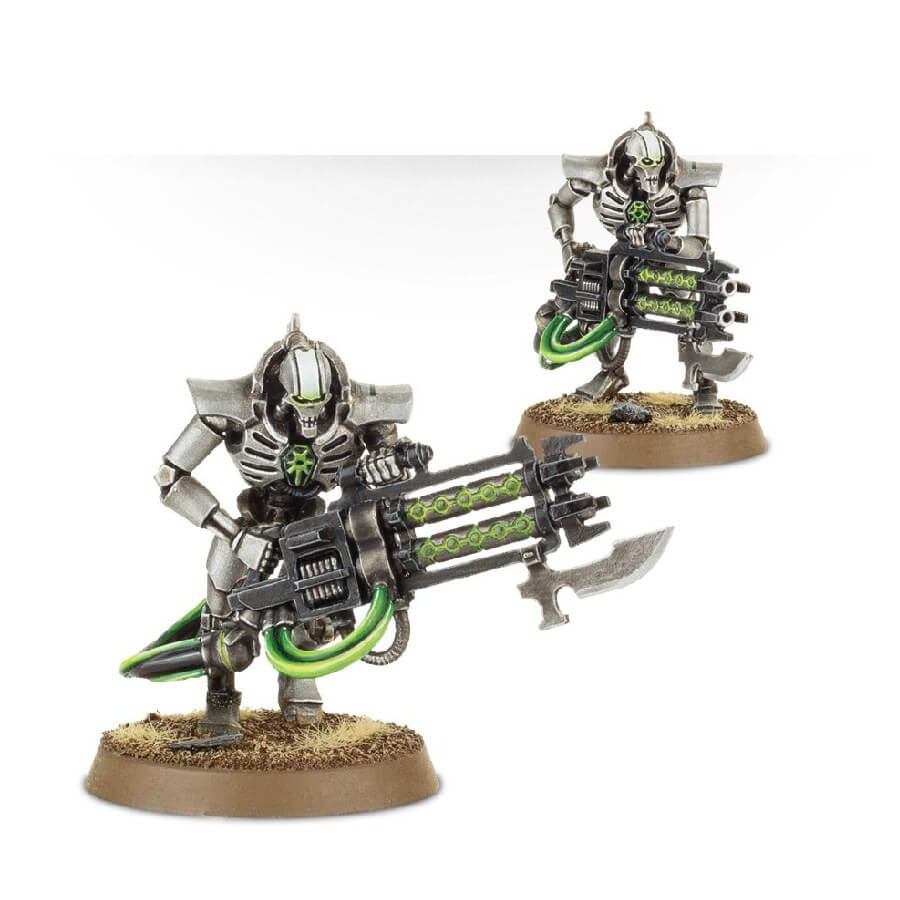
The Necron Immortals personify the quintessential skeletal-metal physique of their enigmatic race. Their limbs extend with metallic precision, punctuated by sturdy bolts, while their posture exudes an eerie hunch. Encased in armor and adorned with industrious shoulder pads, their heads are nestled within protective shrouds, bearing the mark of subtle Necron insignia on their breastplates. A formidable selection of armaments awaits, from the formidable gauss blasters to the electrifying tesla carbines.
What’s in the Immortals box
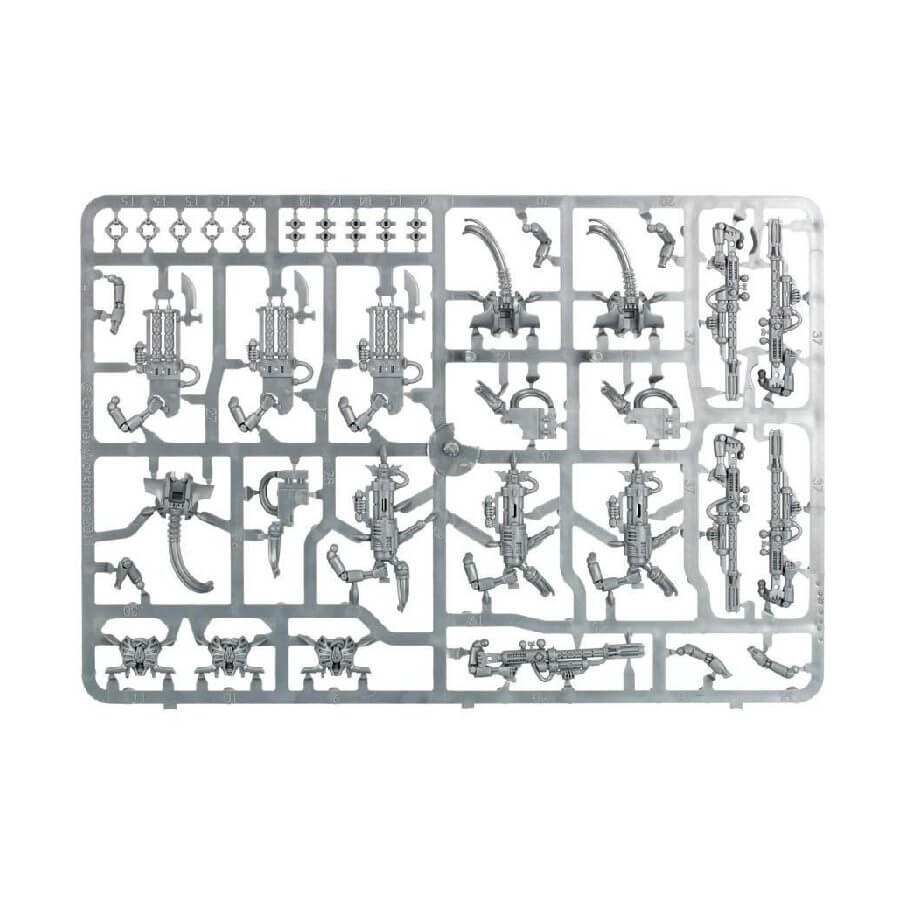
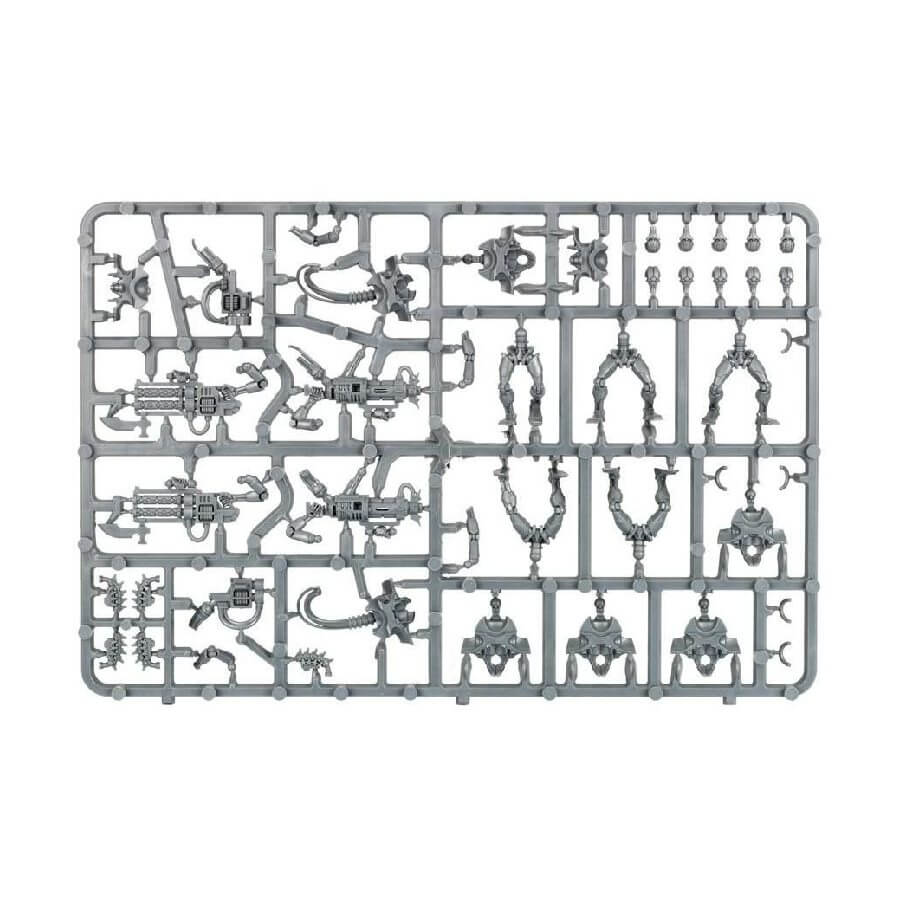
- x80 plastic components with which to build 5 Necron Immortals or 5 Necron Deathmarks.
- x2 Necron transfer sheets.
- x5 Citadel 32mm Round Bases.
How to paint the Immortals set
- Step 1: Base Coating Armor
Begin by applying a base coat of Screaming Bell to the Immortals’ armor. This primary color will form the foundation of their distinctive skeletal-metal appearance. - Step 2: Base Coating Weapons
Next, apply a base coat of Abaddon Black to the weapons wielded by the Immortals. This deep black tone creates a striking contrast against their armor. - Step 3: Adding Green Details
Add vibrant green details to the miniatures using Moot Green. Focus on elements like eyes, energy sources, or any intricate markings. This touch of color brings dynamic contrast to the overall composition. - Step 4: Metallic Components
Apply a base coat of Leadbelcher to the metallic components of the Immortals, such as bolts, joints, and mechanical details. This step adds depth and texture to the miniature. - Step 5: Shading Armor and Weapons
Apply shading to the armor and weapons to enhance their depth. Use a shade like Nuln Oil to accentuate the recesses and crevices. This technique creates a more realistic three-dimensional appearance. - Step 6: Layering
Begin layering by applying a slightly lighter color over the base coat. For the armor, use a shade like Ironbreaker to gently highlight raised areas. Similarly, for the weapons, use a lighter grey like Dawnstone to add subtle highlights. - Step 7: Shading Green Details
Apply a shade like Biel-Tan Green to the green details to add depth and definition. This step makes the details pop and adds realism to the overall look. - Step 8: Final Highlights
Apply final highlights using an even lighter shade for both the armor and weapons. Use a color like Runefang Steel to draw attention to the most prominent edges and surfaces. - Step 9: Varnishing for Protection
Apply a protective varnish like Ardcoat to shield your work from wear and tear. This step preserves your efforts and imparts a polished finish.