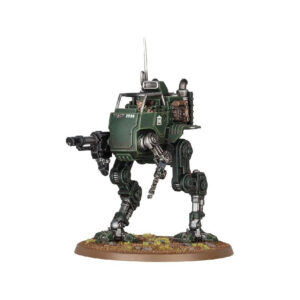
The pinnacle of anti-infantry might within the T’au arsenal: the T’au Sniper Drone Teams. With precision engineering at their core, each drone is armed with a Rail Rifle, a weapon of remarkable prowess that propels high-velocity projectiles at astonishing speeds. The impact is so forceful that it effortlessly pierces through the armor of nearly any opponent, leaving behind a formidable spectacle that leaves adversaries scrambling for cover. The aftermath serves as a potent deterrent, casting a shadow of trepidation over those who fear they might be the next marked target.
What’s in the MV71 Sniper Drones & Firesight Marksman box
- x19 resin components that make three T’au MV71 Sniper Drones and one Firesight Marksman.
- x1 Citadel 40mm Round Base.
- x3 Citadel 32mm Flying Bases.
- x3 long Flying Stems.
How to paint the MV71 Sniper Drones & Firesight Marksman set
- Step 1: Priming the Models
Begin by priming the models with a primer spray . This creates an even surface for the paint to adhere to and ensures consistent color results. A grey primer is recommended. - Step 2: Base Coating the Armor
Apply XV-88 to the body of the MV71 Sniper Drones and Firesight Marksman. This warm brown tone serves as the base color for their armor. - Step 3: Shading with Agrax Earthshade
Apply Agrax Earthshade over the brown areas to add depth and shadow. This step enhances the details and gives the models a realistic look. - Step 4: Layering with Tau Light Ochre
Layer Tau Light Ochre over the brown areas to build up the color and highlight raised surfaces. This adds dimension to the models’ armor. - Step 5: Highlighting with Ungor Flesh
Use Ungor Flesh to further highlight the armor’s edges and prominent areas. This step creates a subtle contrast and brings out the details. - Step 6: Detailing with Abaddon Black
Paint small details and elements, such as pistons or weapons, with Abaddon Black. This adds contrast and sharpens the overall appearance of the models. - Step 7: Lens and Optics
Apply a vibrant color like Mephiston Red to any lens or optic components on the models. This creates a striking focal point and adds a touch of realism. - Step 9: Fine Details
Using a small brush, paint any remaining small details with appropriate colors that contrast with the base coat. - Step 10: Basing
Paint the bases using earthy tones that complement the models’ color scheme. For added realism, consider drybrushing with lighter shades to create texture. You can also add grass tufts or small rocks for extra detail. - Step 11: Varnishing
After the paint is dry, protect your work with a matte varnish. This step preserves your models during gameplay and display, ensuring their longevity and durability.