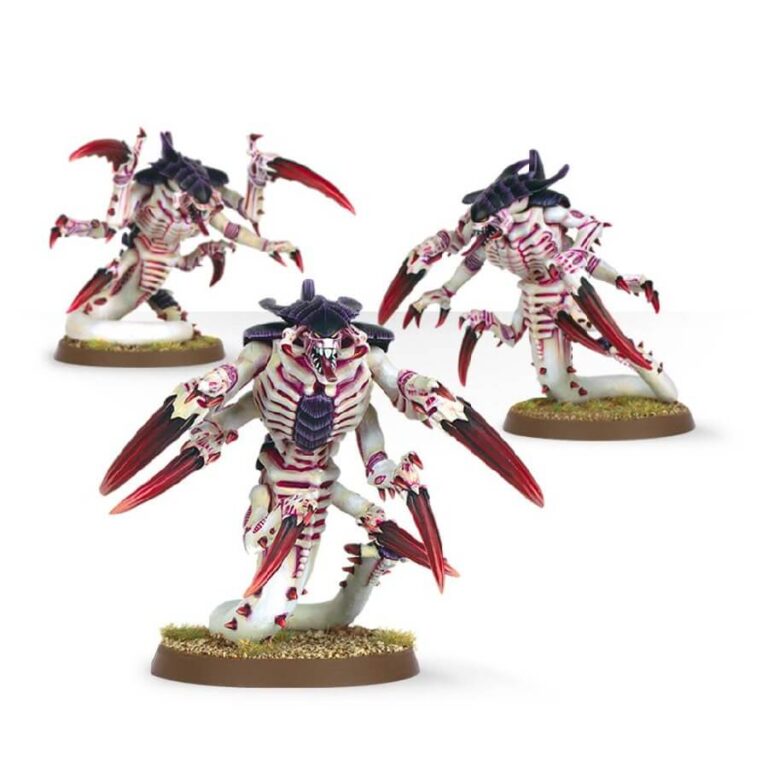
Raveners are Tyranids purpose-built for lightning-fast assaults and relentless pursuit. Possessing extraordinary senses capable of tracking prey across vast distances and detecting even the faintest motion, these agile creatures are propelled by their powerful musculature, granting them breathtaking speed. With deadly weapon-symbiotes mounted on their thoraxes, Raveners swiftly close in on their targets, unleashing a barrage of lethal projectiles.
What’s in the Ravener Brood box
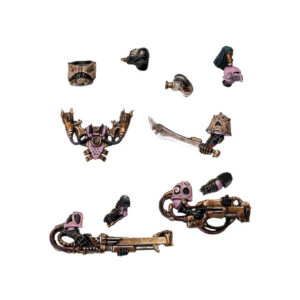
- x57 plastic components that make 3 Tyranid Raveners. The set includes a range of additional components that allow you to personalise your Ravener Brood.
- x3 Citadel 40mm round bases.
How to paint the Ravener Brood set
- Step 1: Prepare the Models
Start by preparing the Ravener Brood models, ensuring they are clean and free from any mold lines or imperfections. - Step 2: Prime the Models
Apply a coat of spray primer to the models. This will provide a smooth surface for the paint to adhere to. - Step 3: Base Coat – Carapaces
Using a small brush, carefully paint the carapaces of the models with a deep purple color. For example, you can use Naggaroth Night from Citadel Paints. - Step 4: Highlight – Carapaces
With a lighter purple shade, such as Xereus Purple, gently apply highlights to the edges and raised areas of the carapaces. This will add depth and definition to the armor. - Step 5: Base Coat – Flesh
Using an off-white color like Celestra Grey, paint the exposed flesh areas of the models. Apply thin, even layers to achieve a smooth coverage. - Step 6: Wash – Flesh
Apply a thin wash of Druchii Violet to the flesh areas, focusing on the recesses and muscle details. This will add shading and enhance the natural texture. - Step 7: Highlight – Flesh
Using a lighter off-white shade, such as Ulthuan Grey, carefully highlight the raised areas of the flesh to create a pale, flesh-like appearance. - Step 8: Detailing
Use a small brush and Abaddon Black to paint the eyes and mouth of the models. For the claws and teeth, apply a base coat of Rhinox Hide followed by a drybrush of Ushabti Bone to bring out the details. - Step 9: Final Touches
Add any additional details you desire, such as painting weapon blades with a metallic color like Runefang Steel or adding a touch of red to the fangs using Evil Sunz Scarlet. - Step 10: Basing
Finish off your models by basing them to match your overall Tyranid army theme. Use materials like small rocks, textured ground, and drybrushing with Mournfang Brown to create a realistic base. - Step 11: Seal and Protect
Once the paint is fully dry, apply a suitable varnish or sealant to protect your painted models and give them a professional finish.

