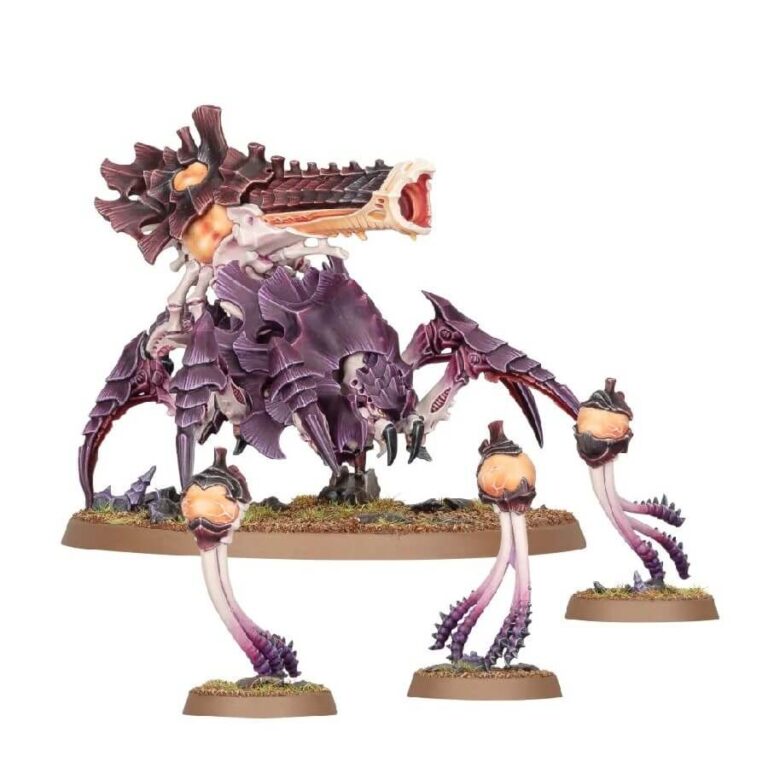
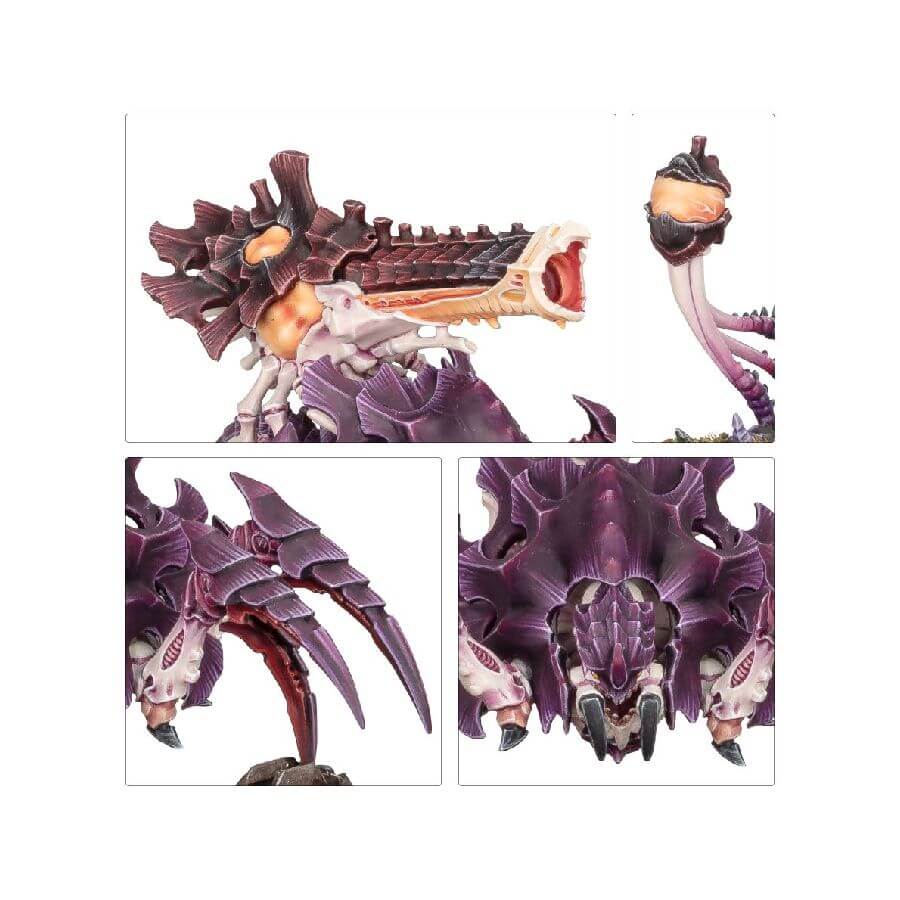
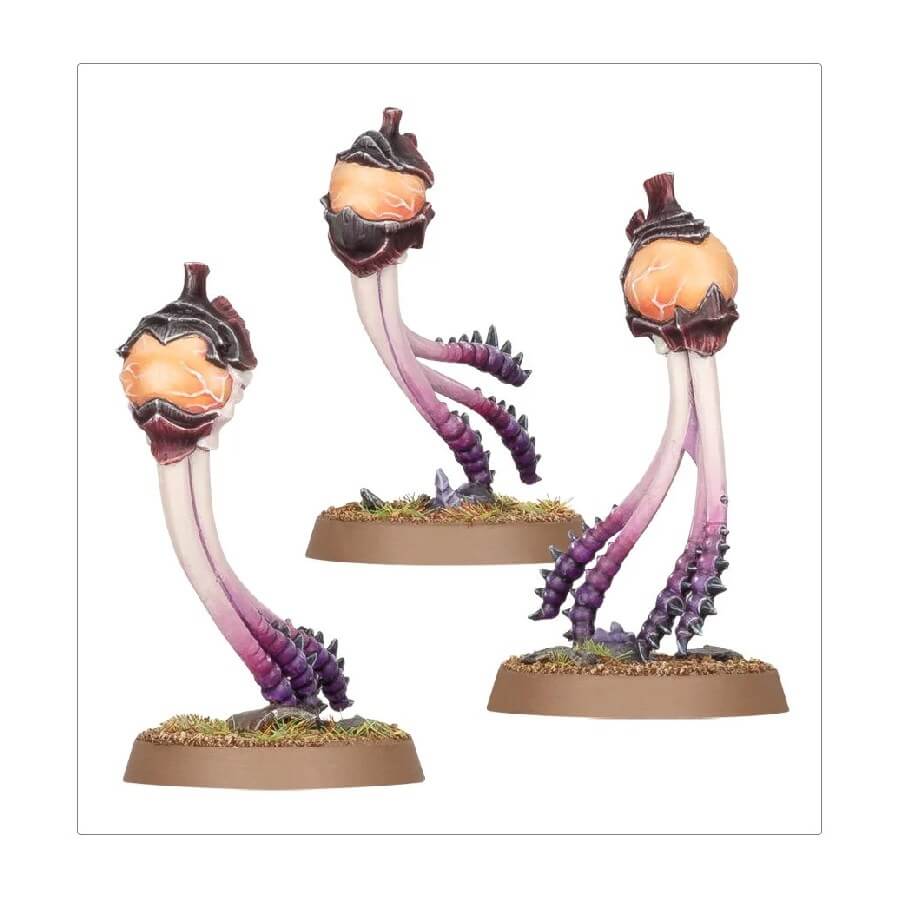
Biovores serve as living artillery, carrying volatile Spore Mines within their bodies. When anchored to the ground with chitinous spurs, these creatures expel their explosive offspring through violent spasms, launching them high into the air as deadly living ammunition. Once airborne, the gas-filled Spore Mines either explode into bone shards and acidic rain or drift gently to the battlefield, ready to detonate upon detecting prey.
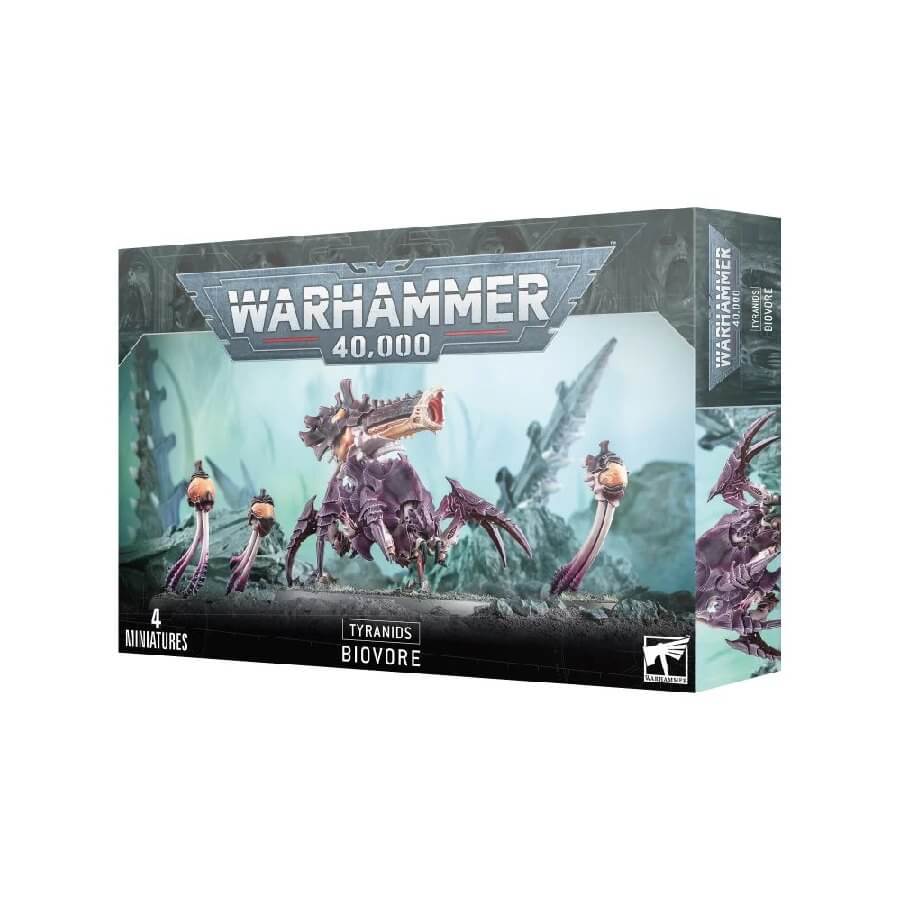
This multipart plastic kit enables you to construct a Biovore, a sentient Tyranid mortar, accompanied by three floating Spore Mines. The Biovore features a unique dorsal launcher filled with biological explosives. You can deploy the Spore Mines either by launching them from the Biovore or allowing them to descend from the skies. The kit provides various leg poses and basing options for the Biovore, along with three distinct Spore Mine designs, allowing you to maintain diversity in your Tyranid artillery forces.
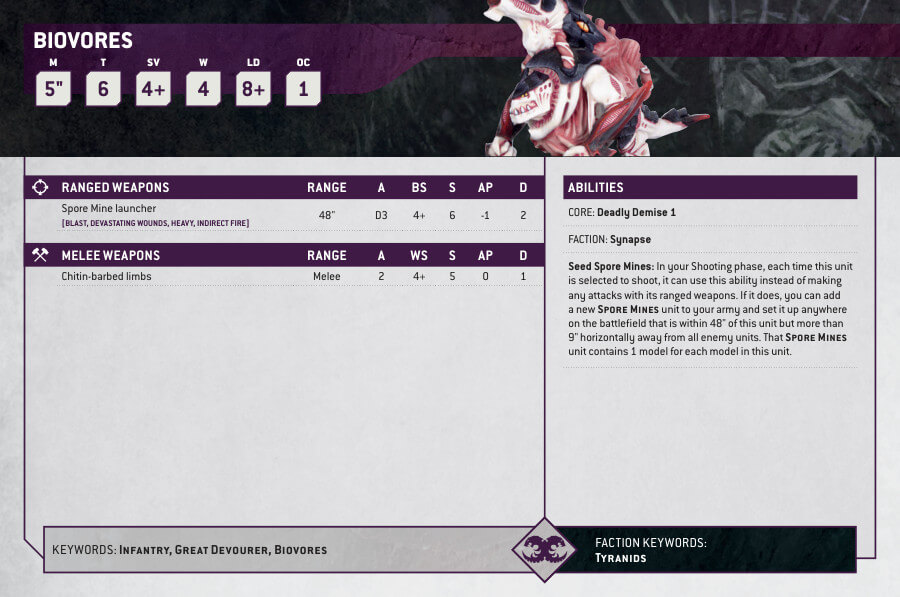
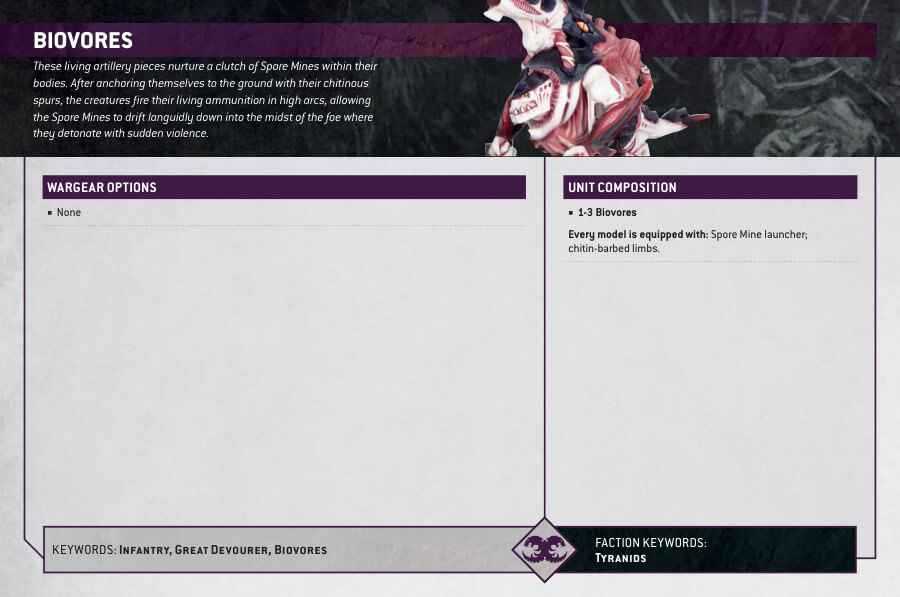
Biovore Datasheets
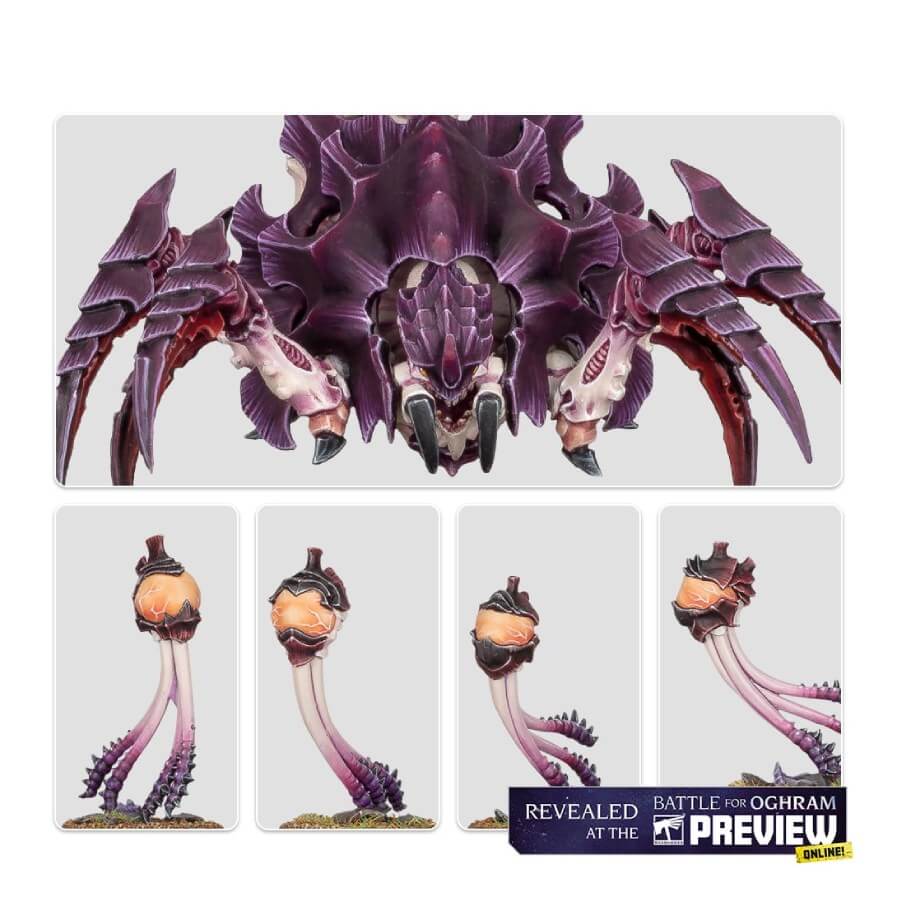
Biovore
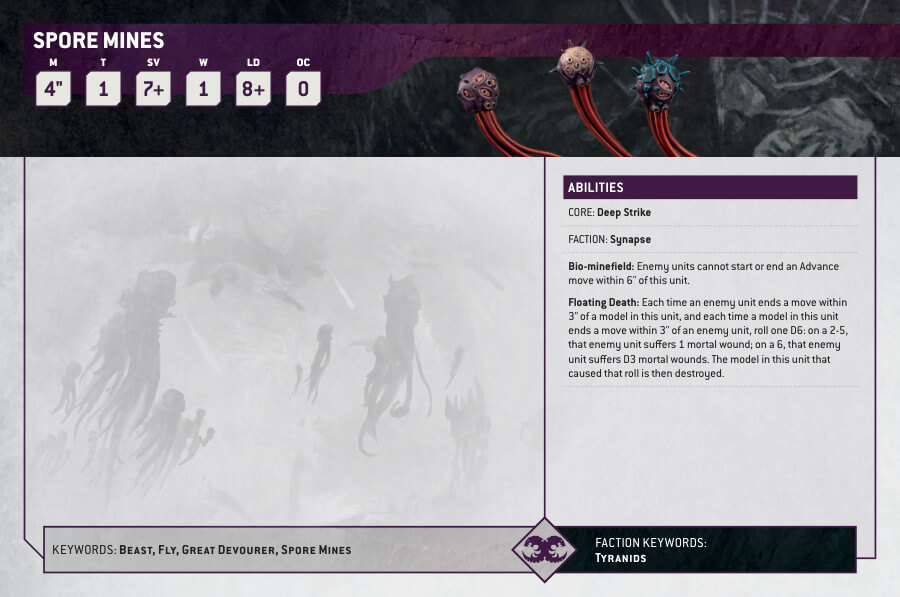
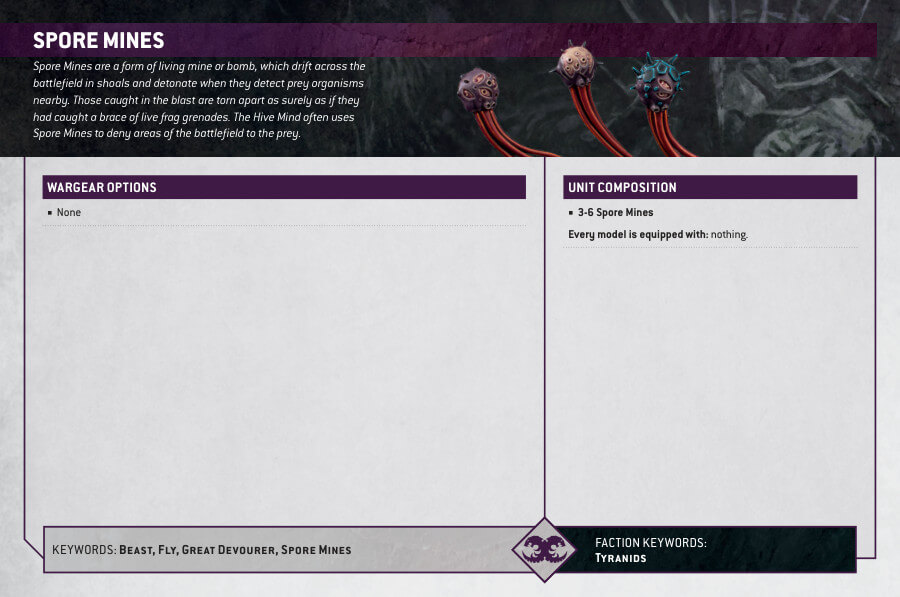
Spore Mines
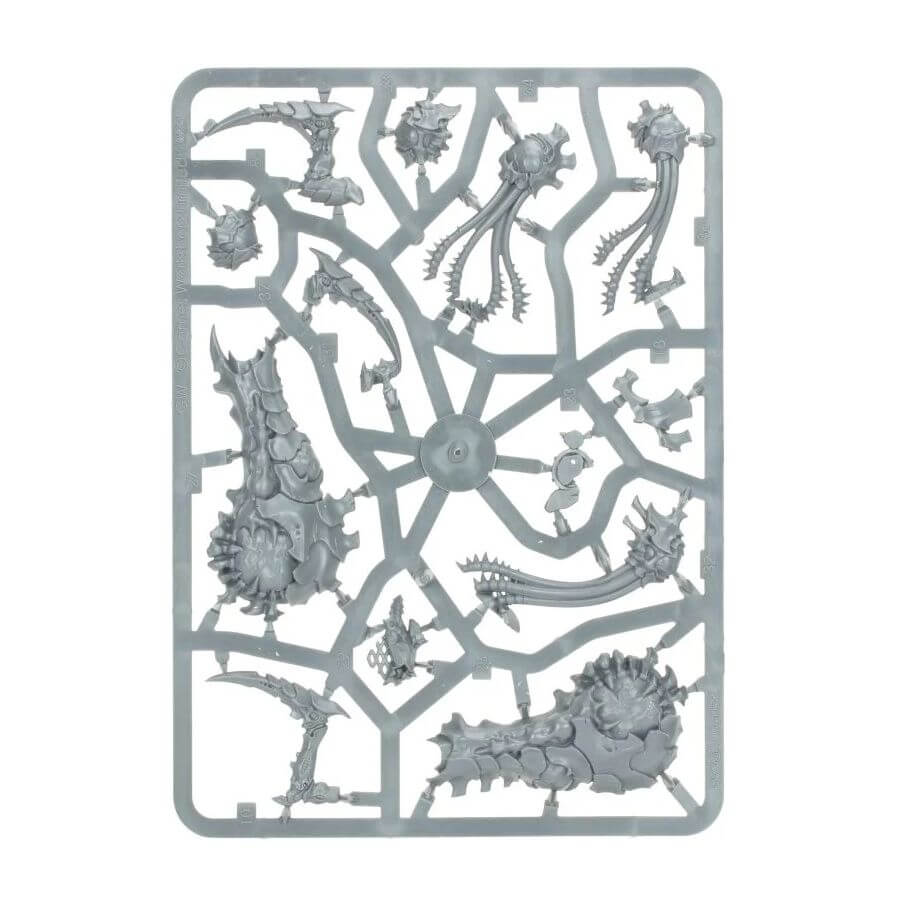
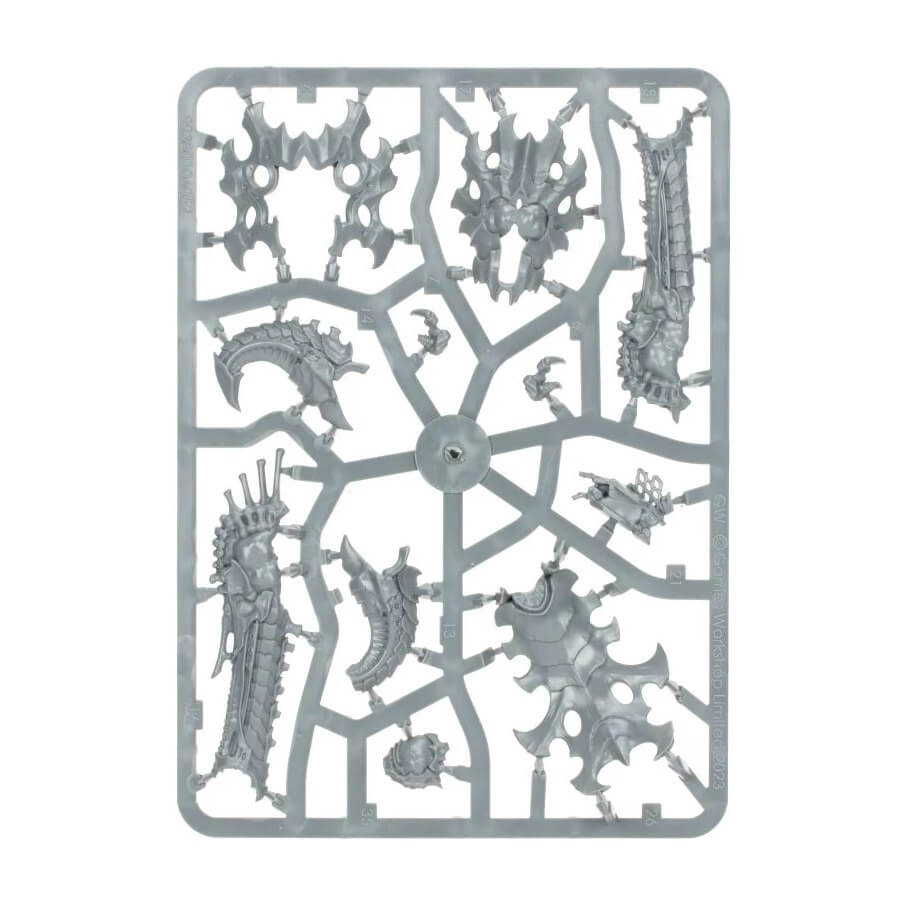
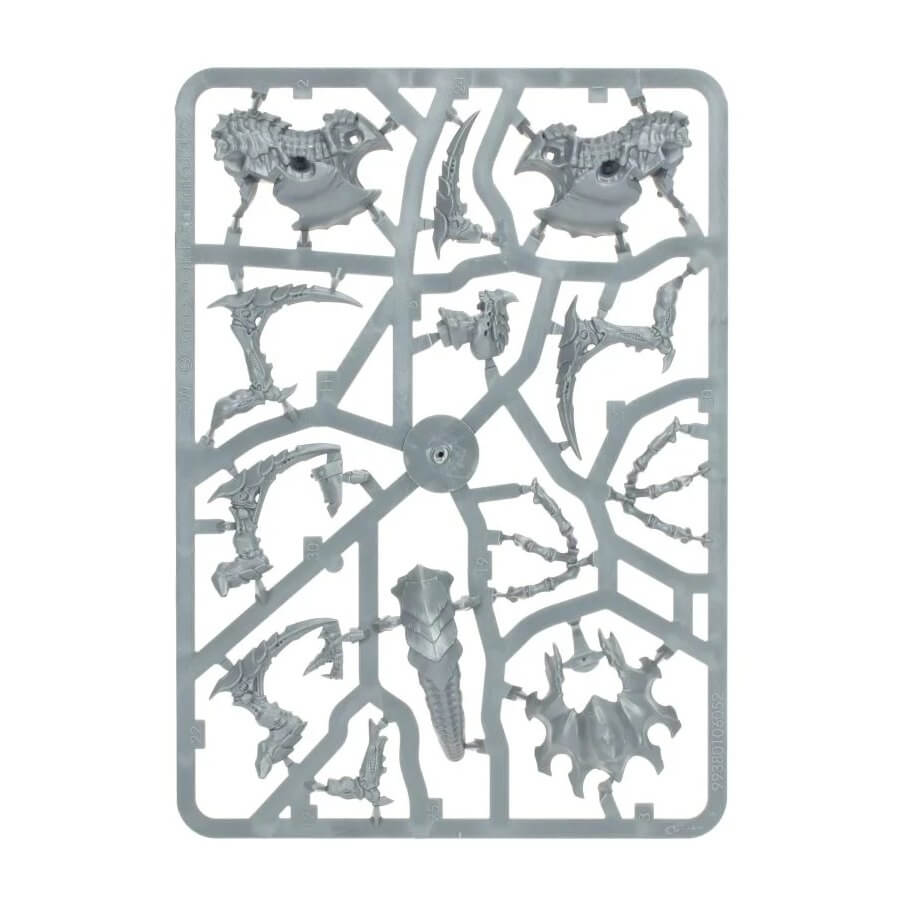
What’s in the Biovore box
- x37 plastic components that make 1 Biovore and 3 Spore Mines. The Biovore in this kit can alternatively be built as a Pyrovore.
- x1 Citadel 80mm Round Base (Biovore)
- x3 Citadel 25mm Round Bases (Spore Mines)
How to paint the Biovore set
- Step 1: Prime Your Model
Start by applying a thin, even coat of Wraithbone primer to your Biovore model. This will provide a solid base for the subsequent layers of paint. - Step 2: Basecoat the Carapace
Using a brush, paint the chitinous armor of the Biovore with Xereus Purple. Apply the paint evenly, covering all the carapace areas. - Step 3: Highlight the Carapace
With a smaller brush, apply Genestealer Purple to the raised areas of the carapace. This will add depth and bring out the details. - Step 4: Paint the Flesh
Using a brush, paint the lower body and exposed flesh areas of the Biovore with Pallid Wych Flesh. This will create a contrast with the dark carapace and make the details stand out. - Step 5: Detail the Flesh
Using a fine-tipped brush, add shading and definition to the flesh areas using Reikland Fleshshade or a similar wash. Apply the wash to the recesses and crevices to create depth and realism. - Step 6: Paint the Weapon and Accents
Paint the Biovore’s weapon and any other accents, like the eyes or teeth, using appropriate colors. For the weapon, you can use Abaddon Black or a similar black paint. Use Mephiston Red or another bright color for the eyes to make them pop. - Step 7: Apply Washes
To enhance the shadows and add depth to the model, apply washes to the different areas. Use Druchii Violet or a similar purple wash for the carapace and Reikland Fleshshade for the flesh. - Step 8: Add Final Details
Highlight specific areas of the model, such as the edges of the carapace or the muscles, with lighter shades of the base colors. Use Naggaroth Night or a similar dark purple for the carapace highlights and White Scar for the flesh highlights. - Step 9: Base the Model
Consider adding texture to the base of your Biovore model to enhance its appearance. You can use Stirland Mud texture paint and add drybrushed highlights with Karak Stone or a similar light brown color. - Step 10: Varnish the Model
To protect your painted model, apply a layer of varnish. Citadel offers various varnish finishes, such as Ardcoat for a glossy finish or Munitorum Varnish for a matte finish. Follow the instructions on the varnish can for proper application.
