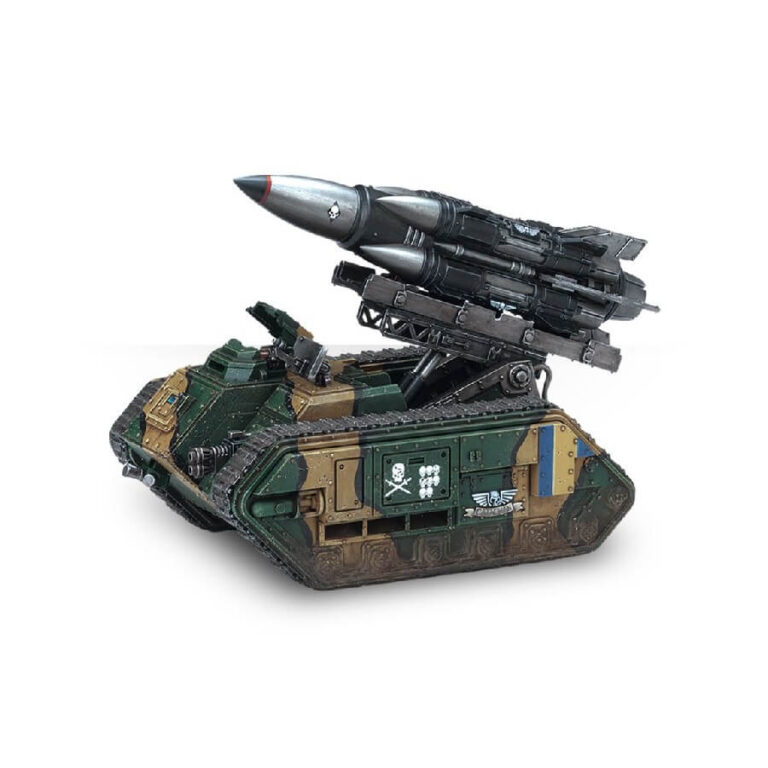
Embark on the construction of this multipart plastic kit, and witness the creation of a Deathstrike, an unstoppable Astra Militarum force on the battlefield armed with a singular, massive warhead. This awe-inspiring model also features a hull-mounted heavy bolter or heavy flamer, accompanied by a hatch that grants you the freedom to build it closed, open with a raised blast shield, or fully open, revealing a crew member with a choice of heads. Furthermore, the kit includes additional accessories to customize your vehicle, enhancing its already remarkable appearance with riveted armor panels, detailed treads, a spotlight, and a radar dish.
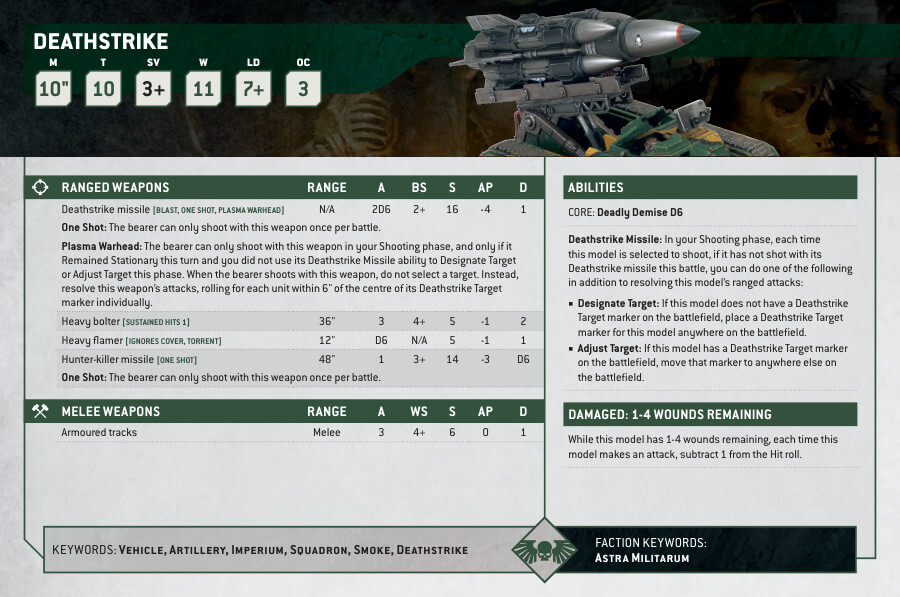
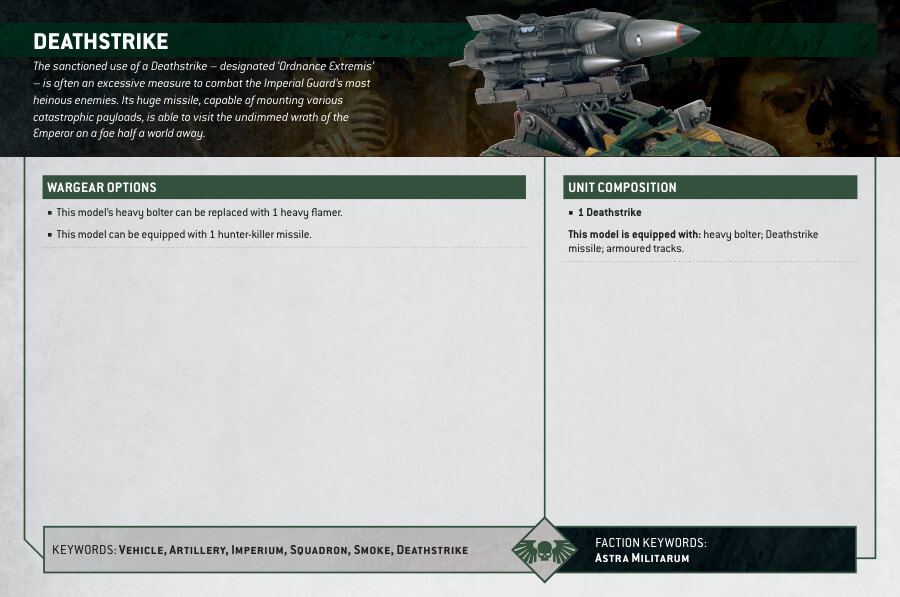
Deathstrike Datasheets
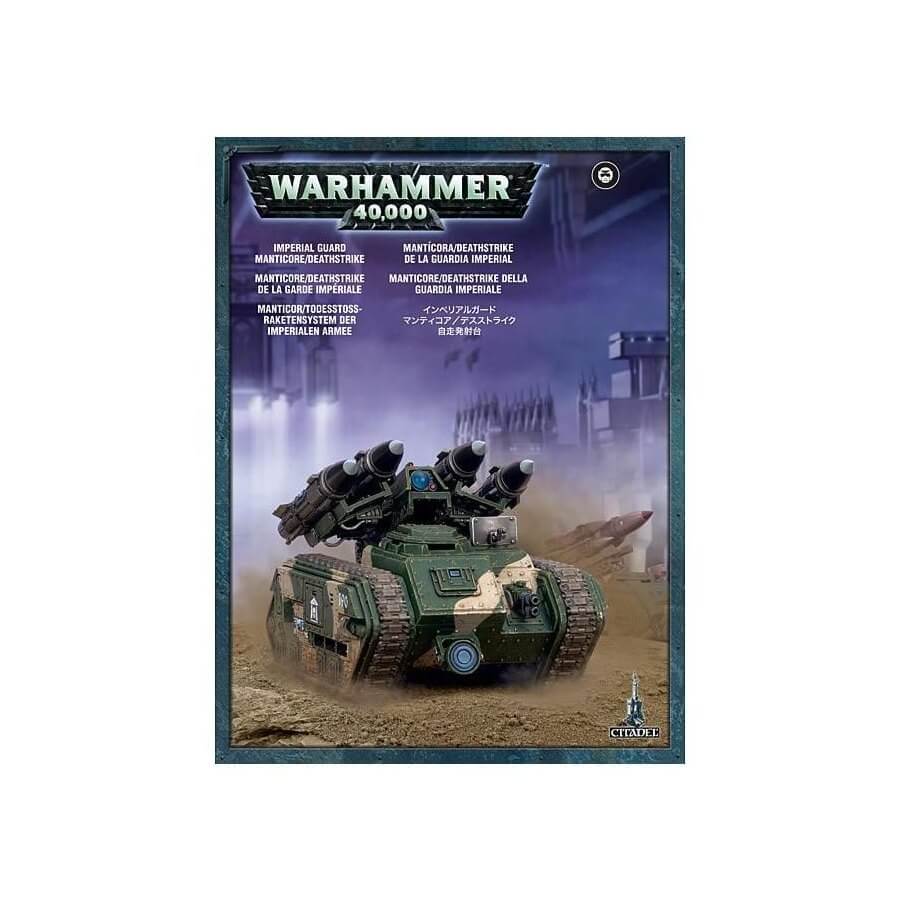
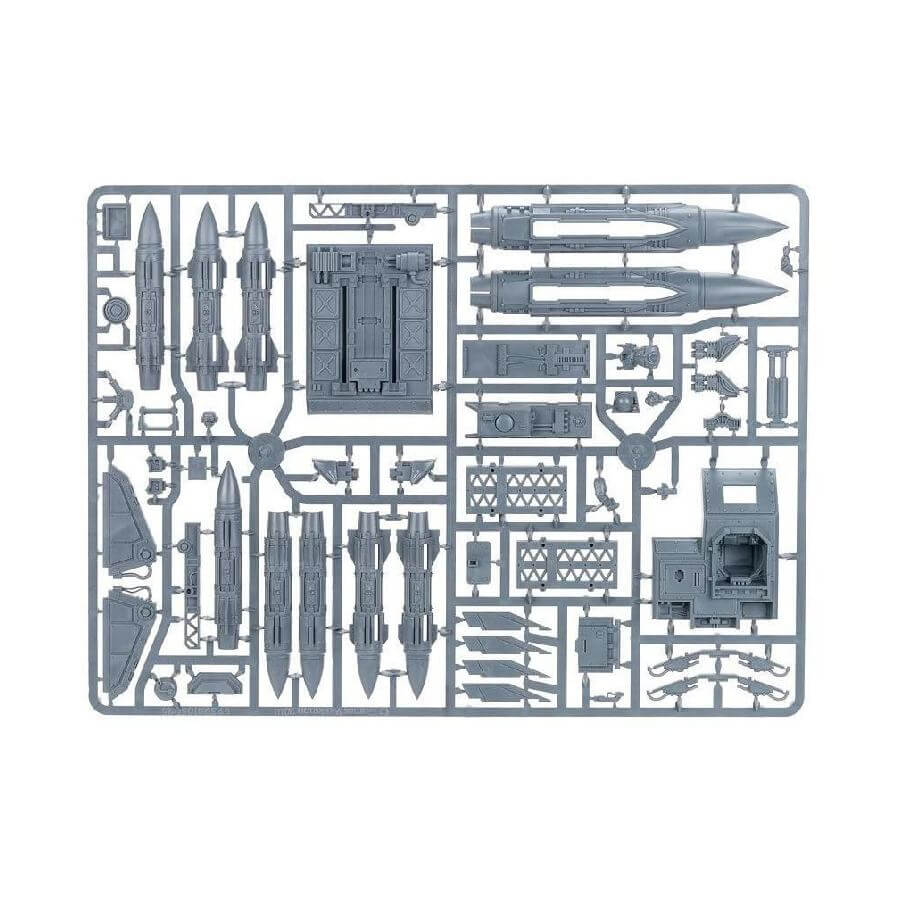
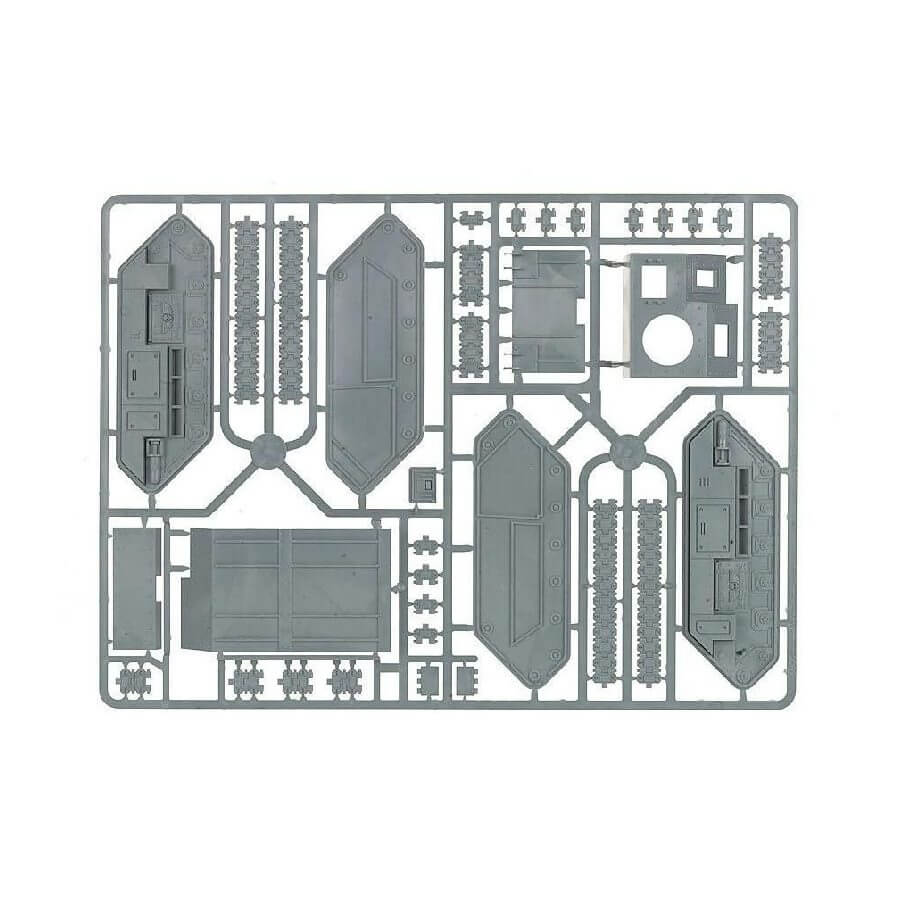
What’s in the Deathstrike box
- x85 plastic components kit.This kit can alternatively be used to build a Manticore – an Astra Militarum tank armed with four smaller missiles.
- x1 Astra Militarum Vehicle Transfer Sheet featuring tactical markings, numerals, and other regimental heraldry.
How to paint the Deathstrike Set
- Step 1: Prepare Your Workspace
Set up a clean and well-lit workspace with enough room for your painting supplies. Make sure you have all the necessary tools and paints ready before you begin. - Step 2: Prime the Model
Apply a thin layer of Chaos Black paint to the Deathstrike model using a medium-sized brush. This will create a smooth surface for the paint to adhere to. Let it dry completely before moving on to the next step. - Step 3: Basecoat the Model
Choose your desired base color for the Deathstrike. For example, you can use Caliban Green for the main body. Dilute the paint slightly with water and apply an even coat to the entire model using a medium-sized brush. Be careful not to leave any areas uncovered. Let it dry completely. - Step 4: Apply Wash for Depth
Select a wash color that complements the base color. For instance, use Nuln Oil to create depth and shading. Apply the wash to recessed areas and crevices, such as panel lines and joints, using a small detail brush. The wash will settle into these areas, creating shadows and enhancing the overall look. Let it dry completely. - Step 5: Highlight the Model
Choose a lighter shade of the base color to create highlights and add dimension to the model. For example, you can use Coelia Greenshade. Load a medium-sized brush with the paint and gently dry-brush the raised edges and surfaces of the model. This technique will pick up the texture and details, adding depth and visual interest. Be subtle and build up the highlights gradually. - Step 6: Detailing
Now it’s time to add smaller details to enhance the model’s appearance. Use smaller brushes and different colors, such as Abaddon Black to create a camouflage effect, Leadbelcher for the metallic parts, and Mephiston Red for any markings. Take your time and be patient while applying these details. Precise brush control is key here. - Step 7: Finishing Touches
Once you’re satisfied with the main paint job, you can add some final touches to make the model pop. Use a lighter color, like White Scar, to create tiny highlights on the edges of the model’s armor plates or other raised areas. This will add a bit of extra contrast and visual appeal. - Step 8: Varnish the Model (optional)
To protect your hard work, consider applying a layer of varnish over the painted model. This will help prevent the paint from chipping and give it a finished look. You can choose between matte, satin, or gloss varnish, depending on the desired effect. Follow the instructions on the varnish bottle for the best results.