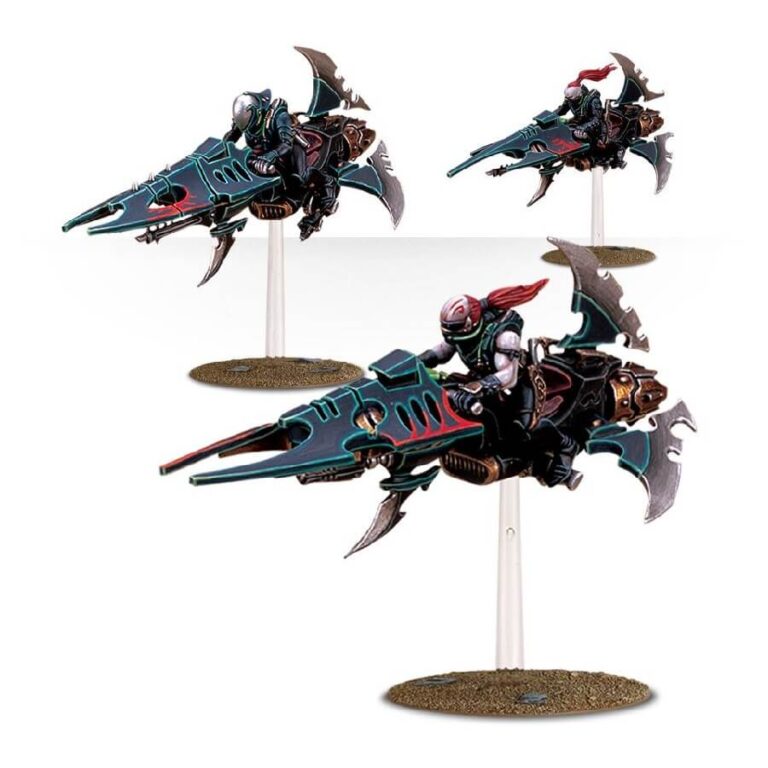
With every ride upon the Reaver Jetbike, you’ll experience an adrenaline rush like never before. Swift and agile, it cuts through the air with unparalleled grace, delivering you to the heart of battle with lightning speed. The sleek design ensures maximum performance, allowing you to outmaneuver your opponents effortlessly.
The Reavers are Drukhari‘ masters of precision, and their goal is to land the perfect strike with each pass of their blade. Picture yourself in the fray, slashing open throats and taking heads with unrivaled accuracy. The Reaver Jetbike empowers you to execute these deadly maneuvers with ease, making you a formidable force on the battlefield.
Incorporating cutting-edge technology, the Reaver Anti-Grav Jetbike is up-to-date with the latest advancements in combat engineering. It’s a fusion of power, agility, and lethality, delivering an unmatched level of excitement for any thrill-seeker or war enthusiast.
Join the ranks of the Reavers of Commorragh and experience the thrill of war at speed. Embrace the art of combat with the Reaver Anti-Grav Jetbike – your key to triumph in the most challenging battles. Are you ready to ride into destiny?
What’s in the Reavers box
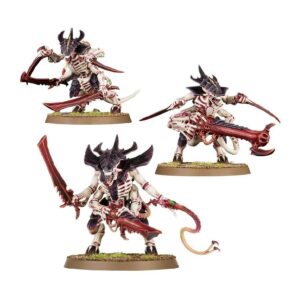
- x68 plastic components that make 3 Drukhari Reavers. The set includes: seven heads and three different bodies, a heat lance, a blaster, a cluster caltrop pod and a host of extra blades. Models supplied with small flying bases.
- x3 Citadel 32mm flying bases.
How to paint the Reavers set
- Step 1: Choose Your Color Scheme
Before diving into the creative process, decide on the color scheme that resonates with you. Will your Reavers don fierce red armor or elegant blue hues? Let your imagination run wild, and pick colors that reflect the personality of your Reaver squad. - Step 2: Prime Your Miniatures
Apply a thin layer of primer to your Reavers using a color that complements your chosen scheme. A light-colored primer works well for brighter colors, while a dark primer enhances deeper shades. This step ensures the paint adheres smoothly and evenly to the miniatures. - Step 3: Basecoat the Armor
Start by applying the base color to the Reavers’ armor. For example, if you opted for a fiery red theme, use Khorne Red or a similar crimson shade. Use gentle strokes, ensuring even coverage, and allow the paint to dry before proceeding to the next step. - Step 4: Layering Techniques
Add depth and dimension to your Reavers’ armor with layering techniques. Choose a slightly lighter shade, such as Evil Sunz Scarlet, and apply it to raised areas and edges of the armor. This technique creates highlights and brings out the details of the miniatures. - Step 5: Emphasize with Washes
To make your Reavers appear more realistic and menacing, use washes to add depth to the recessed areas of the armor. A dark wash, like Nuln Oil, will create shadowy contours, making the colors pop. - Step 6: Paint the Details
Now it’s time to bring your Reavers to life by painting the intricate details. Focus on elements like helmets, weapons, and insignias. For instance, use Leadbelcher for metallic accents like weapons, and Abaddon Black for intricate designs. - Step 7: Fine Highlights
Apply the final highlights to make your Reavers truly stand out. Use a brush with a fine tip and a lighter shade than your base color. For example, with red armor, gently add highlights with Wazdakka Red to the most prominent edges. - Step 8: Eyes and Faces
Give your Reavers a fearsome gaze by painting their eyes. Use a tiny brush and a steady hand to apply a bright color like Mephiston Red to the eye sockets. For faces, consider using Cadian Fleshtone for a realistic complexion. - Step 9: Bases
Enhance the overall presentation of your Reavers by painting their bases. Add texture with Stirland Mud and layer on dry brush highlights using a lighter shade like Karak Stone. - Step 10: Varnish for Protection
To safeguard your hard work and give your Reavers a lasting finish, apply a protective varnish coat. Choose a matte or gloss varnish, depending on your desired look.

