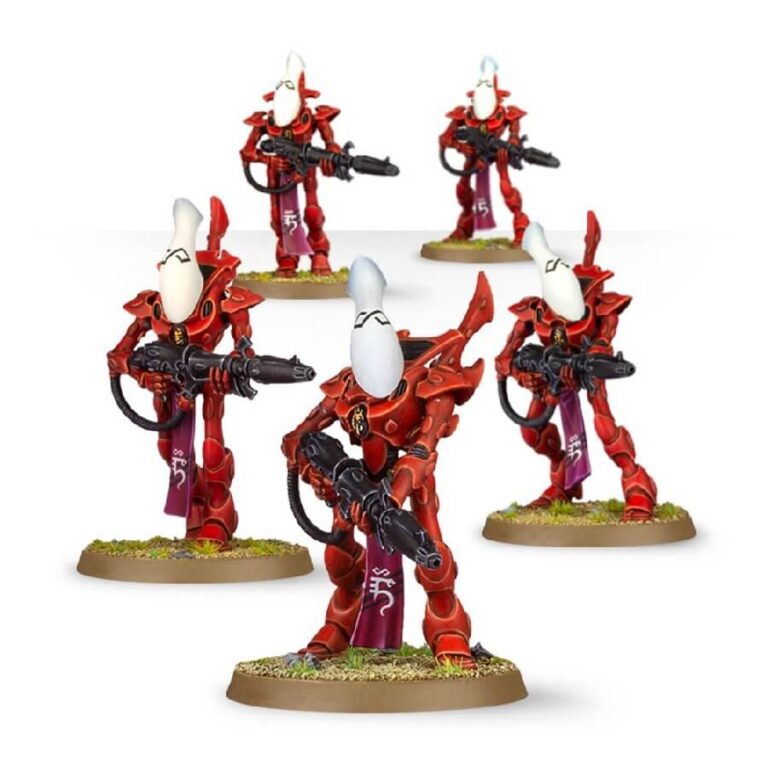
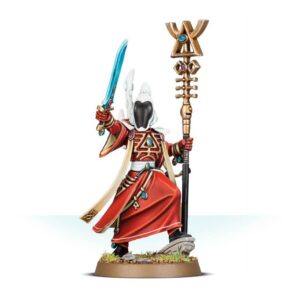
The Wraithguard are formidable constructs crafted from wraithbone and infused with the essence of dead Aeldari. Armed with deadly long-ranged weaponry, they wield either the devastating wraith cannon or the fearsome D-scythe, capable of banishing foes into the warp. Prepare your Aeldari forces for unparalleled power on the battlefield with these spectral warriors at your command.
What’s in the Wraithguard box
- x135 plastic components with which to make five Aeldari Wraithguard or Wraithblades.
- x1 Aeldari Transfer Sheet.
- x5 Citadel 40 mm Round Bases.
How to paint the Wraithguard set
- Step 1: Basecoat the Wraithguard in Red
Begin by applying a basecoat of red paint to the Wraithguard’s wraithbone construct. Choose a bright and vibrant red color, like Mephiston Red, to cover their bodies. Make sure to paint all the areas you want to be red, including their armor plates and limbs. - Step 2: Highlight the Red Armor
After the basecoat has dried, use a lighter red color, like Evil Sunz Scarlet, to highlight the raised areas of the Wraithguard’s armor. Concentrate on the edges and surfaces that catch the most light. This will make the red armor pop and add dimension to the models. - Step 3: Paint the Helmets White
For the Wraithguard’s helmets, paint them white using a color like White Scar. The white will contrast nicely with the red armor and give the models a distinct appearance. - Step 4: Highlight the White Helmets
Apply a light white color to highlight the edges and raised areas of the helmets. This will make the helmets look more three-dimensional and crisp. - Step 5: Shade the Wraithbone
To add depth and shadows to the wraithbone, apply a shade like Agrax Earthshade or Seraphim Sepia over the red basecoat. Focus on the recessed areas and crevices to create a more realistic and aged look. - Step 6: Final Touches and Details
Add any final details to the Wraithguard, such as gemstones, additional markings, or other small features. Use suitable colors like Abaddon Black or any other contrasting color to enhance the model’s appearance. - Step 7: Varnish (Optional)
Varnish helps protect the miniatures from chipping, fading, and general wear and tear during gameplay and storage. Some good options for the Wraithguard would be Stormshield or Munitorum Spray, thanks to their matte finish.

