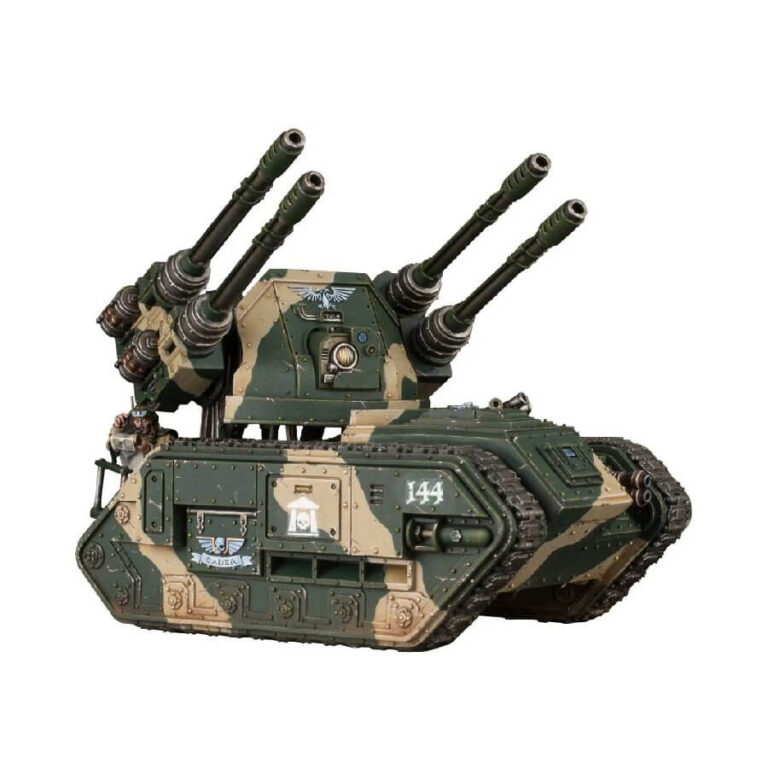
The Hydra is a highly valuable primary anti-aircraft tank for the Astra Militarum army, equipped with an array of specially adapted autocannons that can bring down even the most evasive targets. This multipart plastic kit builds one Hydra with a quad autocannon array and a hull-mounted heavy bolter or heavy flamer, along with a firing platform, a gunner and a crouching spotter. Customization options are also available, including spare ammo and fuel.
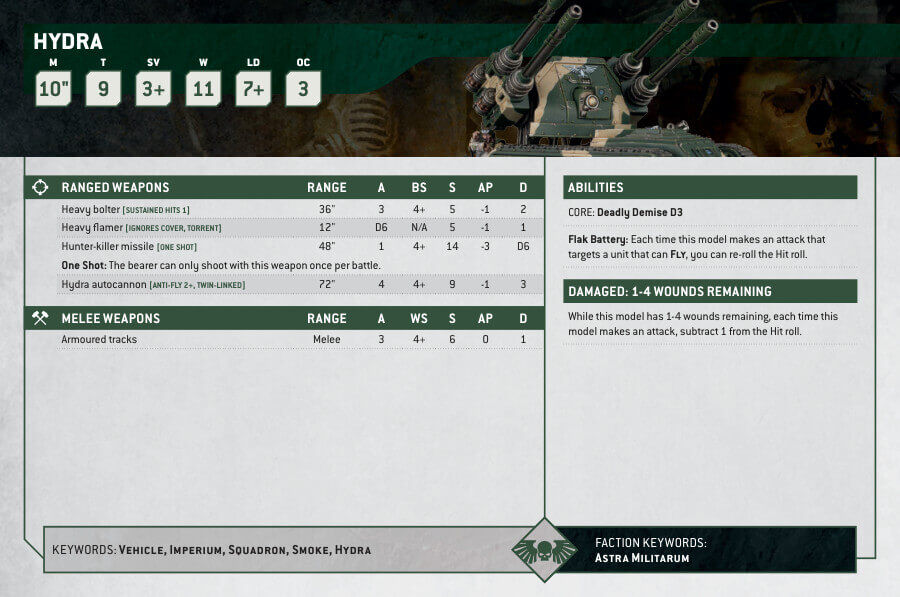
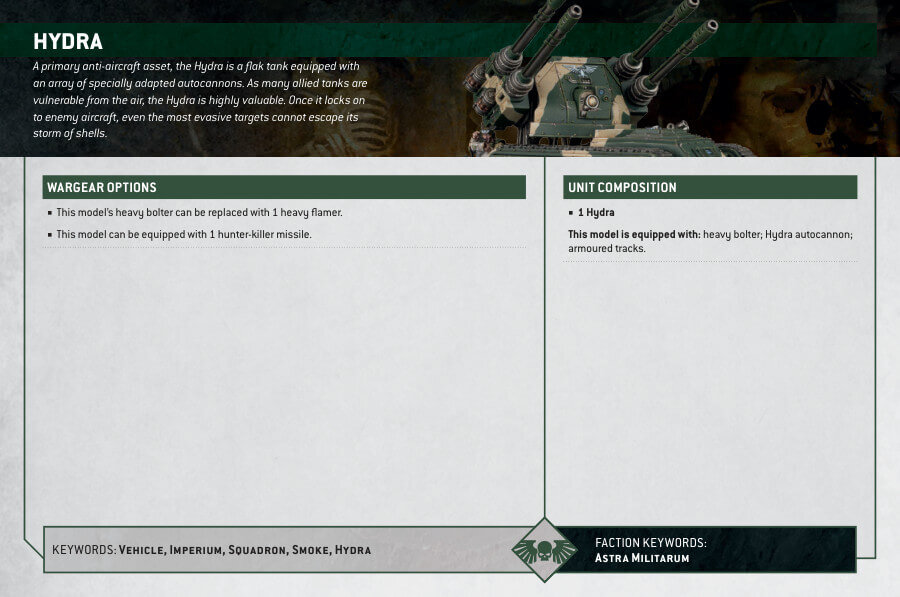
Hydra Datasheets
What’s in the Hydra box
- x100 plastic components that make one Hydra. Alternatively, this kit can be used to build a Wyvern – a mortar-armed suppression tank.
- x1 Astra Militarum Vehicle Transfer Sheet is included, featuring tactical markings, numerals, and other regimental heraldry that can be added to the vehicle for customization.
How to paint the Hydra Set
- Step 1: Priming
Apply a base coat of grey or black primer to your Hydra tank model. This helps the paint adhere better and provides a solid foundation for the colors. - Step 2: Base Colors
Start by painting the main body of the Hydra tank with a dark color, such as Mechanicus Standard Grey. Use thin layers and apply multiple coats if needed for a smooth and even coverage. - Step 3: Camouflage
Using a sponge or a stippling brush, apply patches of a secondary color, such as Elysian Green or Castellan Green, to create a camouflage pattern on the Hydra tank. Dab the paint lightly and irregularly for a natural look. - Step 4: Highlighting
To add depth and highlights to the tank, choose a lighter shade, like Administratum Grey or Loren Forest. Apply this color to the raised edges, edges of panels, and any other areas that would catch light. - Step 5: Wash
To enhance the details and create shadows, apply a wash like Nuln Oil or Agrax Earthshade over the entire tank. Focus on the recesses and panel lines. Remove any excess wash with a clean brush or tissue. - Step 6: Details
Paint the smaller details of the tank, such as the weapons, exhaust pipes, and sensors, using appropriate colors. For example, you can use Leadbelcher for metallic parts, Mephiston Red for lights, and Abaddon Black for weapons. - Step 7: Decals or Freehand
Apply any decals or create freehand designs, such as unit markings or emblems, on the tank. Use small amounts of water or decal solution to help them adhere smoothly. Alternatively, you can freehand paint these details if you feel comfortable doing so. - Step 8: Weathering (Optional)
For a more realistic look, you can add weathering effects to your Hydra tank. Use techniques like dry brushing, chipping, or applying weathering pigments to simulate wear and tear, rust, or dirt. - Step 9: Varnishing
Once you’re satisfied with the paint job, apply a coat of matte or satin varnish to protect the paint and give the tank a finished look. Follow the instructions on the varnish bottle for the best results.

