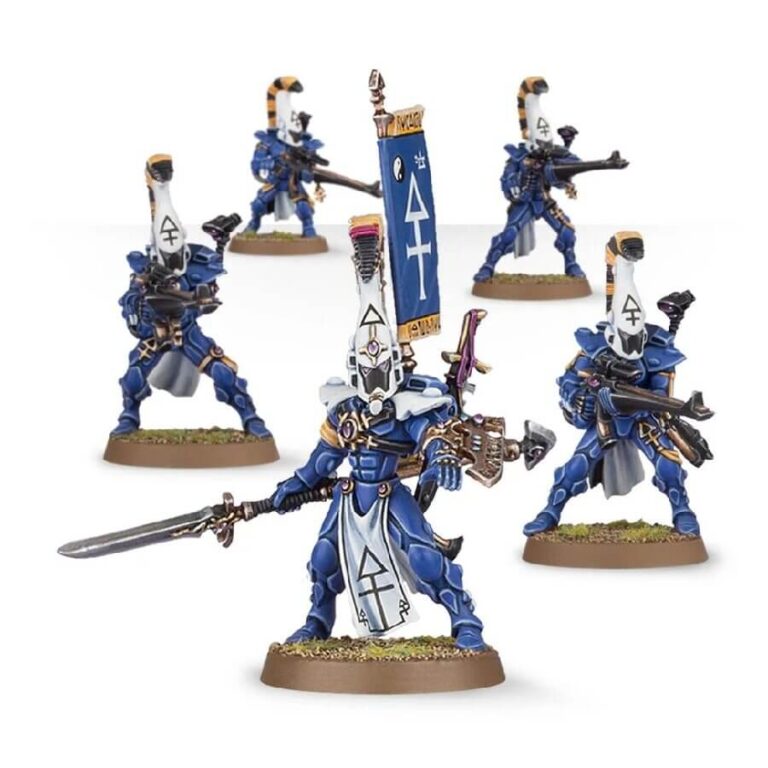
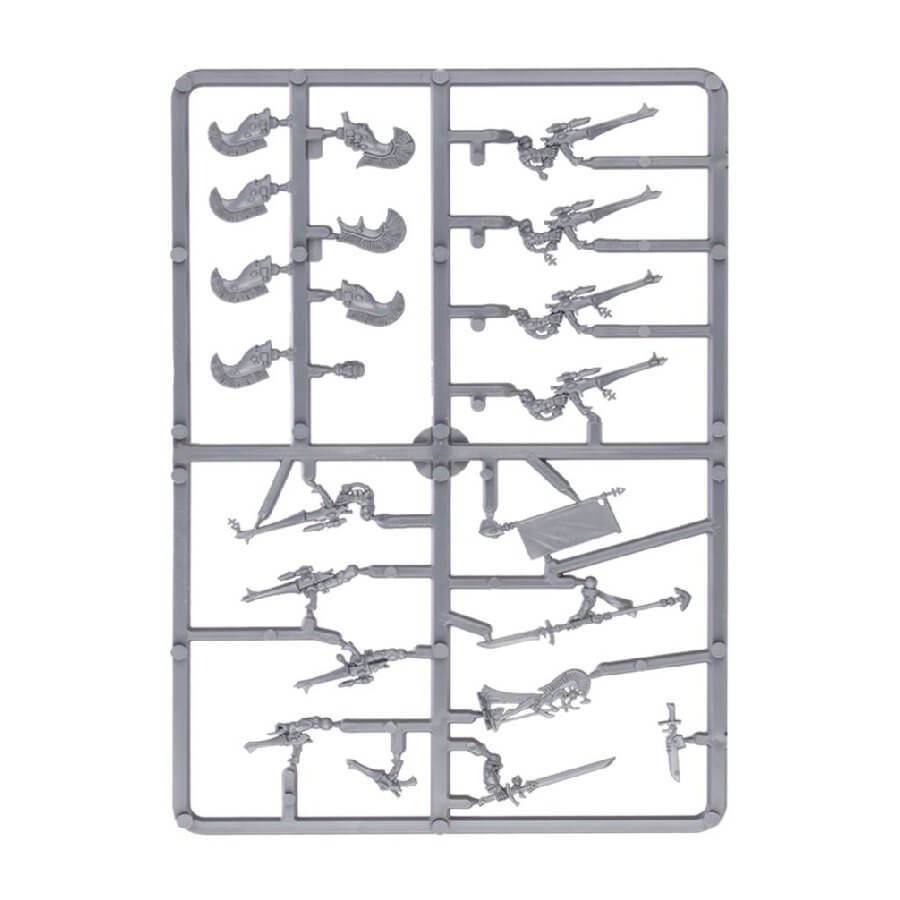
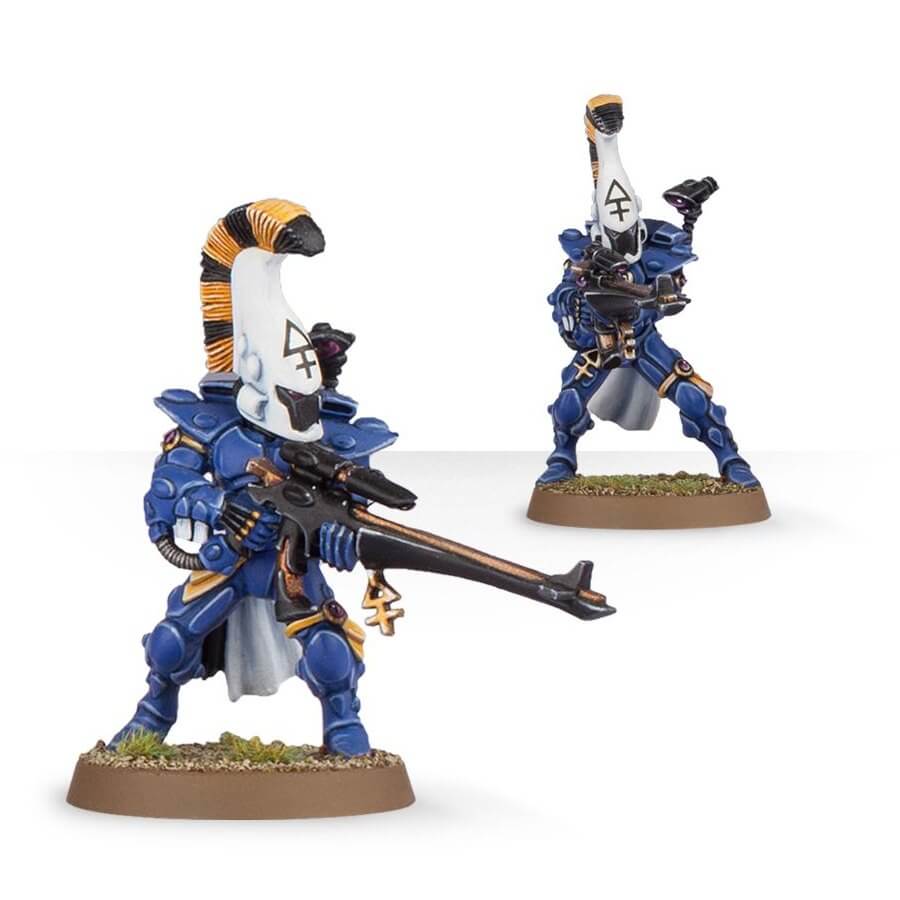
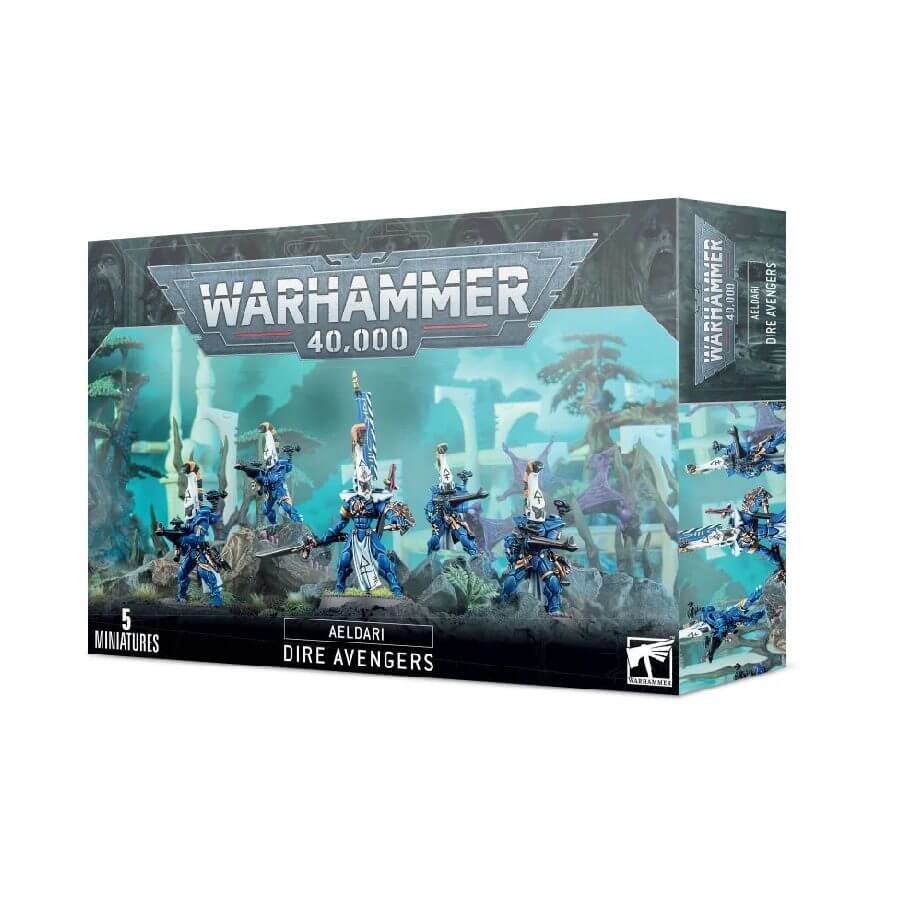
This kit features 5 Aeldari Dire Avengers equipped with Avenger shuriken catapults, accompanied by additional parts for individual ammunition pouches. The set also offers customization options for an Exarch, who can wield a variety of weapons such as shuriken catapults, direswords, shuriken pistols, power weapons, and shimmershields. Additionally, you can choose from two Exarch heads, one helmeted and the other bare, along with an optional back banner that distinguishes the unit’s leader. Notably, the frame includes a small statue of Asurmen, further symbolizing their revered legacy.
What’s in the Dire Avengers box
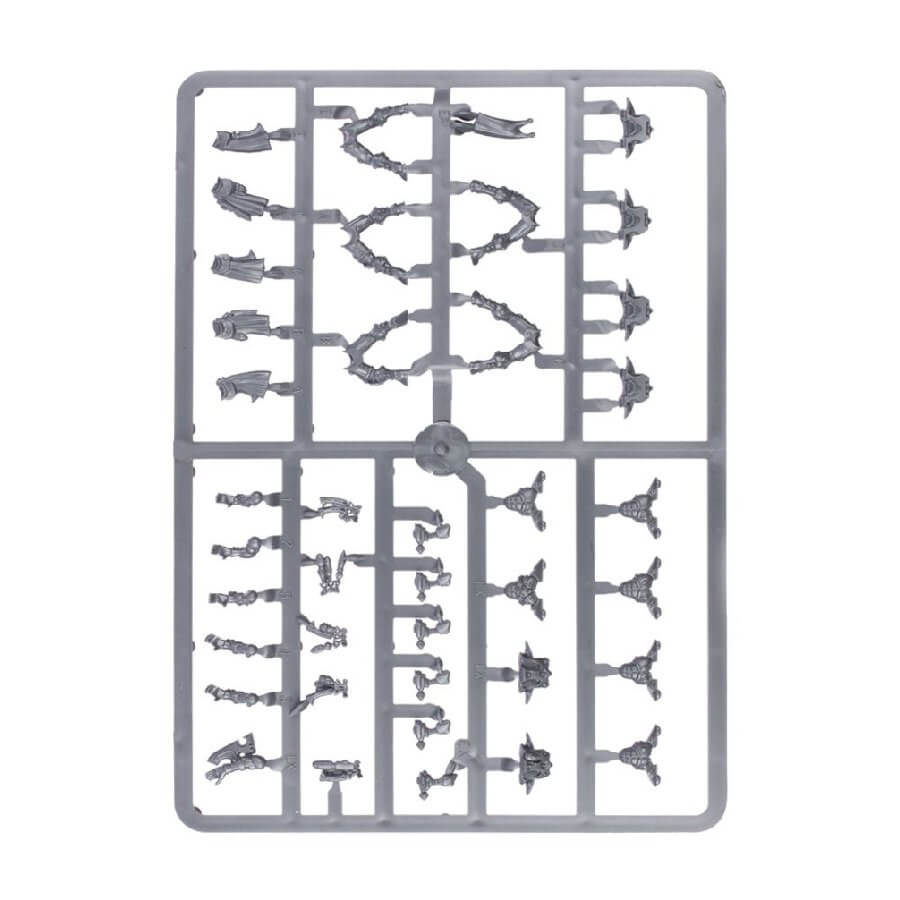
- x42 plastic components with which to make 5 Aeldari Dire Avengers, or 4 Dire Avengers and 1 Dire Avenger Exarch.
- x1 Aeldari Transfer Sheet
- x5 Citadel 28mm Round Bases
How to paint the Dire Avengers set
- Step 1: Prime Your Model
Apply a thin, even coat of black primer to your Dire Avengers. This will provide a solid base for the subsequent layers of paint. - Step 2: Basecoat the Armor
Using a brush, apply a basecoat of a blue color, such as Ultramarine Blue, to the armor of the Dire Avengers. Ensure that the entire surface is covered evenly. - Step 3: Highlight the Armor
Select a lighter shade of blue, like Calgar Blue, and use a smaller brush to highlight the raised areas of the armor. This will add depth and dimension to the model. - Step 4: Paint the Details
Use a fine-tipped brush to paint the smaller details of the Dire Avengers, such as the gemstones and insignia. For example, you can use colors like Screamer Pink for the gemstones and Retributor Armor for the insignia. - Step 5: Paint the Weapons
Choose a metallic color, such as Runelord Brass, for the weapons of the Dire Avengers. Paint the blades and gun barrels carefully, ensuring a clean and even application. - Step 6: Highlight the Weapons
Using a lighter metallic shade, such as Liberator Gold, highlight the edges and raised areas of the weapons. This will give them a shiny and realistic appearance. - Step 7: Paint the Exarch Details
If you have an Exarch in your set, paint the additional details on their weapon and equipment. For example, you can use colors like Wraithbone for the diresword and Kantor Blue for the shimmershield. - Step 8: Add Final Touches
Paint the eyes of the Dire Avengers using a bright color like Mephiston Red to make them stand out. Additionally, you can add any desired additional details, such as freehand designs or squad markings, to personalize your models. - Step 9: Base the Models
Consider adding texture to the bases of your Dire Avengers to enhance their appearance. You can use texture paints or other materials to create a realistic base. For example, you can use Martian Ironearth texture paint and drybrush it with a lighter brown color for a desert-themed base. - Step 10: Varnish the Models
To protect your painted models, apply a layer of varnish. Choose a finish that you prefer, such as matte or gloss, and follow the instructions on the varnish can for proper application.
