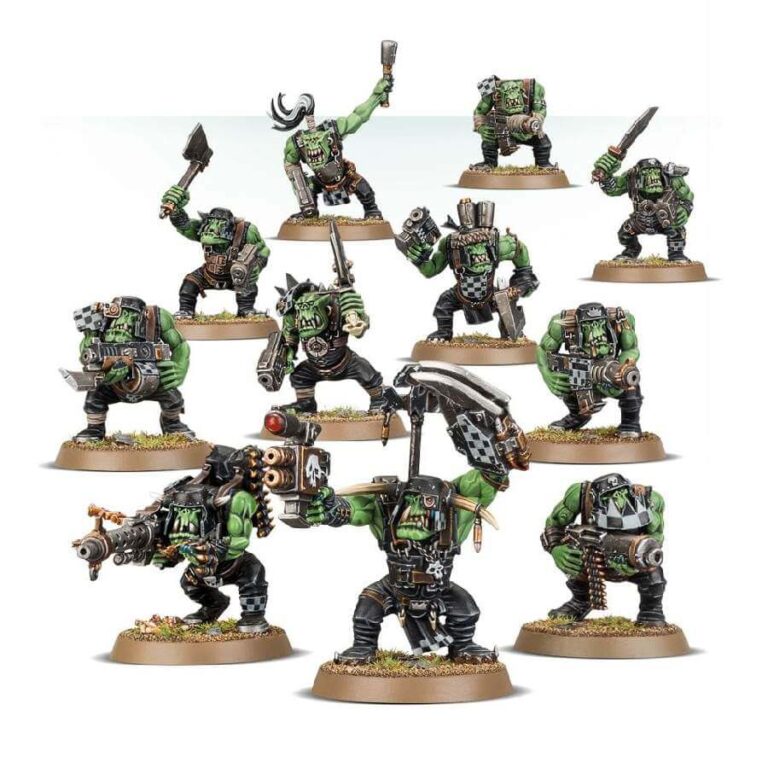
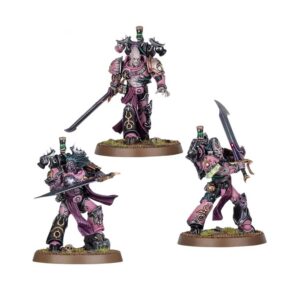
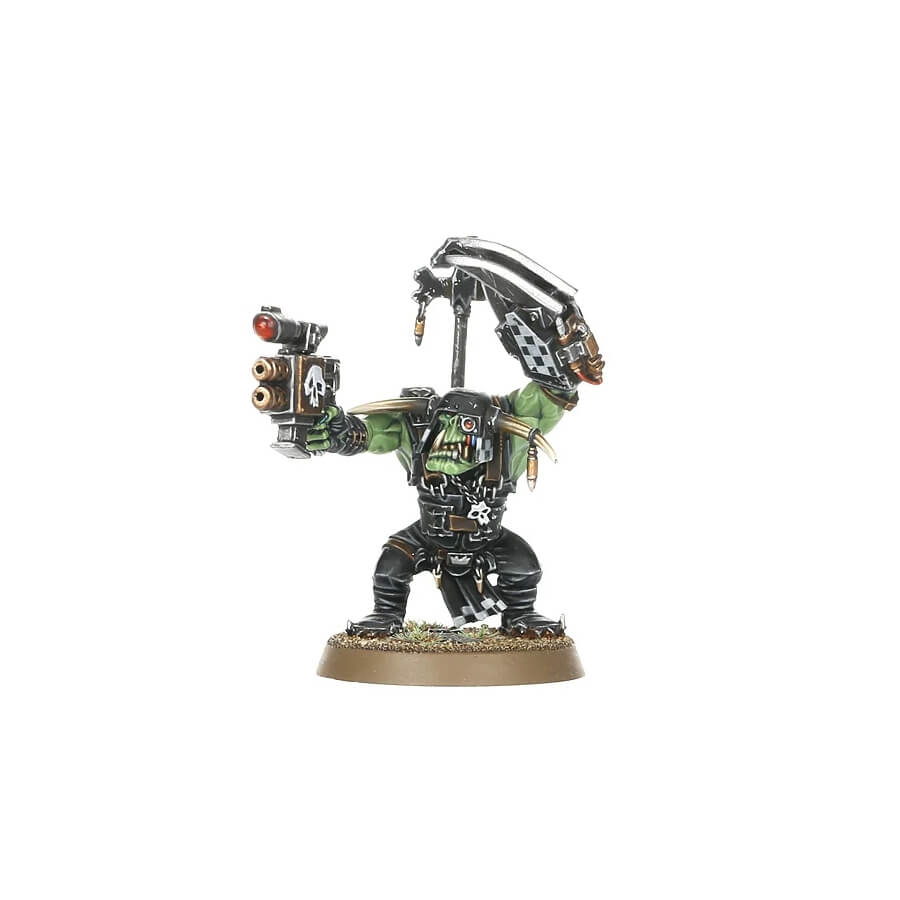
Prepare for a green tide! Ork Boyz are the backbone of an Ork army, representing the rank and file soldiers. These tough and determined fighters unleash waves of howling violence upon their enemies. Armed with their heavy sluggas and brutal choppas, they blast and chop their way through the opposition with relentless fury.
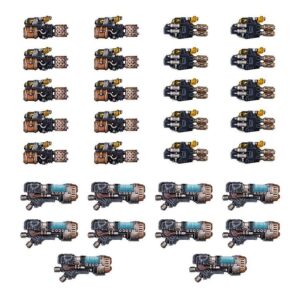
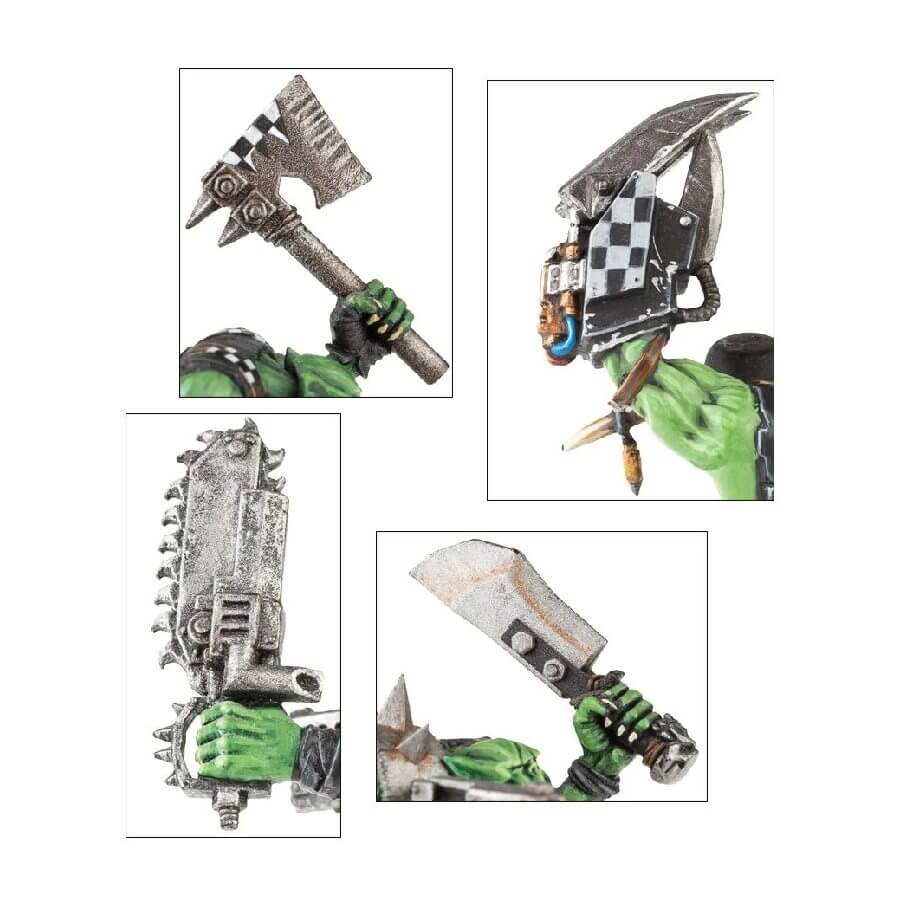
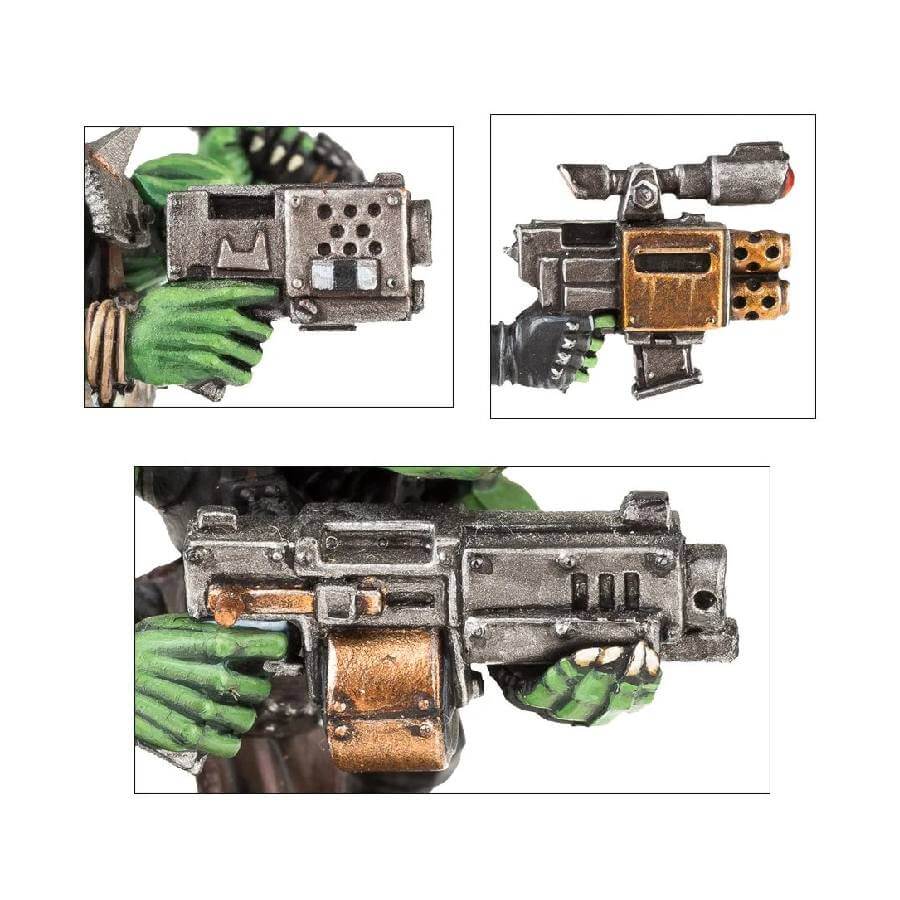
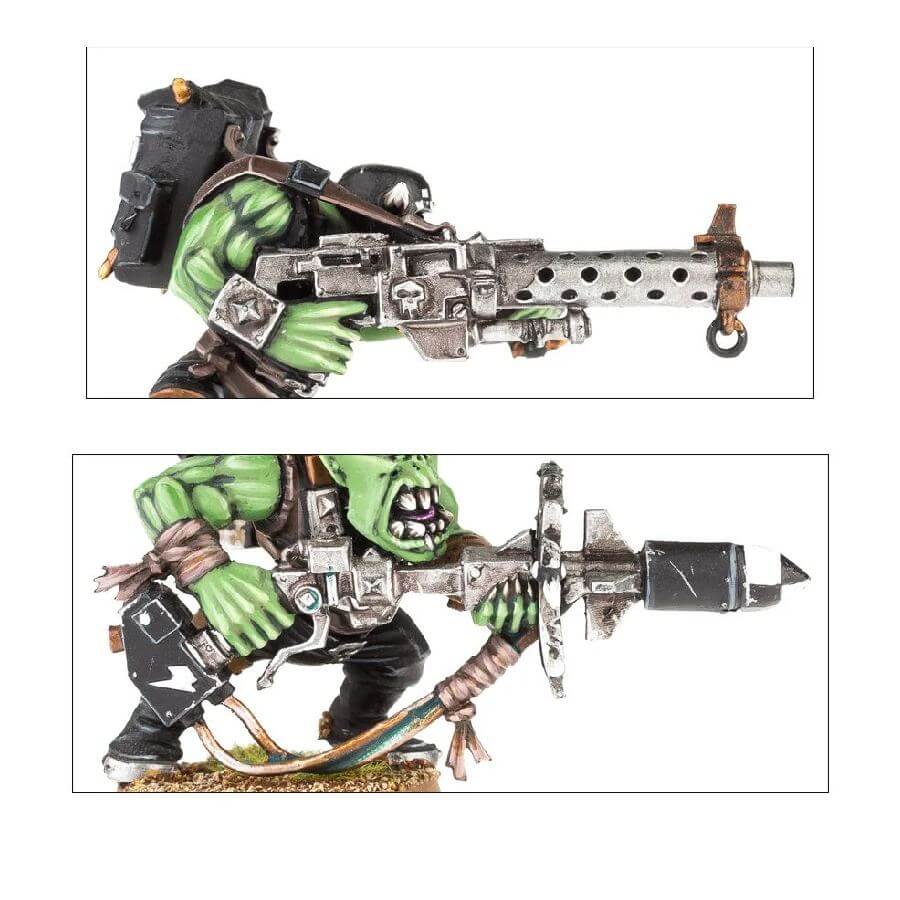
Inside this boxed set, you’ll find 11 multi-part plastic Ork Boyz, offering a variety of customization options. Equip your Boyz with sluggas for up-close carnage, choppas for brutal melee encounters, or shootas for raining bullets upon your foes. Additionally, you can add heavy weapons for added firepower or stikk bombz to bring explosive surprises to the battlefield.
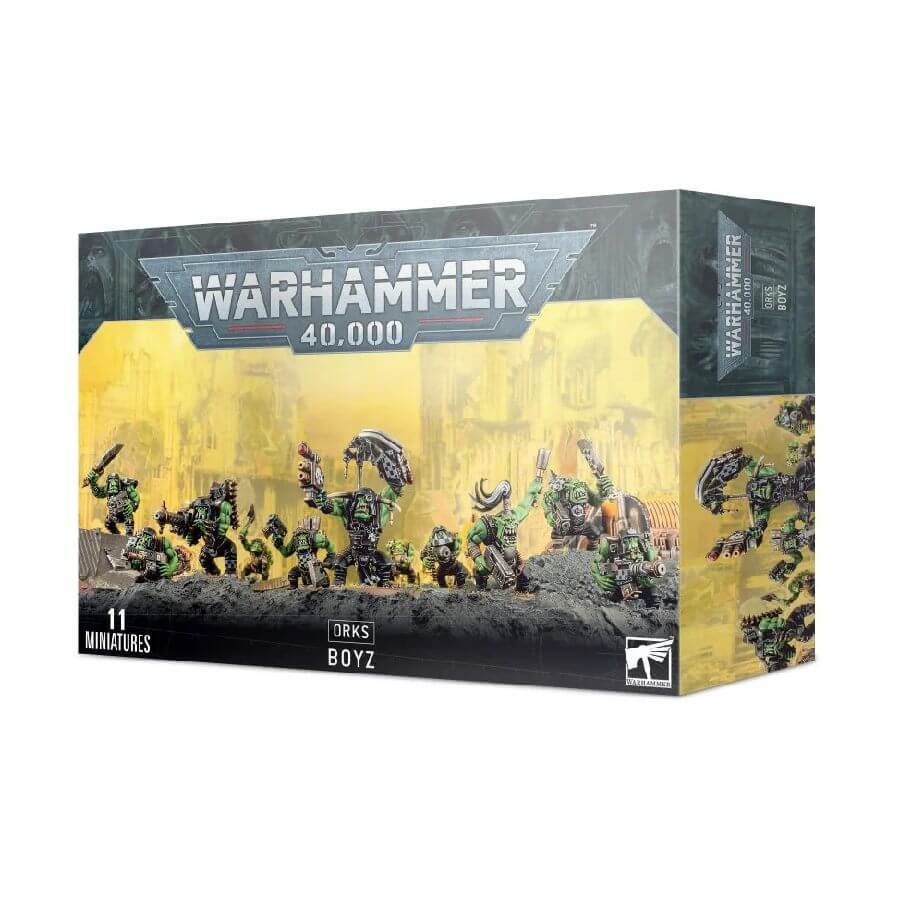
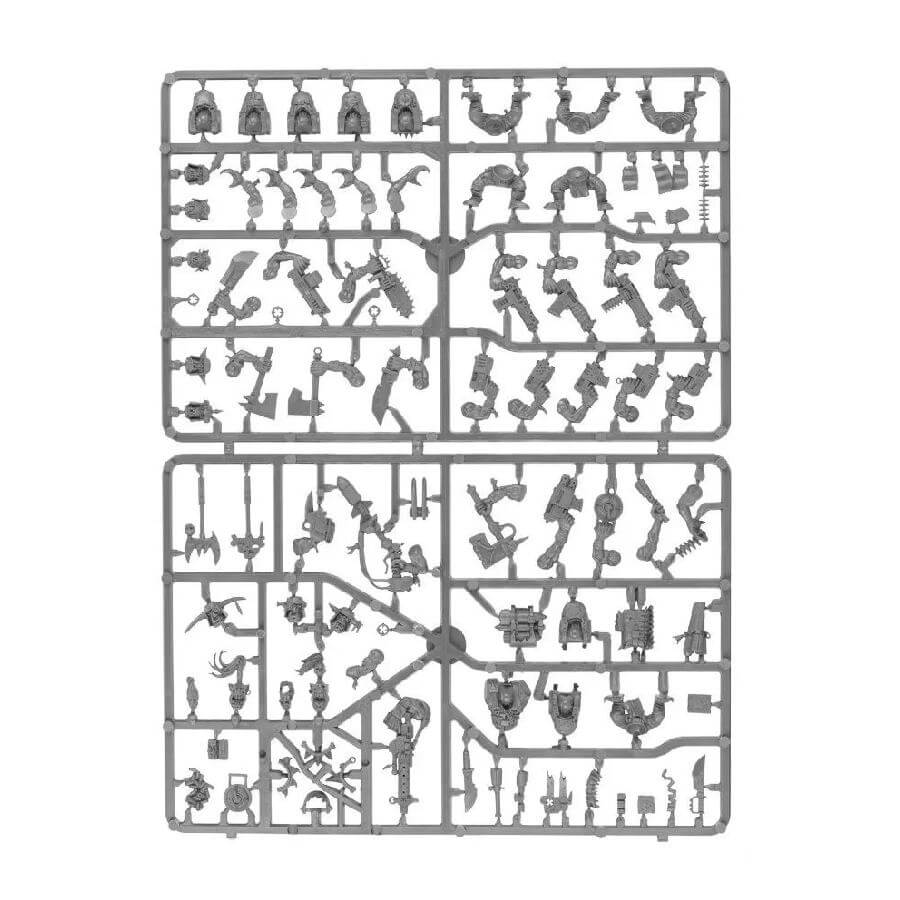
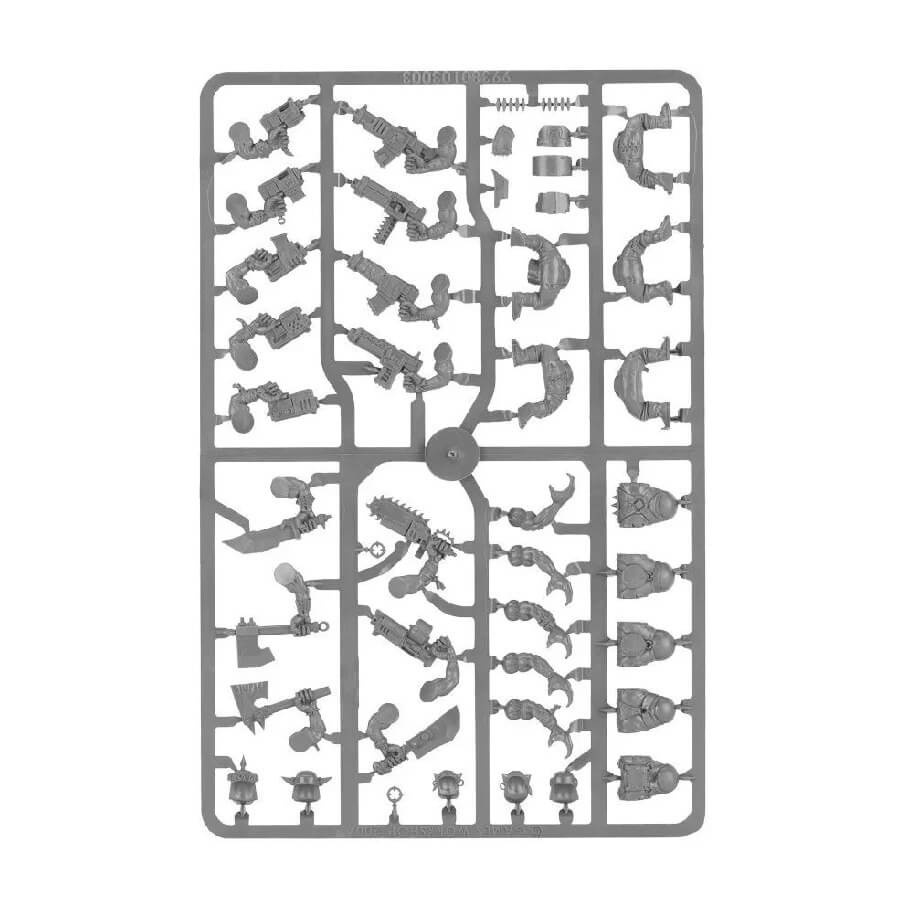
What’s in the Ork Boyz box
- x132 plastic components that make 8 Ork Boyz.
- x8 Citadel 32mm round bases.
How to paint the Ork Boyz set
- Step 1: Prime Your Models
Start by applying a thin, even coat of black primer to your Ork Boyz models. This will provide a solid base for the subsequent layers of paint. - Step 2: Basecoat the Skin
Using a medium-sized brush, apply a basecoat of green paint to the skin of the Ork Boyz. For example, you can use a mix of Waaagh! Flesh and Warboss Green to achieve a vibrant green color. - Step 3: Highlight the Skin
Using a smaller brush, apply a lighter shade of green to the raised areas of the skin to create highlights. For example, you can mix Skarsnik Green with a touch of White Scar to achieve a suitable highlight color. - Step 4: Paint the Clothing
Choose a color for the Ork Boyz’ clothing and apply it using a medium-sized brush. For example, you can use a mix of Mephiston Red and Evil Sunz Scarlet for a vibrant red color. - Step 5: Detail the Clothing
Using a fine-tipped brush, add details to the clothing, such as patches, patterns, or stripes, using a different color or shade. For example, you can use a mix of Khorne Red and Wild Rider Red to create contrast and variation. - Step 6: Paint the Weapons
Choose a suitable color for the weapons, such as a metallic shade for the blades or a darker color for the gun casing. For example, you can use Leadbelcher for metallic parts and Abaddon Black for gun casings. - Step 7: Highlight the Weapons
Using a smaller brush, apply a lighter shade of the chosen color to the edges and raised areas of the weapons. For metallic parts, you can use Ironbreaker as a highlight, and for gun casings, you can use Eshin Grey. - Step 8: Add Details and Accessories
Paint any additional details on the Ork Boyz, such as belts, pouches, or accessories, using suitable colors. For example, you can use Balthasar Gold for belt buckles and straps, and XV-88 for leather accessories. - Step 9: Apply Washes
Apply a wash like Nuln Oil to the recessed areas of the model, such as the folds of clothing or the crevices of the weapons. This will add depth and shading to the model. - Step 10: Fine-tune and Highlight
Using a small brush, touch up any areas that require refinement or correction. Add additional highlights to bring out the details, such as using Flash Gitz Yellow to further highlight the skin or Fire Dragon Bright to add further highlights to the clothing. - Step 11: Base the Models
Consider adding texture to the bases of your Ork Boyz models to enhance their appearance. You can use texture paints or other materials to create a realistic base, such as Stirland Mud texture paint with drybrushed highlights using Baneblade Brown. - Step 12: Varnish for Protection
To protect your painted models, apply a layer of varnish using a suitable varnish product. Choose between matte or gloss varnish based on your preference. This will help preserve the paintwork and provide a protective layer.
