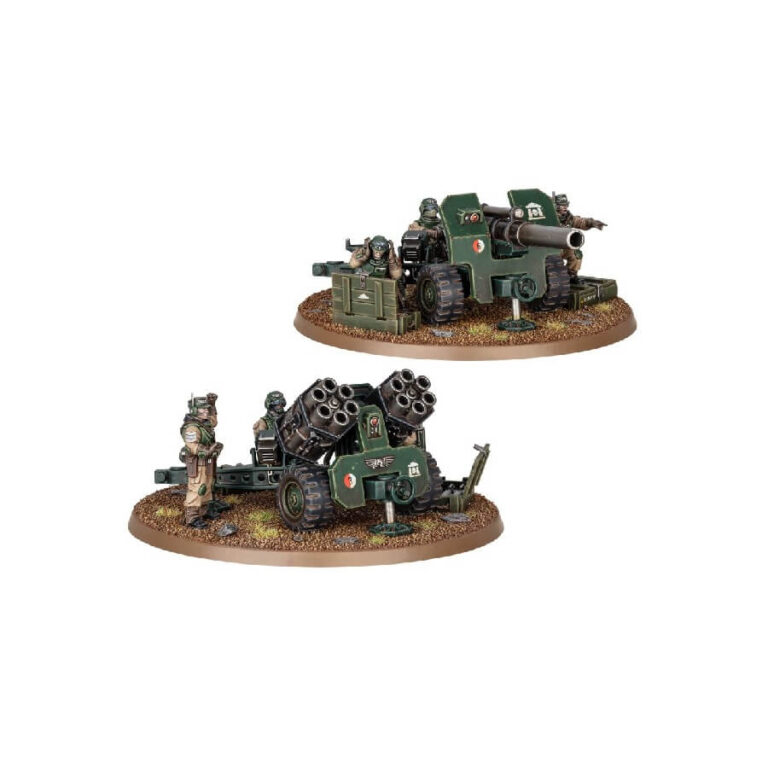
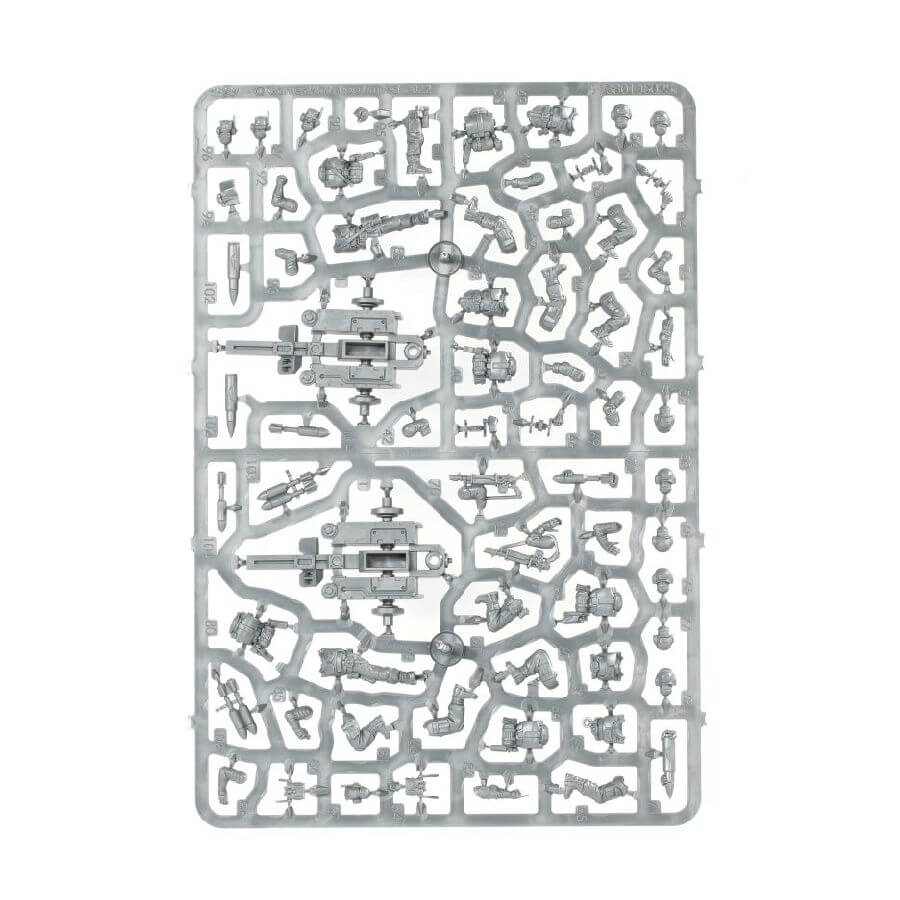
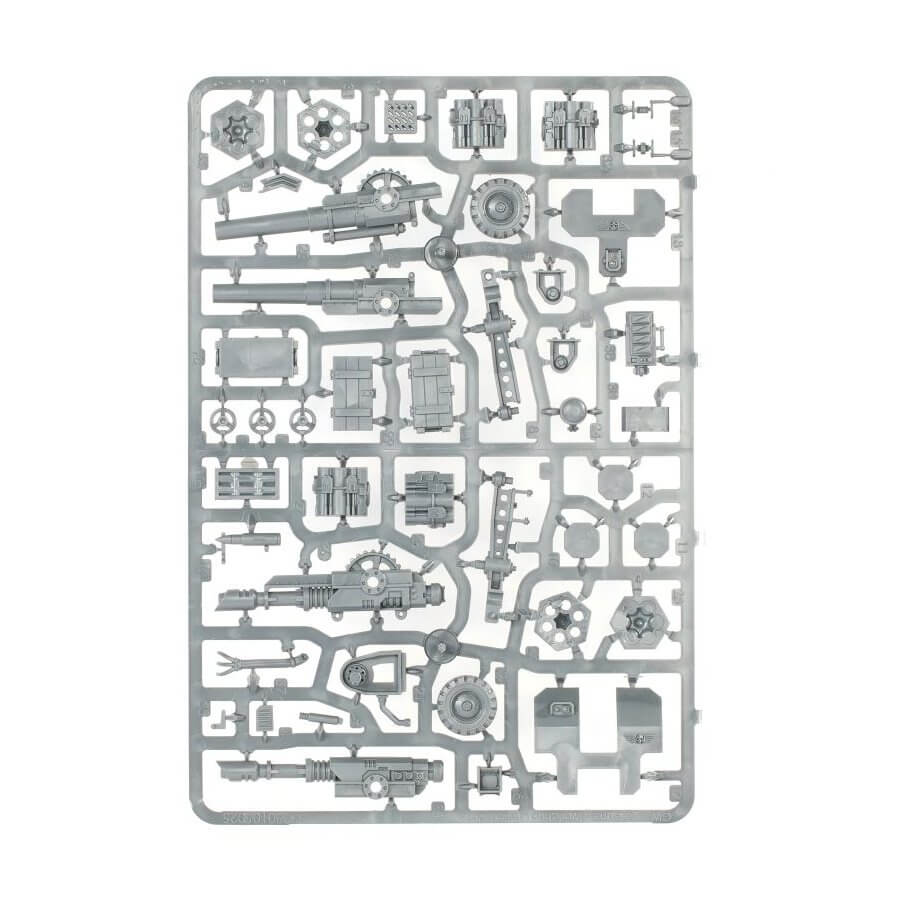
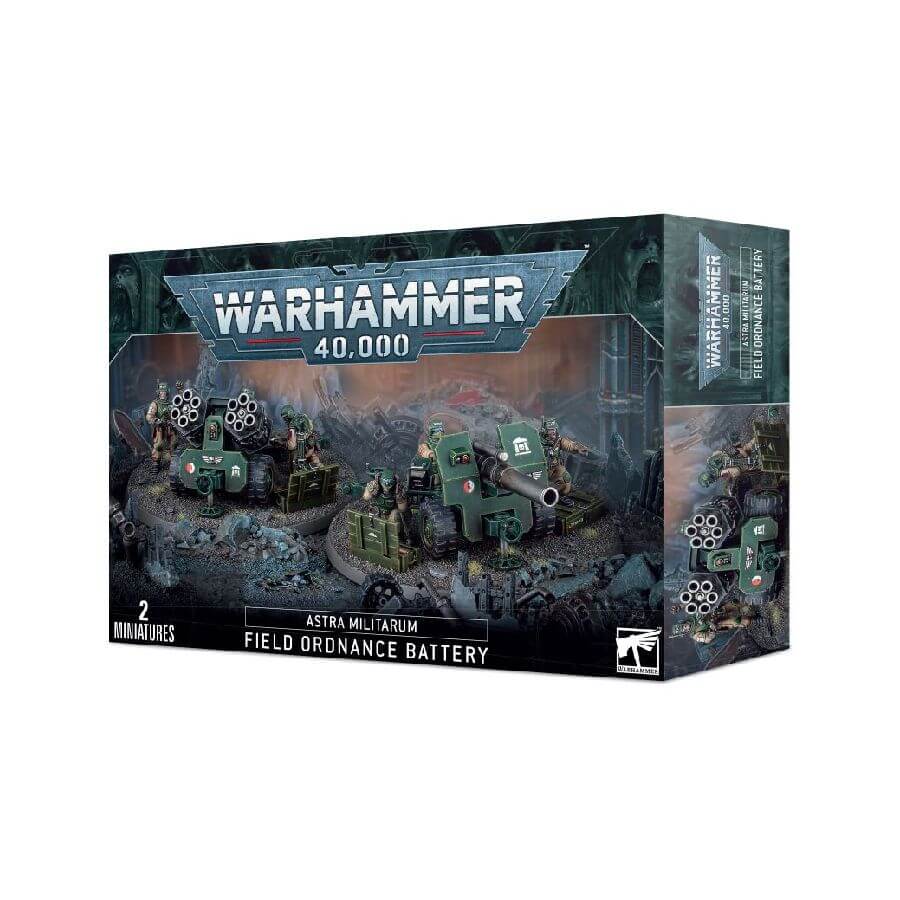
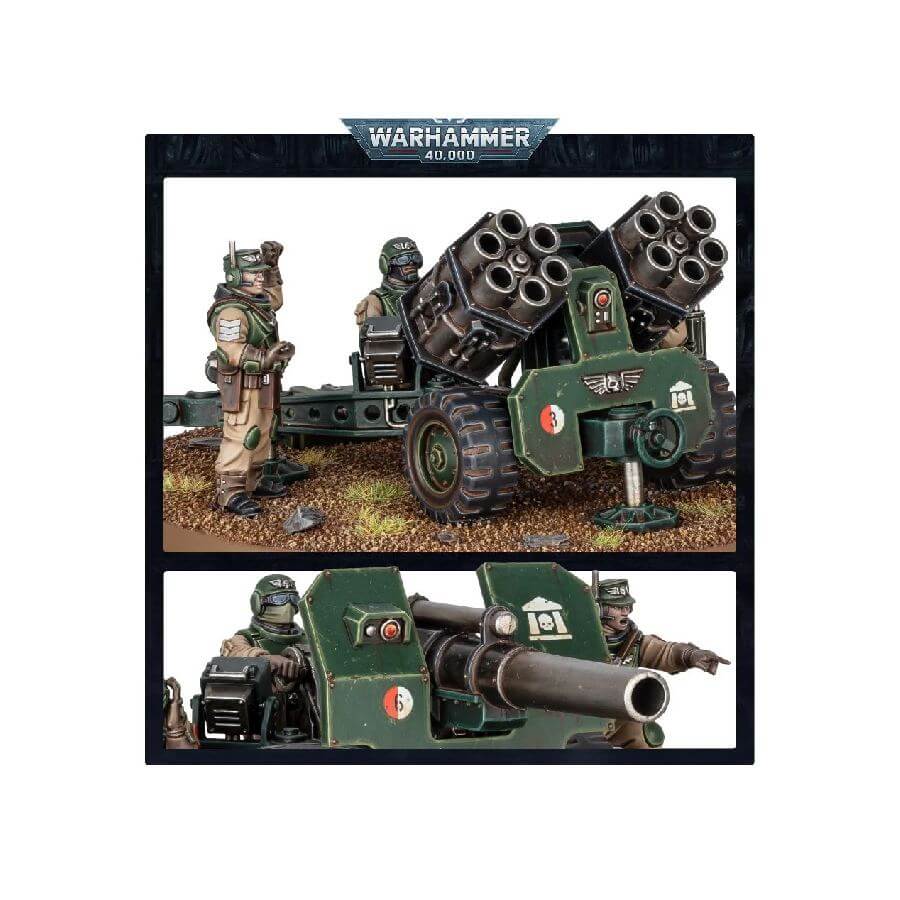
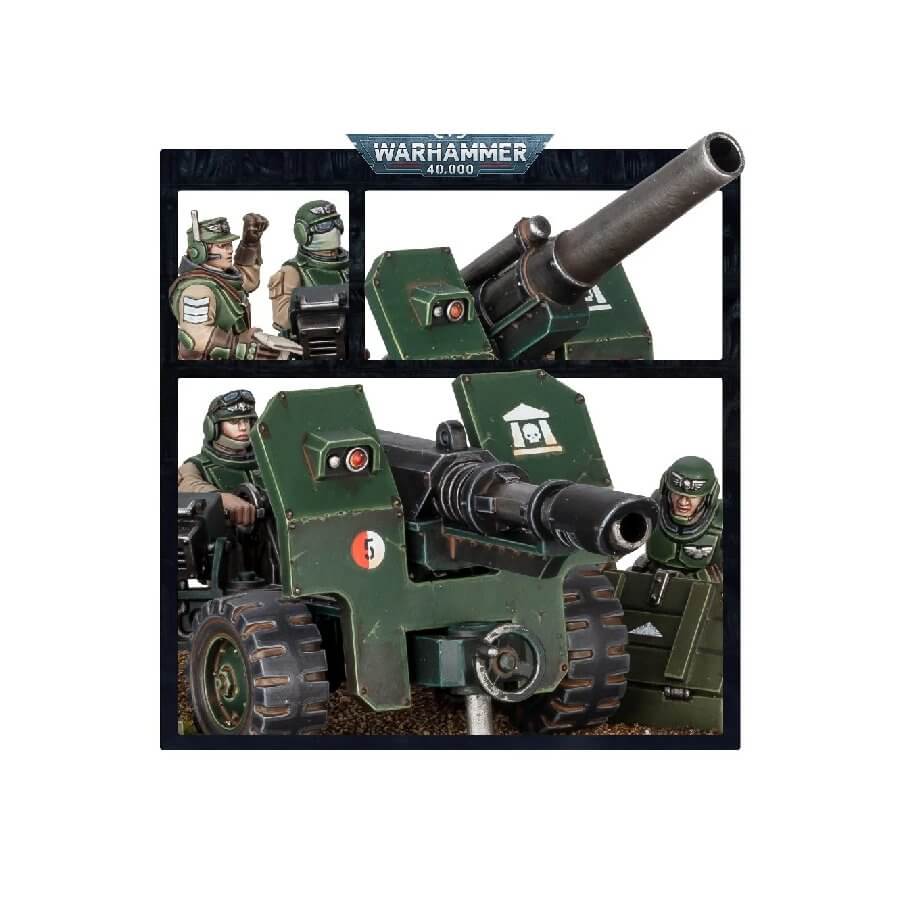
With this multipart plastic kit, you can construct two Ordnance Teams, forming a formidable Astra Militarum Field Ordnance Battery. Each team consists of a skilled gunner, supported by two spotters or loaders. You have the freedom to choose your preferred heavy gun option: the wide-saturation malleus rocket launcher, the indirect-firing bombast field gun, or the vehicle-crushing heavy lascannon. In addition, the spotters and loaders are armed with lasguns and frag grenades for added versatility.
Let your creativity shine as you customize the crew members. The kit offers an array of cosmetic options, including twelve different heads, a variety of arms, ammunition, poses, and accessories. You can even assemble the kit to depict the ordnance being stowed, without a gunner seated.
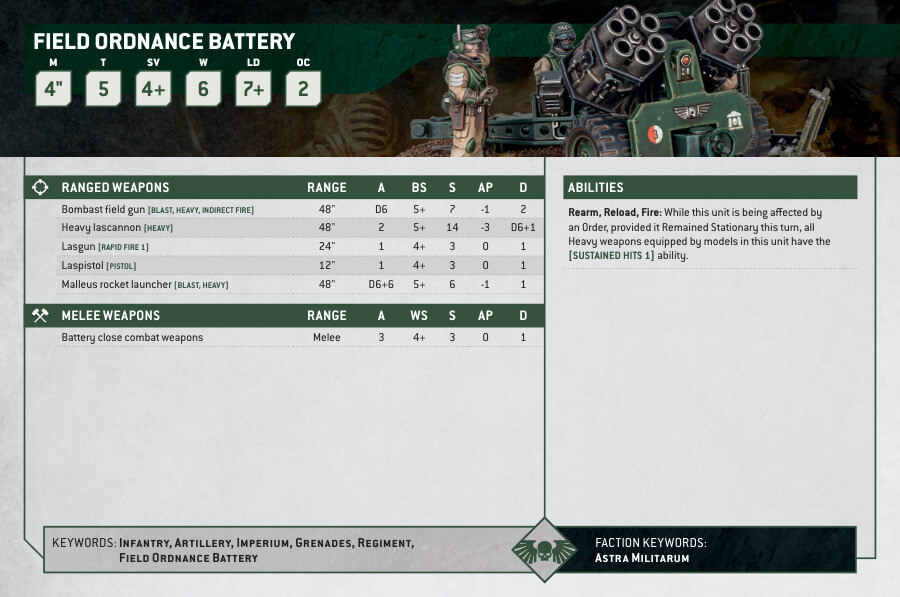
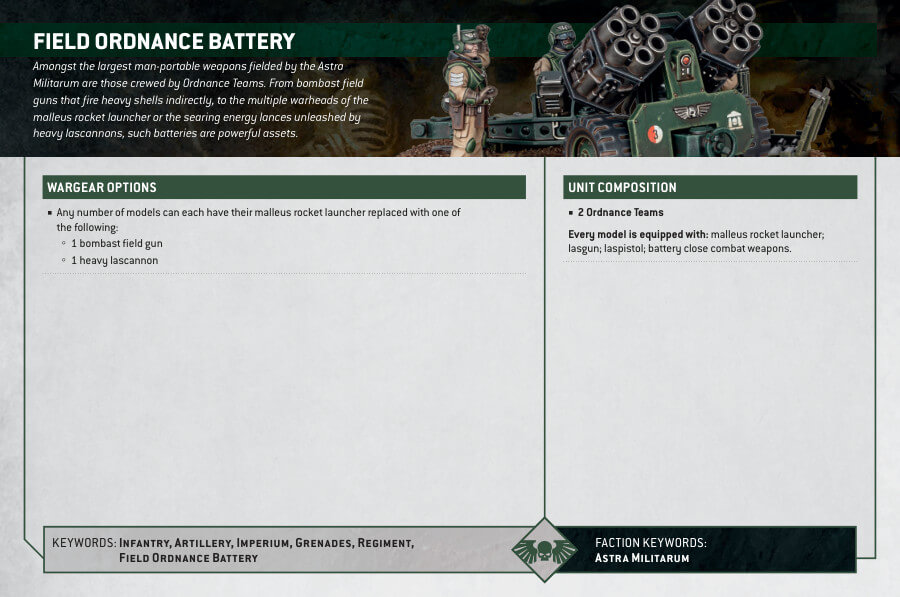
Field Ordnance Battery Datasheets
What’s in the Field Ordnance Battery box
- x154 plastic components
- x2 Citadel 100mm Round Bases
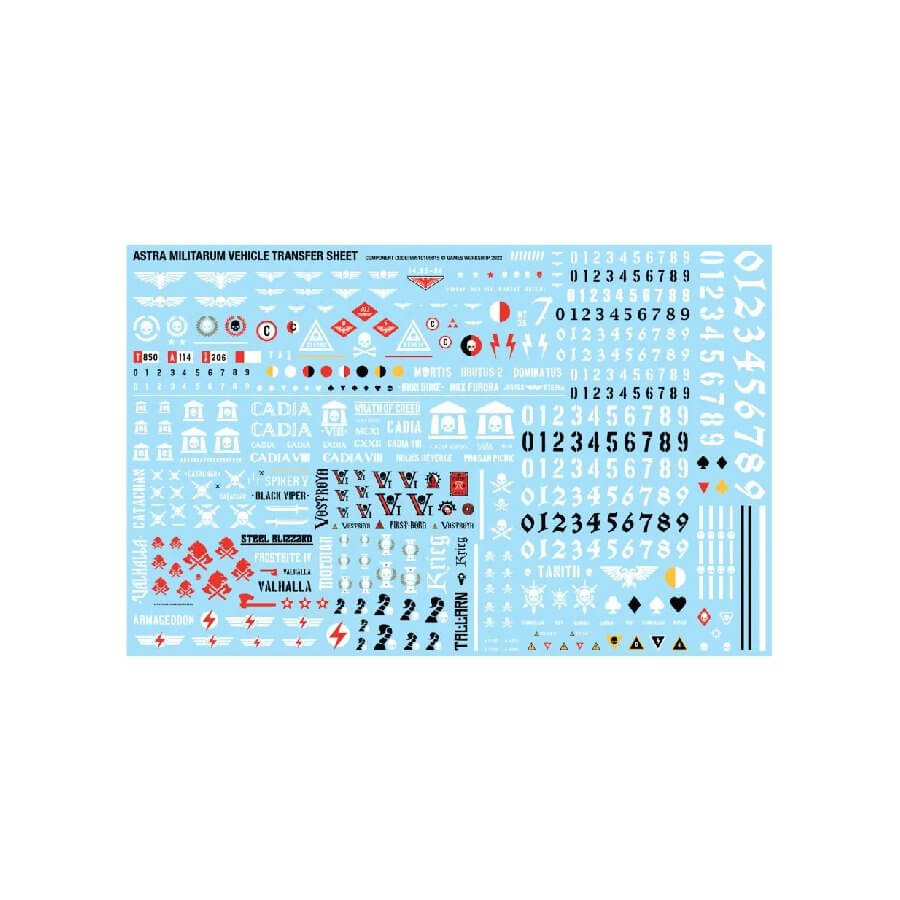
- x1 Astra Militarum Vehicle Transfer Sheet, with 475 transfers featuring numerals, sigils, and a variety of regimental heraldry.
How to paint the Field Ordnance Battery Set
- Step 1: Prepare Your Workspace
Set up a clean and well-lit workspace with enough room for your painting supplies. Make sure you have all the necessary tools and paints ready before you begin. - Step 2: Prime the Models
Using Chaos Black or White Scar paint, apply a thin and even layer to the Field Ordnance Battery models. Priming helps the subsequent layers of paint adhere better. Let it dry completely. - Step 3: Basecoat the Models
Choose your desired base color for the vehicles and crew, such as Mechanicus Standard Grey or Death Guard Green. Dilute the paint slightly with water and apply an even coat to the models using a medium-sized brush. Ensure full coverage, allowing the base color to shine through. Let it dry completely. - Step 4: Apply Wash for Depth
Select a wash color that complements the base color, such as Nuln Oil or Agrax Earthshade. Using a small detail brush, apply the wash to the recessed areas, crevices, and panel lines of the models. This will create shadows and add depth. Let it dry completely. - Step 5: Highlight the Models
Choose a lighter shade of the base color or a contrasting color for highlighting, such as Administratum Grey or Straken Green. Load a medium-sized brush with the paint and gently apply it to the raised edges and surfaces of the models. This technique will bring out the details and add dimension. Be careful and build up the highlights gradually. - Step 6: Detailing
Now it’s time to add smaller details to enhance the models appearance. Use smaller brushes and different colors, like Leadbelcher for metallic parts or Mephiston Red for markings. Take your time and be precise while applying these details. Use a steady hand and practice control over your brushes. - Step 7: Weathering (optional)
For a weathered and battle-worn look, consider adding weathering effects like drybrushing with Ryza Rust or stippling with Stirland Mud. This can give the models a more realistic and textured appearance. - Step 8: Finishing Touches
Once you’re satisfied with the main paint job, add some final touches to make the models stand out. For example, you can use Moot Green for highlighting lenses or Balthasar Gold for decorative elements. Be creative and add any additional details you desire to make the models unique. - Step 9: Varnish the Models (optional)
To protect your hard work, consider applying a layer of varnish over the painted models. This will help prevent the paint from chipping and give them a finished look. Choose between matte, satin, or gloss varnish, depending on the desired effect. Follow the instructions on the varnish bottle for the best results.