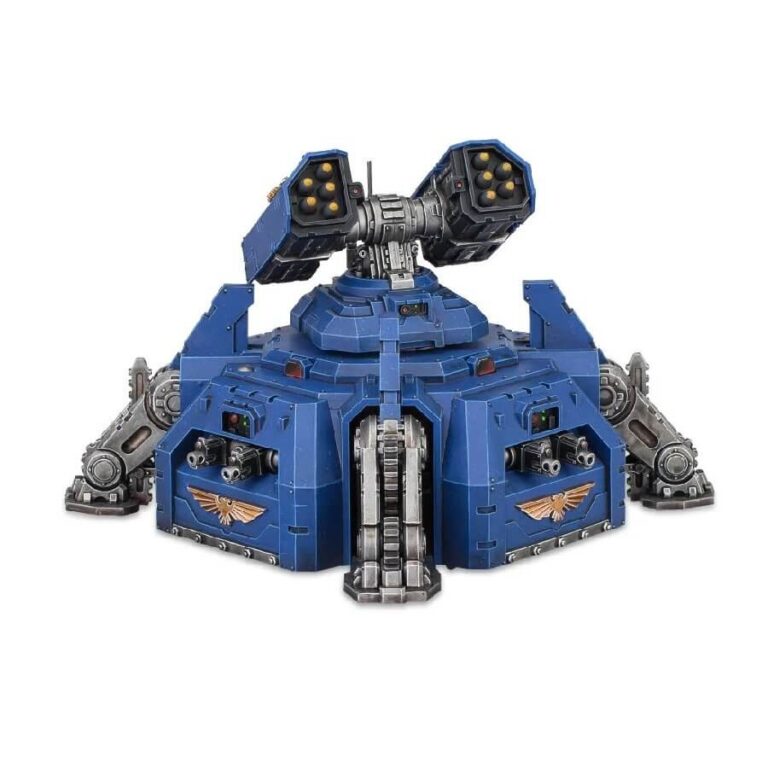
The Hammerfall Bunker is a formidable weapon in the Space Marine arsenal, capable of being launched from warships just like Drop Pods. Once deployed, these automated area-denial assets, manned by servitors, can take on multiple battlefield roles such as securing beachheads, disrupting enemy assaults, and causing chaos behind enemy lines.
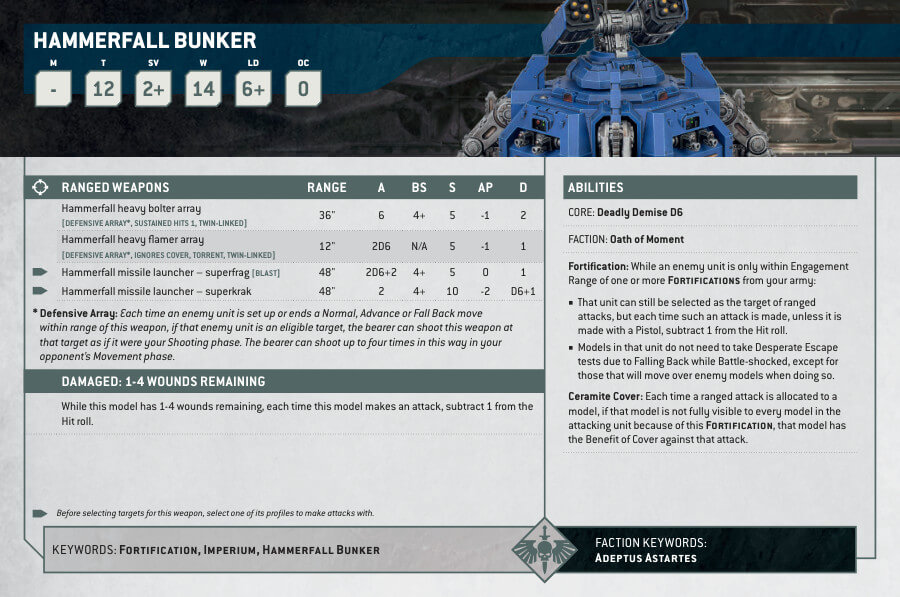
With the Hammerfall Bunker, your Space Marine army gains unparalleled firepower precisely where you need it. The bunker is equipped with a Hammerfall missile launcher, as well as a heavy flamer or heavy bolter array, giving you the ability to inflict significant damage on any nearby enemies, regardless of their direction of approach.
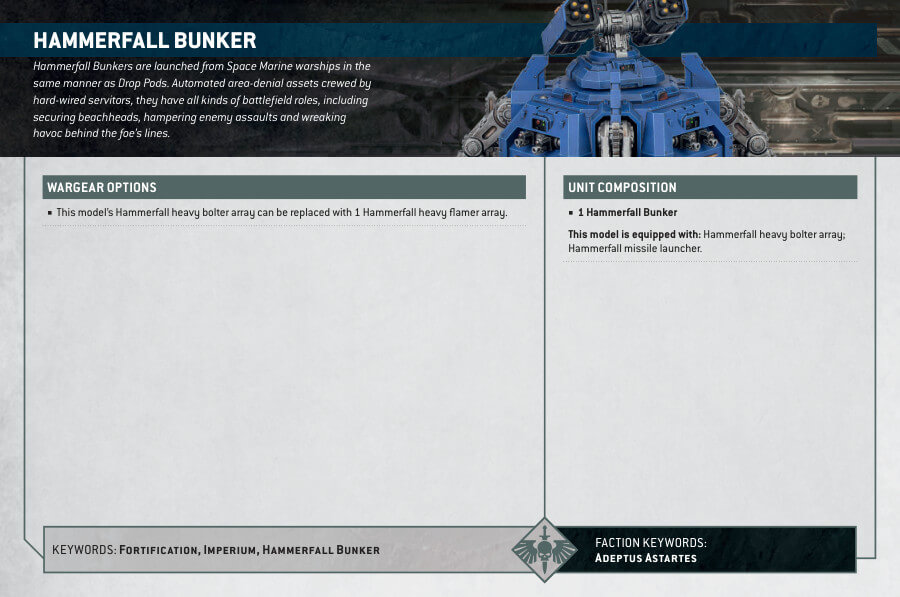
Hammerfall Bunker Datasheets
What’s in the Hammerfall Bunker box
x64 plastic components that make one Hammerfall Bunker model.
How to paint the Hammerfall Bunker set
- Step 1: Basecoat
Start by applying Macragge Blue to the main body and armour panels, Leadbelcher to the metallic components like the stabilisers and Abaddon Black to the missle launcher. Ensure an even and thorough application, as these will be the main colors of your Hammerfall Bunker. - Step 2: Shading
To give depth and character to your bunker, use Nuln Oil to shade both the body and the metallic parts. This step will create shadows and make your bunker look more realistic, as if it has weathered countless battles. - Step 3: Layering
Now, let’s bring out the details on the body. Apply Calgar Blue, focusing on raised areas and edges. This layering technique will create highlights and add dimension to the bunker’s structure, making it stand out on the battlefield.
For the metallic components, enhance their shine by layering Stormhost Silver. Concentrate on edges and protruding details to make them gleam as if freshly manufactured. Use Eshin Grey for the missle launcher. - Step 4: Details
Turn your attention to the finer details of the bunker. Use Retributor Armour for gold elements like the Space Marine icons and Khorne Red for smaller intricate features. This step will add a touch of regal splendor to your model. You can also paint the tip of the missles with Averland Sunset. - Step 5: Shading Details
To add depth to the gold and red details, apply Reikland Fleshshade for the gold and Agrax Earthshade for the red. These shades will make the previously painted elements look more realistic and help them pop. - Step 6: Layering Details
Layer the gold areas with Auric Armour Gold and the red details with Evil Sunz Scarlet. These layers will make the gold shine and the red appear vibrant and eye-catching. - Step 7: Varnish
To protect your meticulously painted Hammerfall Bunker and keep it looking vibrant, finish with a coat of varnish. Consider using Munitorum Varnish, which will not only safeguard your work but also give it a professional finish, ready for the tabletop.

