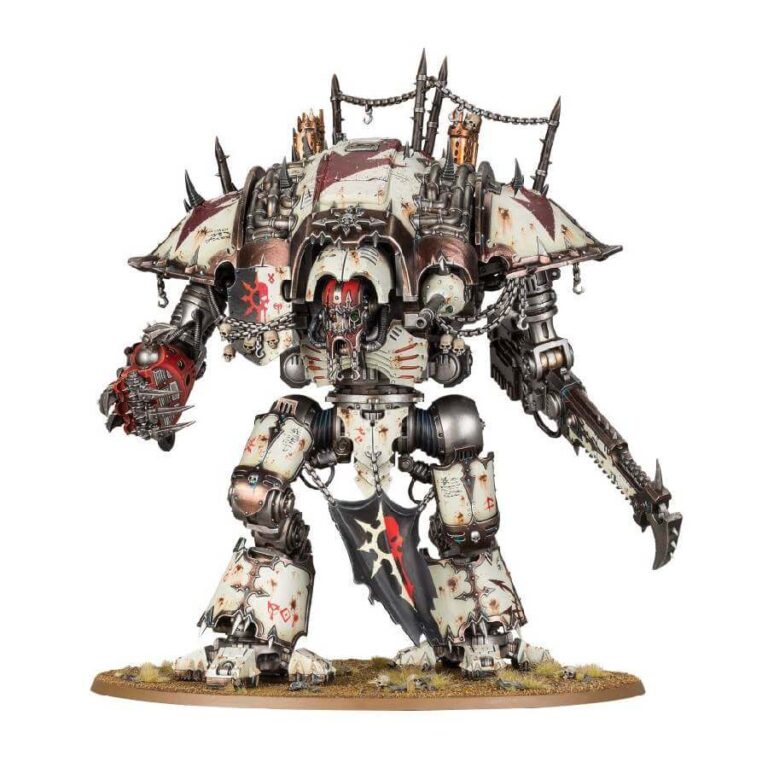
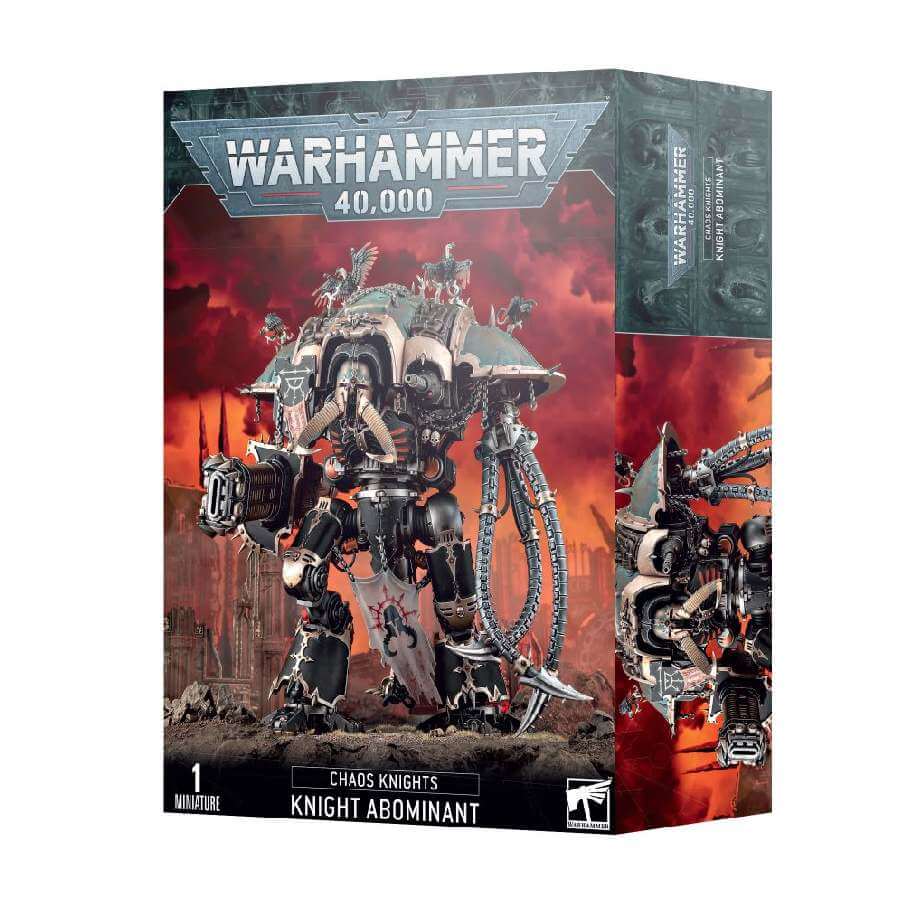
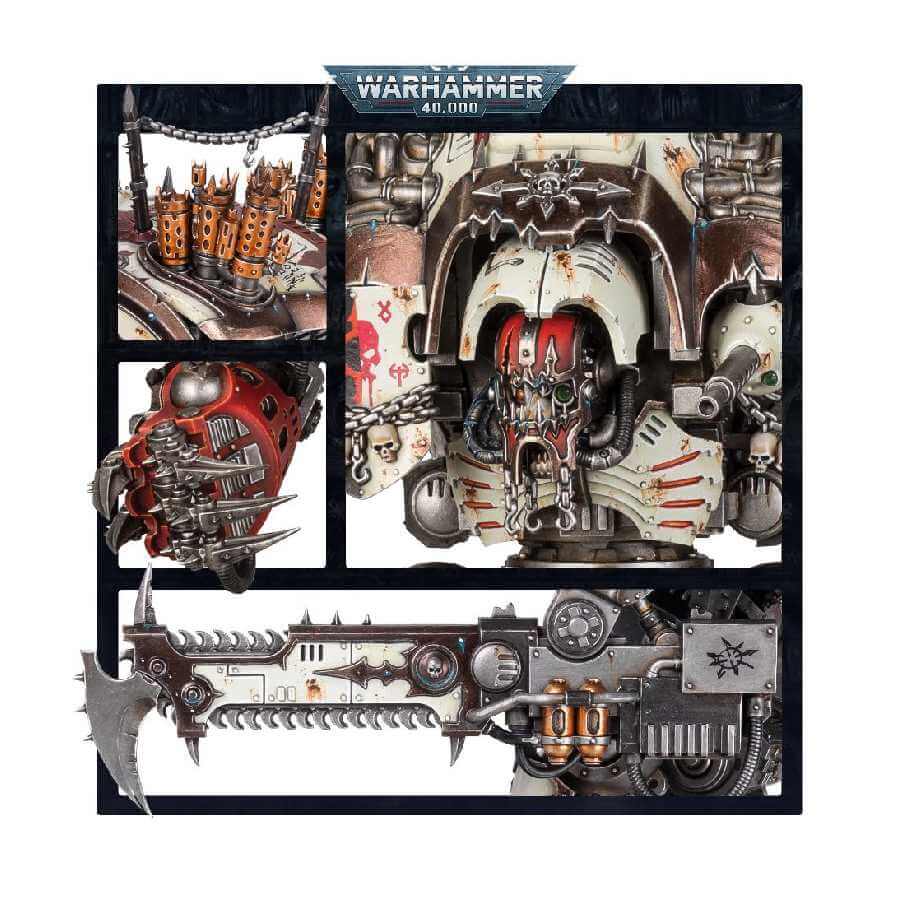
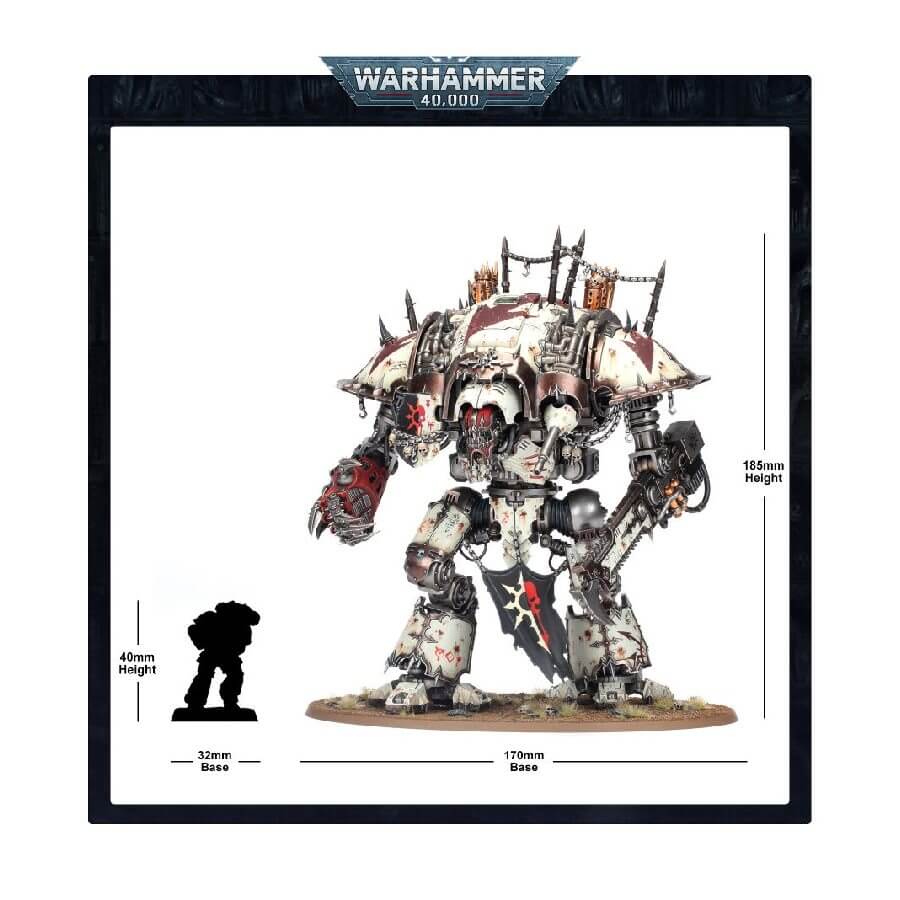
The Knight Rampager charges headlong into battle with a savage roar, embodying unbridled chaos and ferocity. This versatile plastic kit allows you to assemble a fearsome Knight Rampager, a formidable Lords of War option for your Chaos Knights army or a wandering Dreadblade for other Chaos forces. Armed with a devastating reaper chainsword and warpstrike claw, this colossal war machine unleashes unrelenting destruction in close combat. Additionally, it features a carapace-mounted diabolus heavy stubber for ranged firepower. Towering over most models on the tabletop, the Knight Rampager serves as an exceptional painting project. With an abundance of customization options, including menacing faceplates and optional chains, pipes, spikes, and horns, you can create a truly unique engine of malevolence.
What’s in the Knight Rampager box
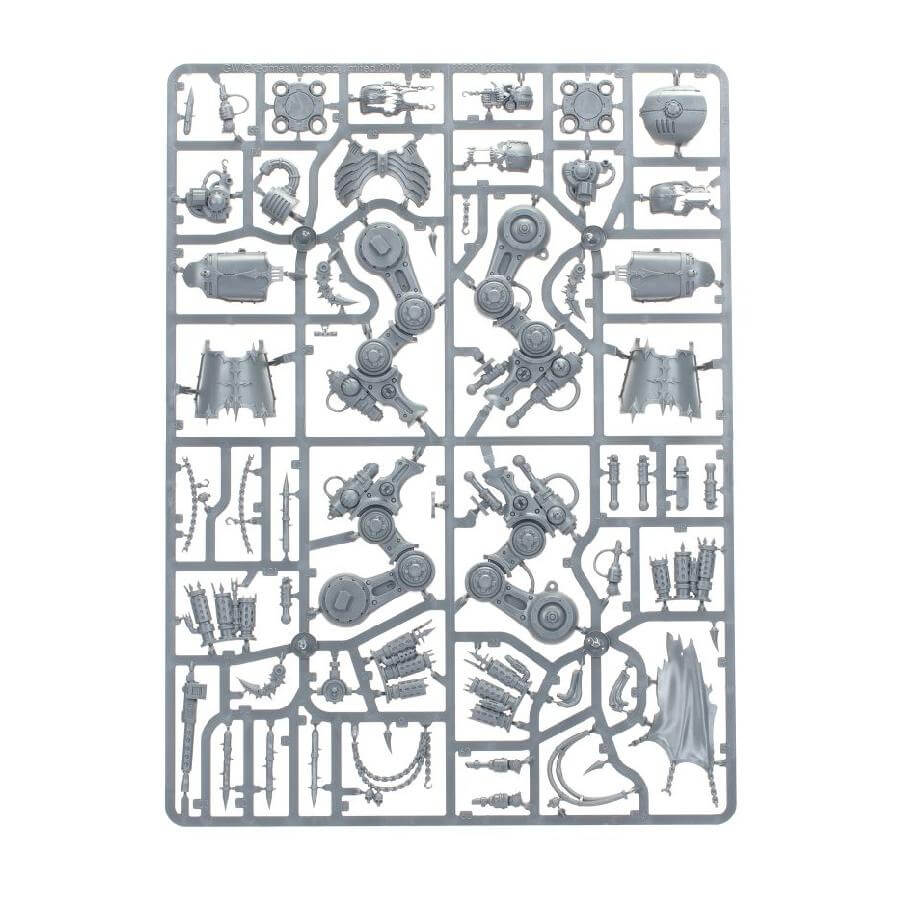
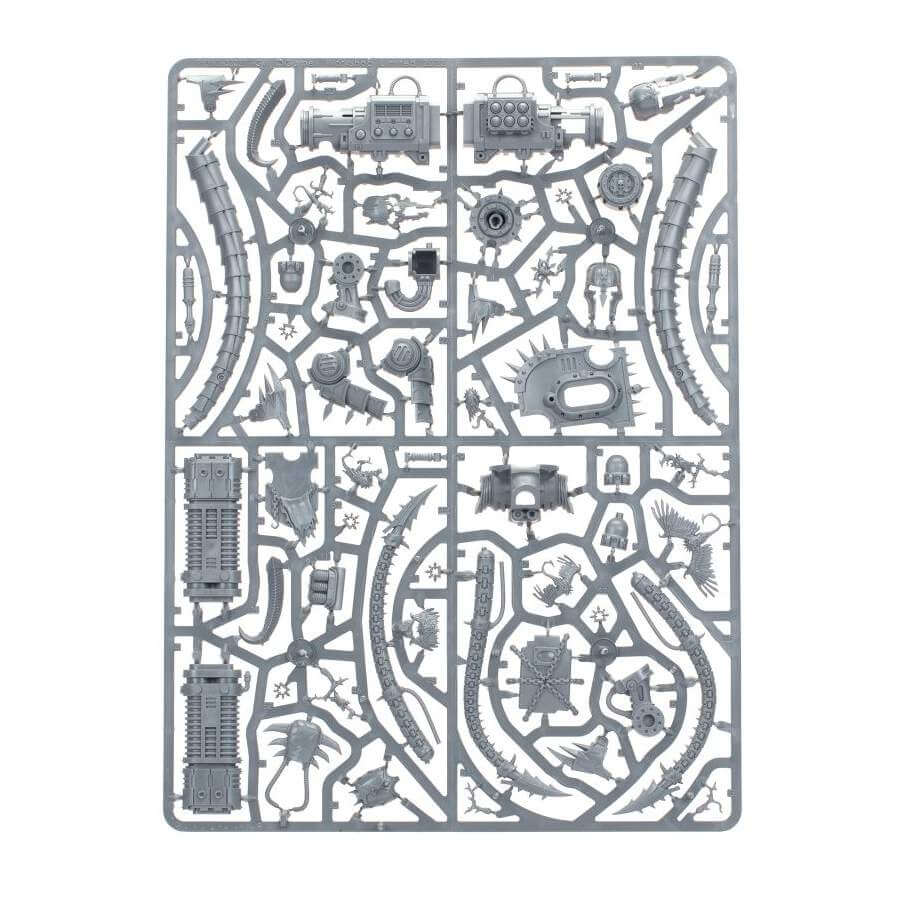
- x176 plastic components that create this Knight. This kit can also be assembled as a Knight Abominant or Knight Desecrator and any remaining weapons, faceplates, or accessories can be used as spares for your other Knight kits.
- x1 Citadel 170mm Oval Base
- x1 Chaos Knights transfer sheet featuring 339 runes, sigils, and iconography various Dread Households.
How to paint the Knight Rampager set
- Step 1: Base Coat
Apply a base coat of red paint to the armor, ensuring smooth and even coverage. You can use paints like Mephiston Red, Wazdakka Red, or Khorne Red for this step. Use thin layers to build up the color gradually. - Step 2: Metallic Details
Paint the metallic details, such as the reaper chainsword and warpstrike claw, using a silver or gunmetal color. Leadbelcher, Ironbreaker, or Runefang Steel are suitable choices. Apply the paint carefully to capture the intricate details of the weapons. - Step 3: Wash
Apply a wash of dark brown or black to the recesses of the model to create shading and depth. Agrax Earthshade or Nuln Oil are excellent choices for this step. Ensure that the wash settles into the crevices, enhancing the definition of the model. - Step 4: Highlighting
Using a lighter shade of red, carefully apply highlights to the raised areas of the armor to enhance its appearance. Evil Sunz Scarlet or Wild Rider Red can be used for this step. Focus on the edges and prominent areas to create contrast and add dimension. - Step 5: Weathering
Add weathering effects to the Knight Rampager by drybrushing a light brown or tan color on certain areas, such as the edges and corners, to create a worn and battle-damaged look. Skrag Brown or Zamesi Desert can be used to achieve this effect. Lightly brush the paint onto the desired areas, gradually building up the weathering effect. - Step 6: Detailing
Paint the smaller details, such as the cockpit, insignias, and symbols, using suitable colors. Use a steady hand and fine brushes for precision. Citadel paints like Abaddon Black, Retributor Armor, or Caliban Green can be used based on the specific details you are painting. - Step 7: Base
Finish off the model by painting the base to complement the Knight Rampager’s appearance. You can use a variety of techniques, such as drybrushing with textures like Stirland Mud or Astrogranite Debris, adding static grass or tufts, or applying washes for a realistic effect. Choose colors that match the theme of your army and create a cohesive look. - Step 8: Varnish
To protect your painted model, apply a layer of varnish. Use a matte to maintain a realistic finish and prevent chipping. This step will help preserve your hard work and ensure the longevity of your paint job. - Step 9: Optional Finishing Touches
For additional customization, consider adding decals, freehand designs, or weathering effects like rust or battle damage. You can also experiment with techniques like edge highlighting or adding washes to further enhance the model’s appearance. These optional touches allow you to add personal flair and make your Knight Rampager stand out on the tabletop.
