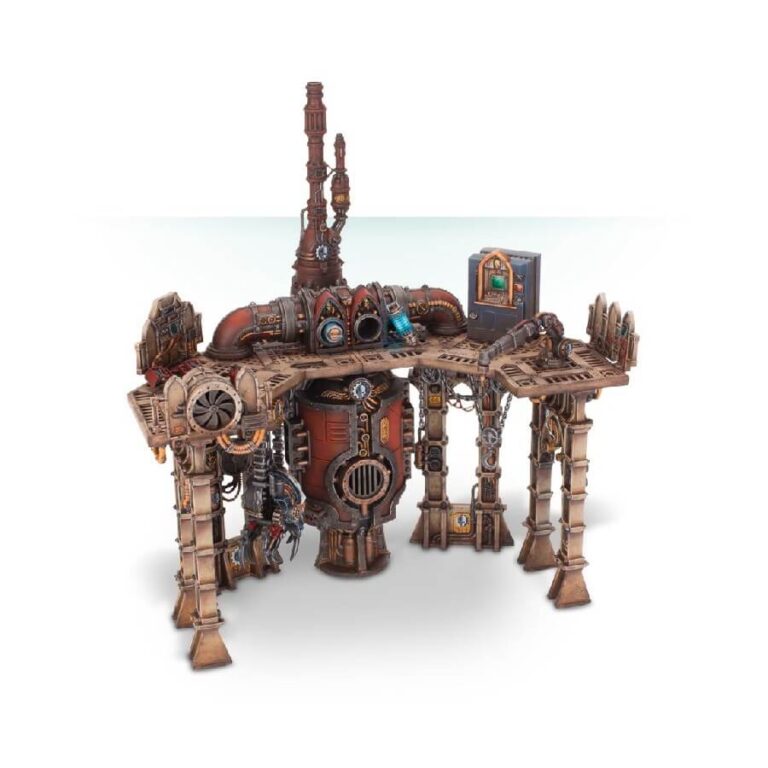
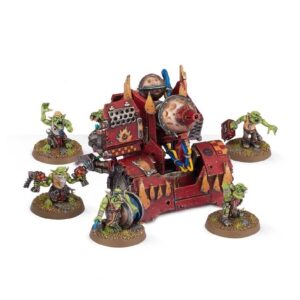
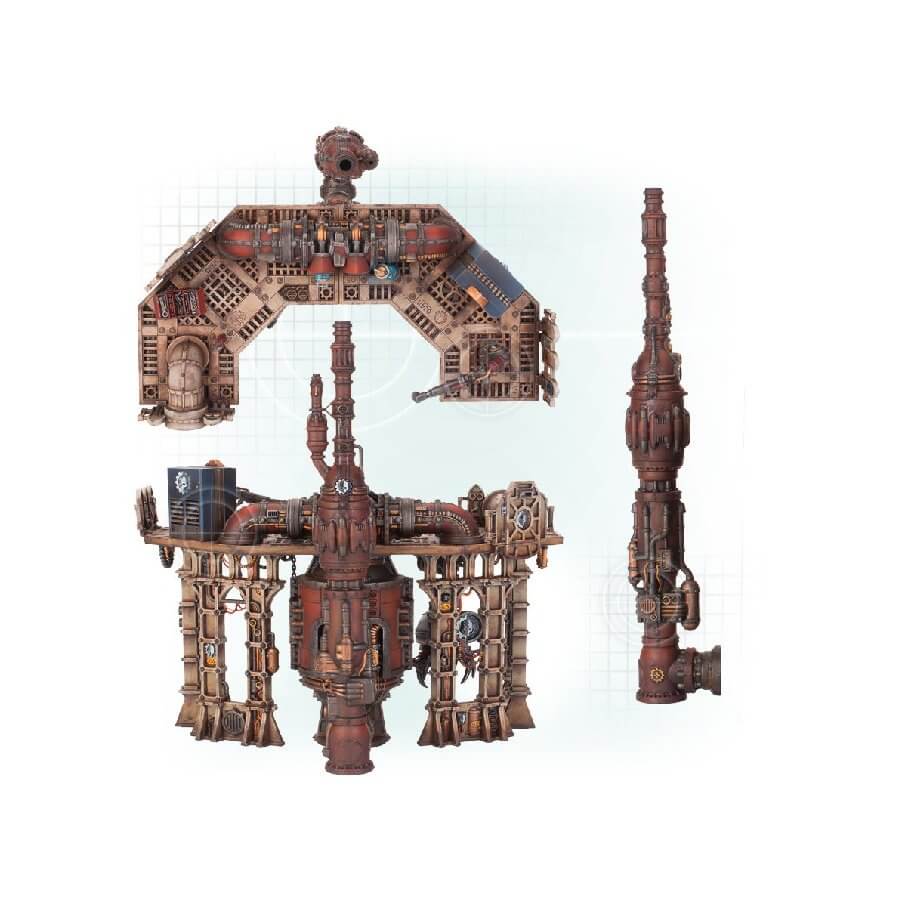
The Sacristan Forgeshrine is an essential support hub for knightly lances, providing vital services at the forefront of battle. This multi-part plastic kit offers everything you need to construct a Sacristan Forgeshrine, a Sector Mechanicus scenery piece that grants advantages to Imperial Knights during combat. Designed to be compatible with other Sector Mechanicus scenery sets, it provides modularity and expandability to suit your needs.
What’s in the Sector Mechanicus Sacristan Forgeshrine box
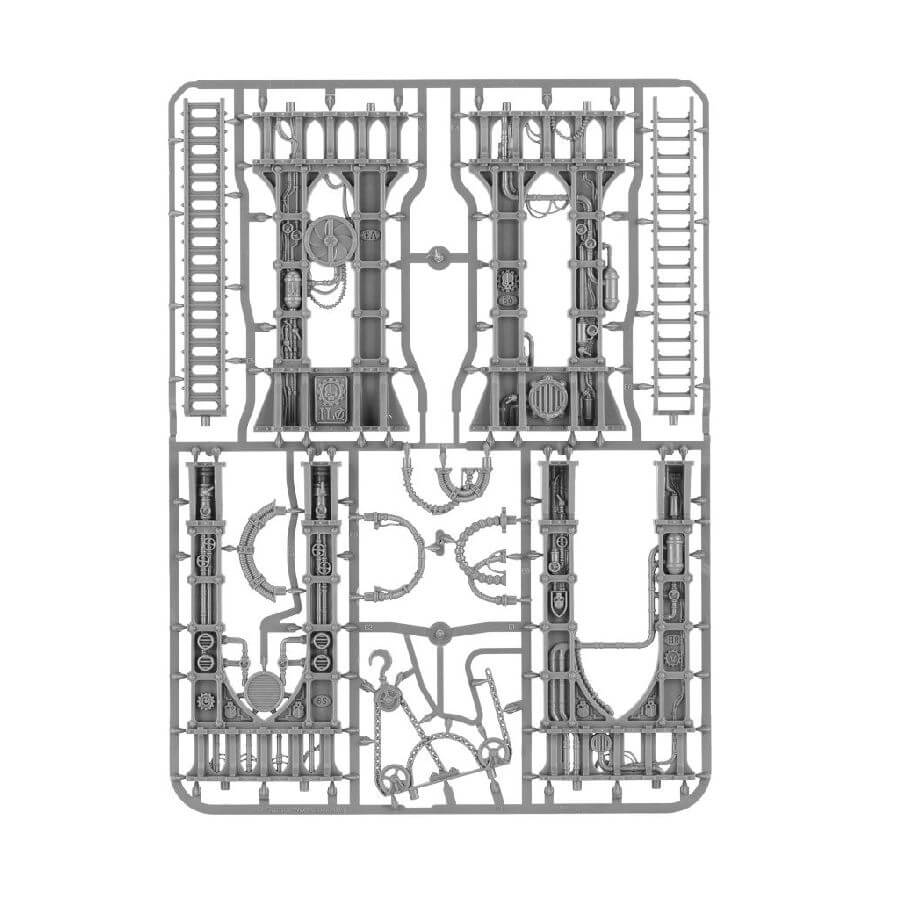
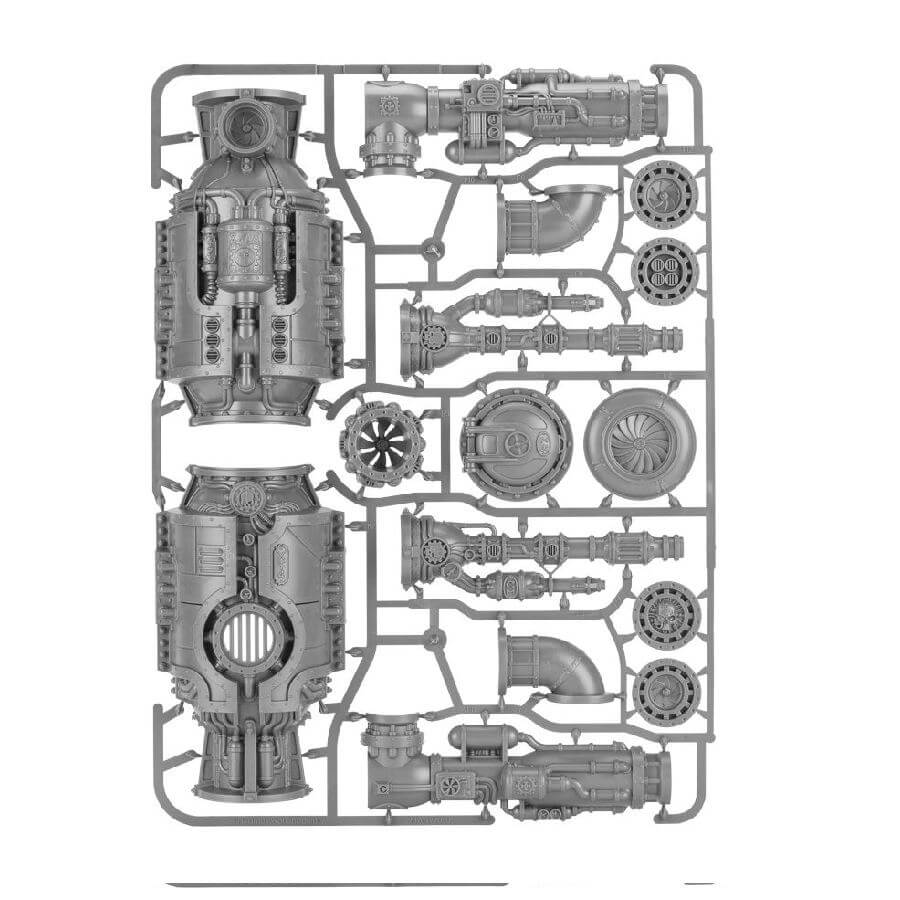
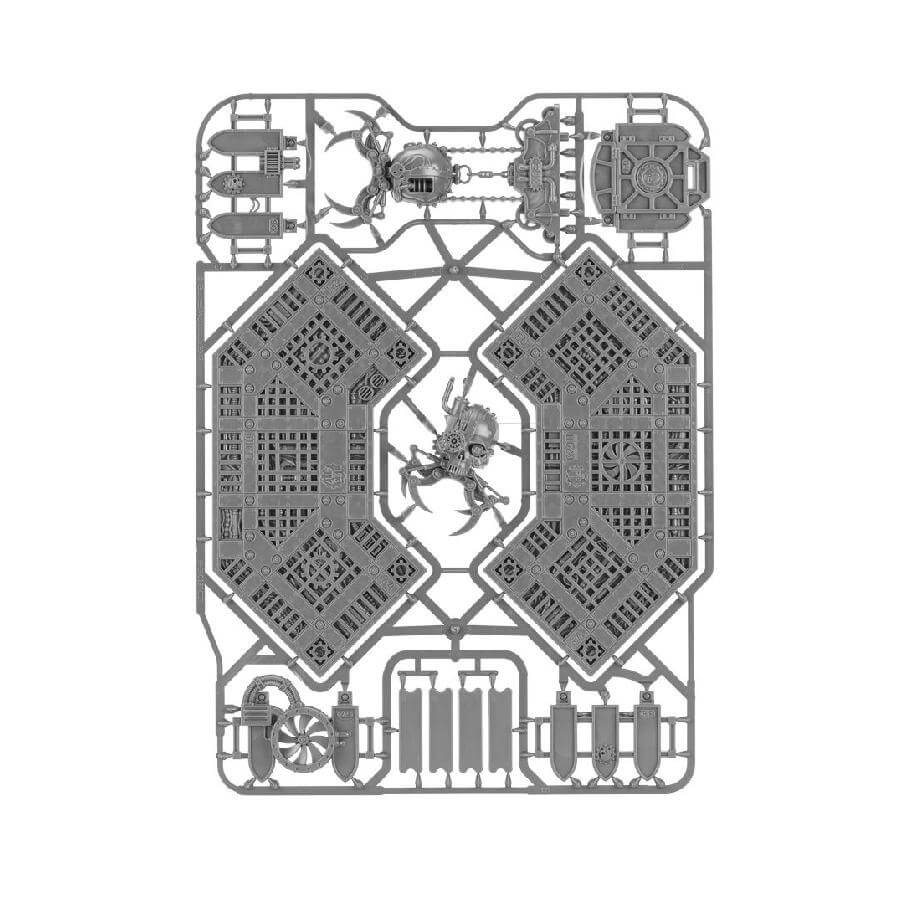
- x54 plastic components: The kit includes four frames of Sector Mechanicus components:
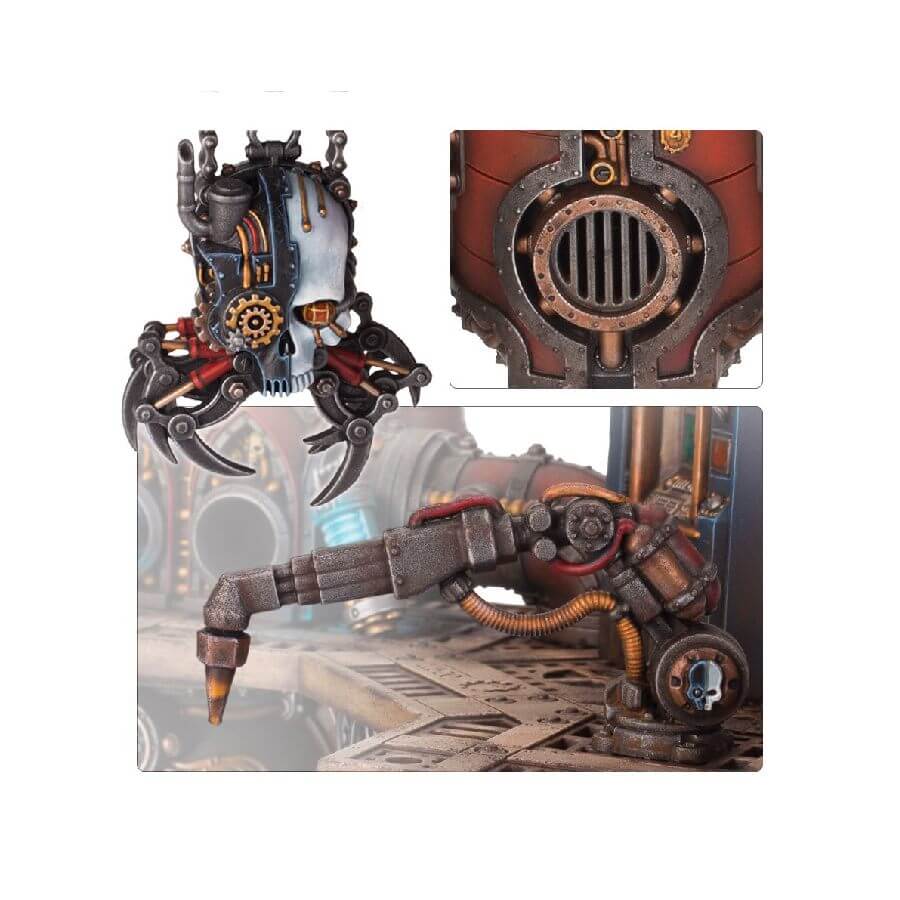
- Sacristan Forgeshrine frame: This frame features a control point with space for two fusion batteries, an operating console with a keyboard and screen, two pipes, a welder arm, a toolbox, and a fire extinguisher.
- Floor frame: Comprising two floor sections, six connecting plates, four end plates, and a skull-shaped crane that can be suspended from any section.
- Leg frame: Equipped with four sets of supporting legs, four sets of pipes for attaching below the floor sections, two ladders, and a winch.
- Tank frame: Featuring the central tank structure, two chimney stacks, seven pipe end caps, and a short section of curved piping.
How to paint the Sector Mechanicus Sacristan Forgeshrine Set
- Step 1: Prime the model
Apply a coat of primer to the Sacristan Forgeshrine to provide a base for the paint. Use a spray or brush-on primer in a color that suits your desired scheme. For example, you can use Chaos Black Spray. - Step 2: Base coat
Apply the base colors to the different components of the Forgeshrine. Use Leadbelcher for the metal areas, such as the pipes and machinery. For the control point, console, and other details, use Abaddon Black for a sleek and contrasting look. - Step 3: Dry brushing
Dry brush the metal areas with a lighter metallic color to create highlights and add depth. Use Ironbreaker for this step. Lightly brush the raised edges and surfaces of the metal components to bring out the details. - Step 4: Wash
Apply a wash to the model to enhance the shading and give it a weathered appearance. Use Nuln Oil for the metal areas, applying it selectively to recesses and crevices. This will add depth and definition to the Forgeshrine’s metallic elements. - Step 5: Detailing
Add additional details to the model to make it stand out. Use Runelord Brass for small accents, such as bolts, rivets, and other metallic embellishments. You can also use Mephiston Red for any warning symbols or hazard markings. - Step 6: Weathering
Apply weathering effects to the Forgeshrine to make it look more realistic. Use Typhus Corrosion for rust effects on the metal surfaces. You can also add streaks of Agrax Earthshade or Nuln Oil to simulate dirt and grime accumulation. - Step 7: Base decoration
Paint the base of the Forgeshrine to complement the model. You can use texture paints, such as Martian Iron Earth or Astrogranite Debris, to create a rugged or urban-themed base. Add additional details like Citadel grass tufts or small rocks for extra realism. - Step 8: Varnish
Protect your painted model by applying a layer of varnish. Use Munitorum Varnish to seal the paintwork and provide a protective finish.
