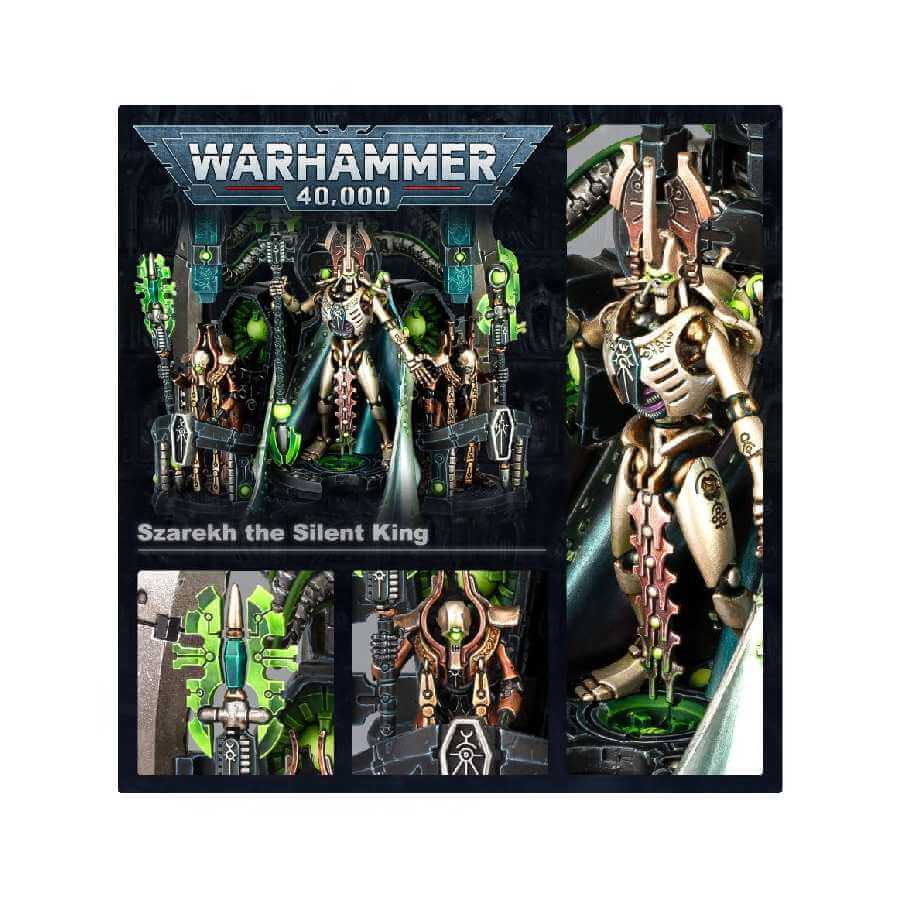
Prepare to witness the resurgence of an iconic Necron figure, for the galaxy once again bears witness to the triumphant return of the Silent King! Szarekh, the pinnacle of Necron nobility, now claims his rightful place at the heart of every Necron collection. With an aura of impartial enthusiasm, we delve into the multifaceted marvel that is the Silent King.
Imagine the battlefield as his god-like might is unfurled, an onslaught of annihilation that leaves foes bewildered and disoriented. His mere presence serves as a conduit, channeling absolute authority to embolden the Necron legions, propelling them towards the inexorable embrace of victory.
Yet, the Silent King is not merely a harbinger of destruction. He emerges as the quintessential Necron character, his stature unparalleled and his strategic prowess unmatched. Within your collection, he stands ready to be a linchpin, a commander whose terrifying skills breathe new life into every unit under his dominion. As the enemy’s strongest bastions crumble under the weight of his blistering range of attacks, the tide of battle shifts irreversibly.
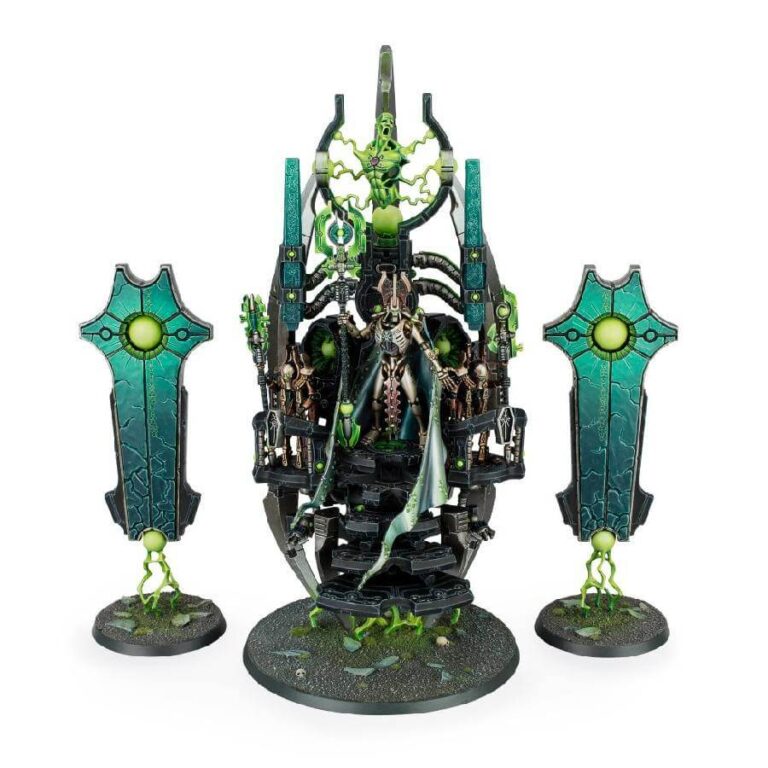
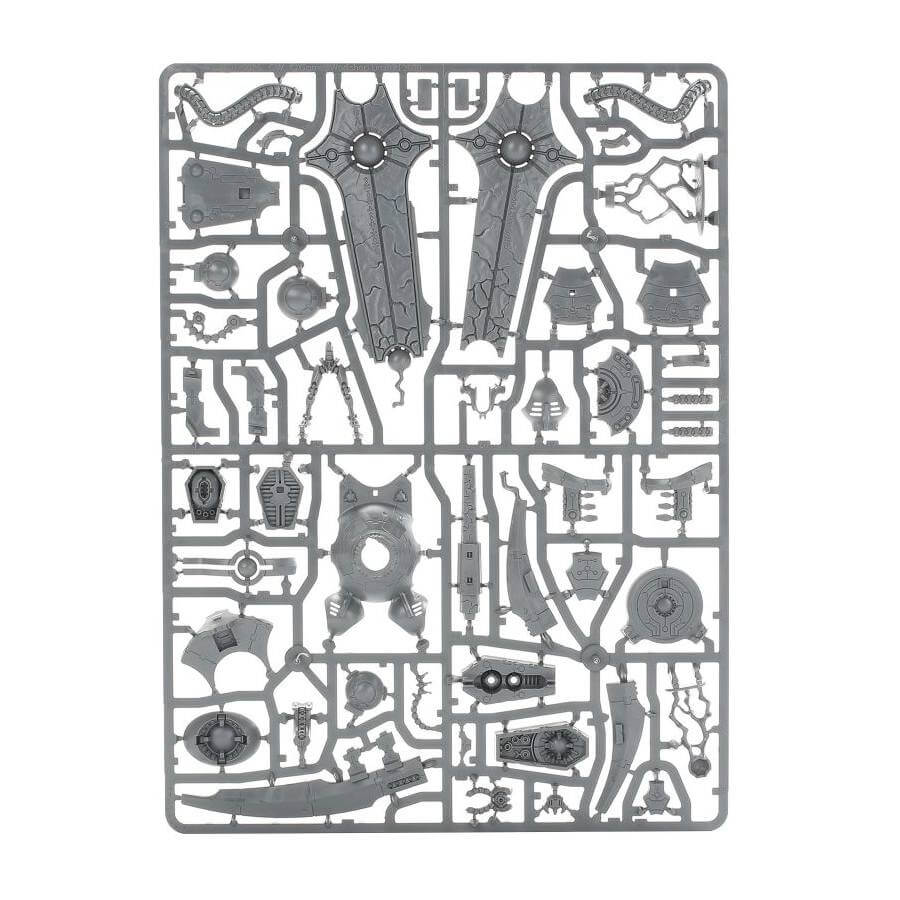
What’s in the Szarekh, The Silent King box
- x155 plastic components that make Szarekh, the Silent King and two Triarchal Menhirs.
- x1 Citadel 100mm round base.
- x2 Citadel 50mm round bases.
How to paint the Szarekh, The Silent King set
- Step 1: Prime Your Miniatures
Before you begin painting, ensure your workspace is ready and well-lit. Prime both Szarekh and the two Triarchal Menhirs with Chaos Black spray paint. This foundational step provides a solid surface for the subsequent layers of paint. - Step 2: Base Coat Szarekh
Using a medium-sized brush, apply a smooth and even layer of Runelord Brass to Szarekh’s armor. This initial coat establishes a strong base for the subsequent layers of metallics and details. Make sure the brush strokes follow the contours of the miniature for a seamless finish. - Step 3: Metallics and Energy Sources
Identify the areas that will be painted as metallics and glowing green energy sources on both Szarekh and the Menhirs. These energy sources could include eyes, weapons, and other intricate details. For instance, on Szarekh, his staff, and crown can be painted as metallics, while his eyes and energy orbs are designated as the glowing green sources. - Step 4: Layering the Green Energy
Using a detail brush, apply a base layer of Caliban Green to the designated energy source areas. Take care to stay within the lines and build up the color with multiple thin coats if necessary. This initial layer provides a solid foundation for the subsequent steps. - Step 5: Creating the Inner Glow
Dilute Warpstone Glow slightly with water on a palette. With a fine detail brush, carefully apply this diluted paint to the center of each energy source. This creates the illusion of an inner glowing core. The paint should be thickest at the center and fade gradually as you move outward. - Step 6: Layering the Outer Glow
Gradually add more Warpstone Glow to the previous mix, creating a slightly brighter shade. With a steady hand, apply this mixture around the inner glow, creating a gradient effect. The outer glow should be broader than the inner glow and should transition smoothly. - Step 7: Intensifying the Glow
Prepare a mix of Moot Green and Warpstone Glow in a 1:1 ratio. With a fine detail brush, apply this mixture to the very edges of the energy source. This adds a higher level of brightness to the outermost parts, intensifying the glow effect. - Step 8: Enhancing the Contrast
Using a wash of diluted Biel-Tan Green, carefully apply it to the areas surrounding the energy source. This subtle wash helps to blend the layers and enhances the contrast between the glowing energy and the rest of the miniature. - Step 9: Shading the Green Energy
Prepare a wash by mixing Nuln Oil and Lahmian Medium in a 1:1 ratio. Apply this wash selectively to the recesses of the energy sources. This deepens the shadows and adds dimension to the glow. - Step 10: Refining Metallics
For the metallic parts, like armor and weaponry, use Leadbelcher as the base coat. Apply it evenly, ensuring that the metallic surfaces have a consistent appearance. - Step 11: Defining Metallic Details
With a fine detail brush, apply Nuln Oil to the metallic areas. This wash settles into the recesses, adding definition and a weathered look to the metal surfaces. - Step 12: Highlighting Metallics
Using a smaller brush, carefully apply thin lines of Ironbreaker to the edges of the metallic areas. This technique simulates light reflecting off the metal, adding realism to the miniatures. - Step 13: Basing Your Miniatures
Now that your Szarekh and the Triarchal Menhirs are expertly painted, it’s time to give them a fitting base. Choose a textured paint, like Stirland Mud, or material that complements the theme of your Necron army. Apply this to the bases and let it dry thoroughly. - Step 14: Applying Varnish for Protection
To safeguard your hard work and ensure the longevity of your miniatures, apply a coat of matte varnish. This protective layer shields the paint from wear and tear, as well as potential moisture damage. Make sure to use a varnish specifically formulated for miniatures. Apply the varnish evenly with a soft brush, ensuring full coverage.
Decrypting visual data… initiating video painting guide. Prepare for a journey through the quantum brushstrokes of masterpiece creation!
