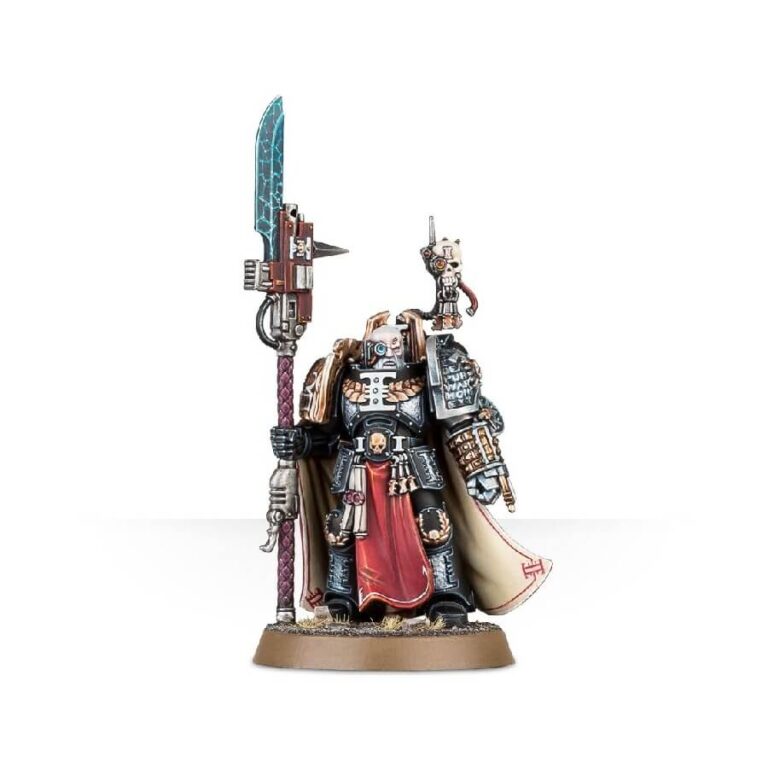
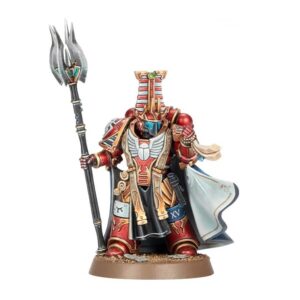
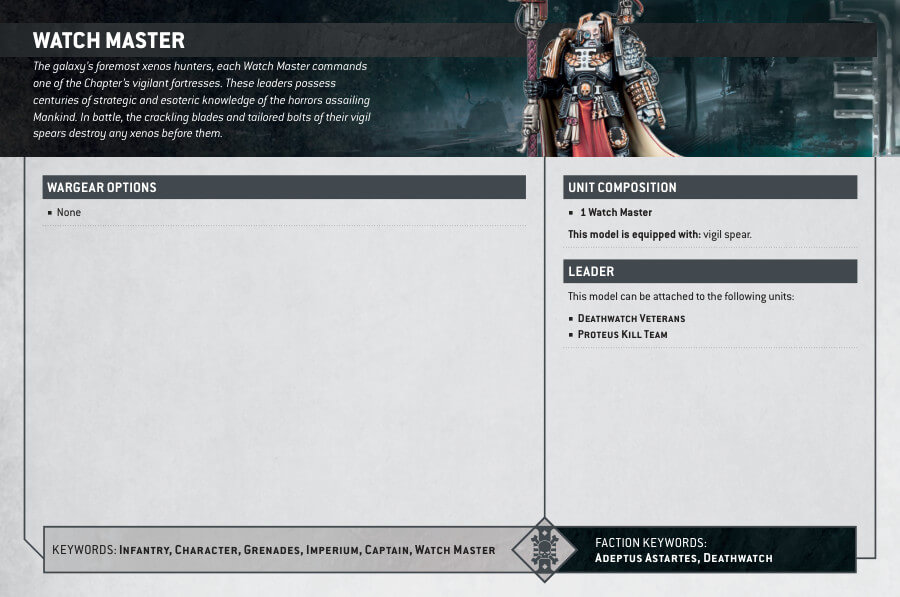
The Watch Master is a highly skilled and strategic leader who excels on the battlefield. With his keen sense of tactics and intuition, he can quickly identify weaknesses in the enemy’s ranks and direct his Kill Team with precise orders. As a true member of the Deathwatch, the Watch Master is not content to lead from afar, and he is always at the forefront of the battle, wielding his guardian spear to unleash devastating volleys of bolts to annihilate specific targets with ease. His expertise and experience make him an invaluable addition to any Kill Team.
Watch Master Datasheets
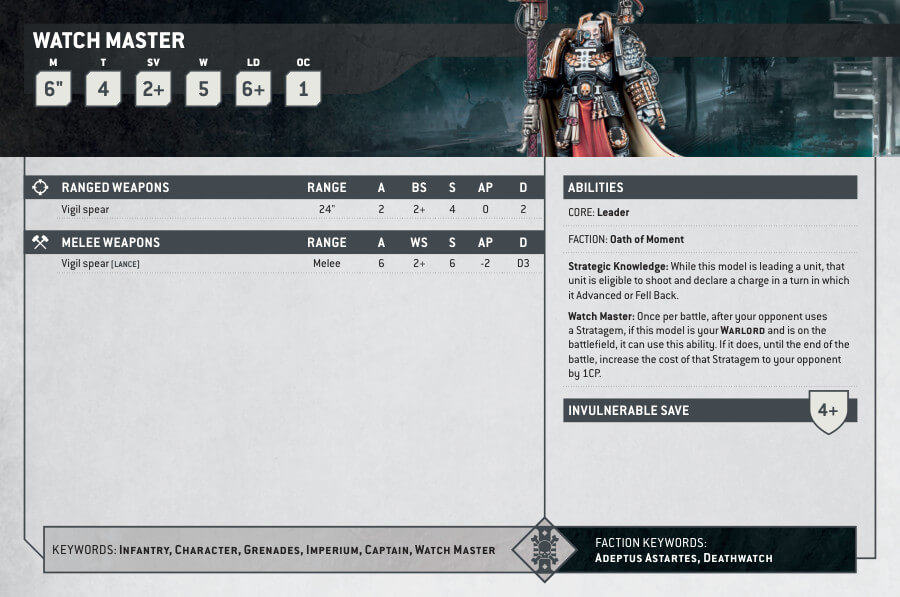
What’s in the Watch Master box
- x8 plastic components in the kit that make The Watch Master, who is armed with a guardian spear, a deadly weapon capable of launching volleys of bolts that can annihilate specific targets with ease. The kit also includes a Clavis, a device that allows the Watch Master to interact with any machine.
- x1 Citadel 32mm Round base.
How to paint the Watch Master Set
- Step 1: Priming
Begin by priming your Watch Master miniature with Chaos Black spray. This step provides a solid base for the subsequent layers of paint and ensures a uniform surface for your painting. - Step 2: Armor
Paint the Watch Master’s armor with Abaddon Black. Once the base coat is dry, proceed with layering to add depth and highlights. Use Eshin Grey to highlight the raised areas and edges of the armor. - Step 3: Exposed Face
For the exposed face, start with Rakarth Flesh as the base coat. Apply a suitable shade, such as Reikland Fleshshade, to add definition and shading to the facial features. Afterward, layer the face with Flayed One Flesh to create a lifelike complexion. - Step 4: Cape and Clothing
Paint the Watch Master’s cape and clothing with Khorne Red as the base coat. Apply a shade, like Nuln Oil, to create depth and shadows. Once dry, layer the cape and clothing with Wazdakka Red to give it a vibrant red appearance. - Step 5: Inside of the Cape
The inside of the cape should have a different tone. Use Screaming Skull or Zandri Dust paint as the base coat to create a subdued contrast with the outer red. You can add a shade or a light wash to enhance the details. - Step 6: Electrifying Spear
To achieve an electrifying look for the Watch Master’s spear, start by using a dark blue-green paint like Caliban Green. Apply this paint strategically to create the base effect.
Next, add White Scar to your palette. Use White Scar to carefully create lightning lines on the blade. These lines should follow the contours of the blade and give the appearance of crackling energy. Ensure that the core of the blade remains dark blue-green, and the lightning lines stand out with a bright, electric white. - Step 7: Metallic and Brass Details
To enhance the Watch Master’s armor with metallic and brass details, use paints such as Leadbelcher for metallic elements like the shoulder pad trims and Balthasar Gold for brass elements on his armour. - Step 8: Final Touches and Details
Inspect your Watch Master for any remaining details that require painting. Ensure that all metallic and brass elements, painted with Leadbelcher and Balthasar Gold, are neat and tidy. Additionally, look for any additional details on the model, like purity seals or insignia, and paint them accordingly. - Step 9: Basing (Optional) – Setting the Scene
Paint the base using texture paints like Astrogranite Debris or Stirland Mud. You can also consider adding small details like grass tufts or rocks to customize the base. - Step 10: Varnishing
To protect the paintwork and give your Watch Master a finished look, consider applying a varnish. A matte varnish like Stormshield can provide a protective coating without altering the appearance of the miniature. Ensure the paint is entirely dry before varnishing.

