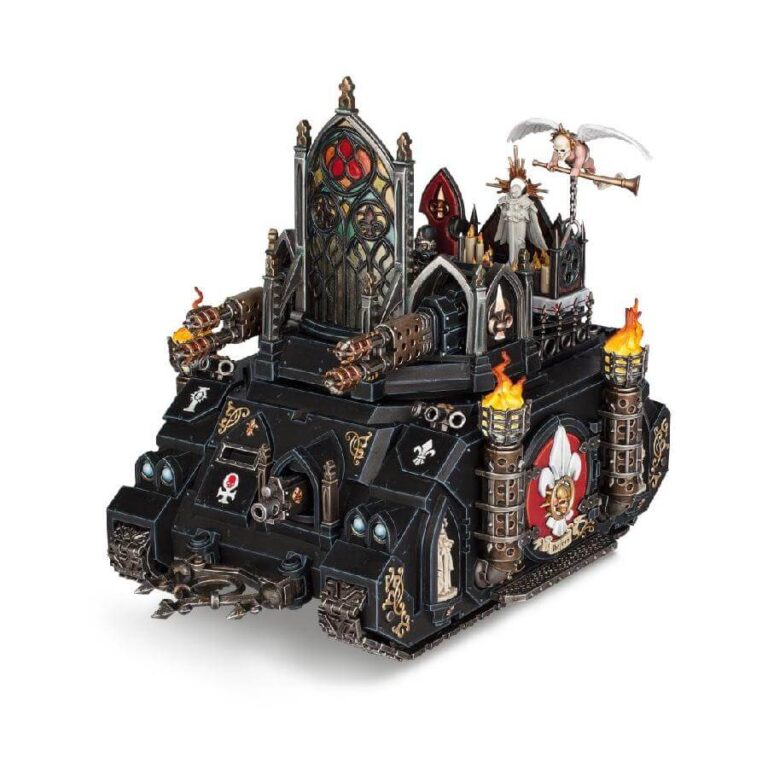
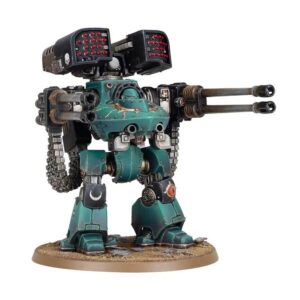
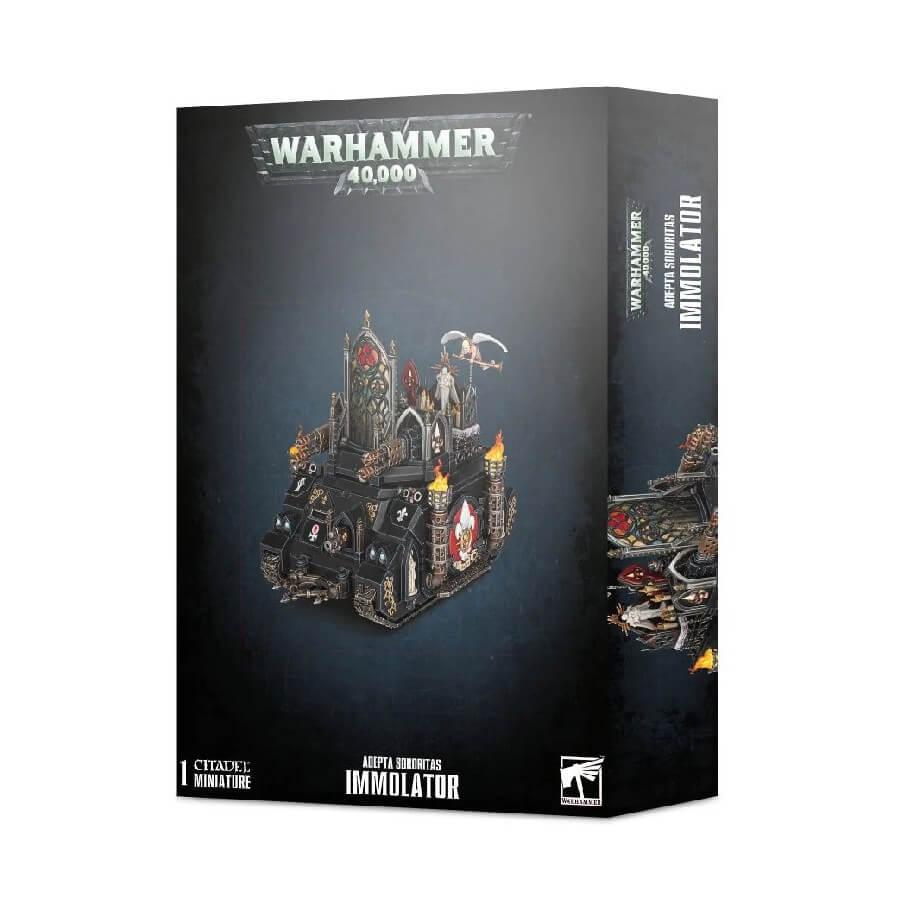
The Immolator-pattern armoured assault transport is a highly specialized vehicle used exclusively by the Adeptus Ministorum. It is a variant on the Rhino chassis, but with a unique and elaborate turret arrangement mounted on top of the hull. This turret incorporates a stained-armaglass ballistic shield, auto-choral targeting array, and gunner’s nest that is linked to a twinned pair of devastating heavy weapons.
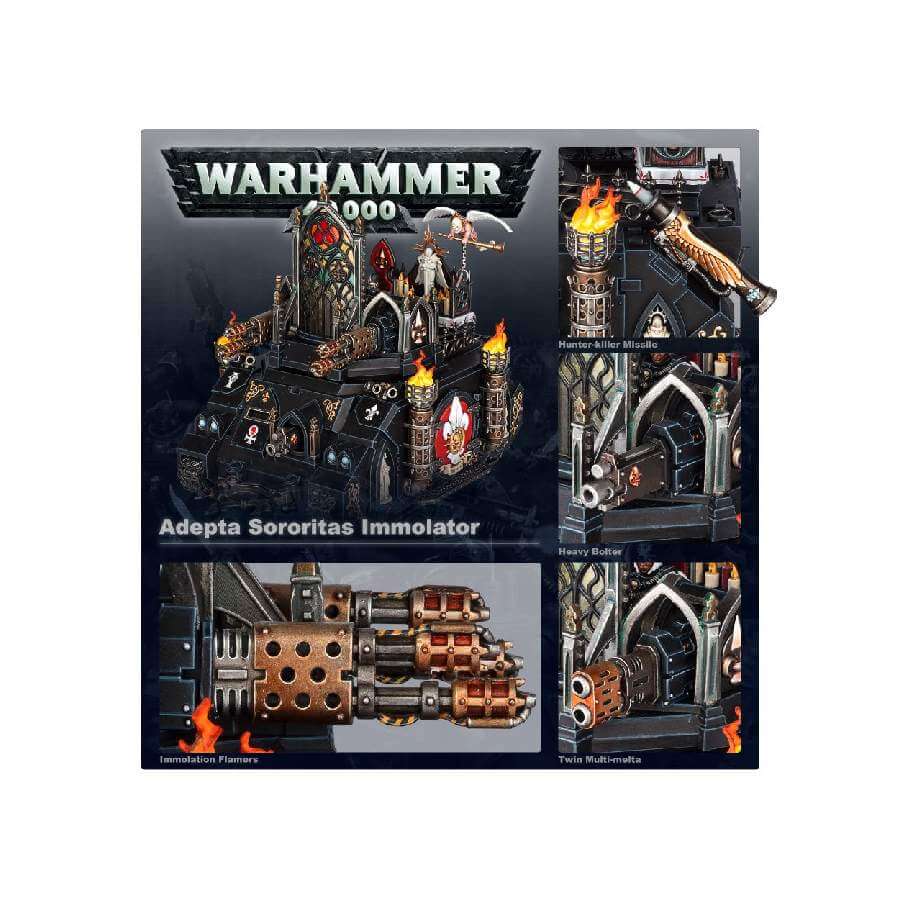
It is a fearsome weapon on the battlefield, equipped with a hull-mounted heavy bolter and a choice of three main armaments on its turret: Immolation flamers, twin heavy bolters, or twin multi-meltas. These weapons make the Immolator an incredibly versatile vehicle that can be tailored to meet the specific needs of any mission.
In addition to its main armaments, the Immolator can also be equipped with an optional hunter-killer missile, further increasing its firepower and versatility. With its impressive array of weapons and advanced targeting systems, the Immolator is a crucial asset for any Adepta Sororitas force.
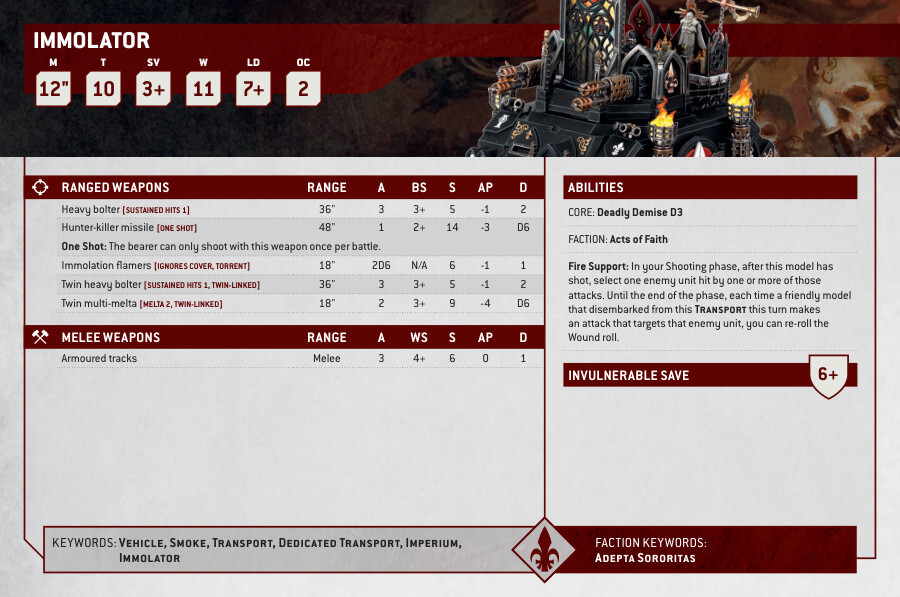
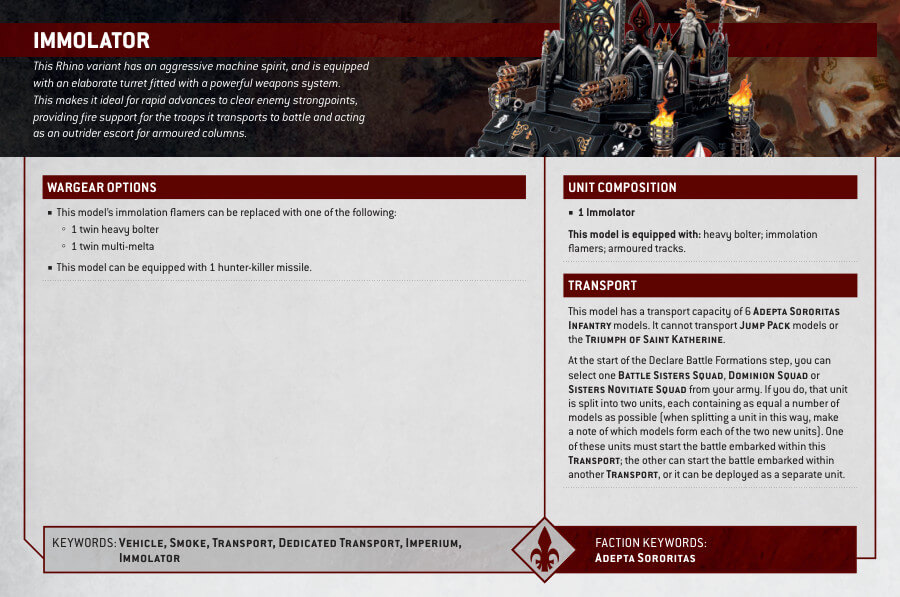
Immolator Datasheets
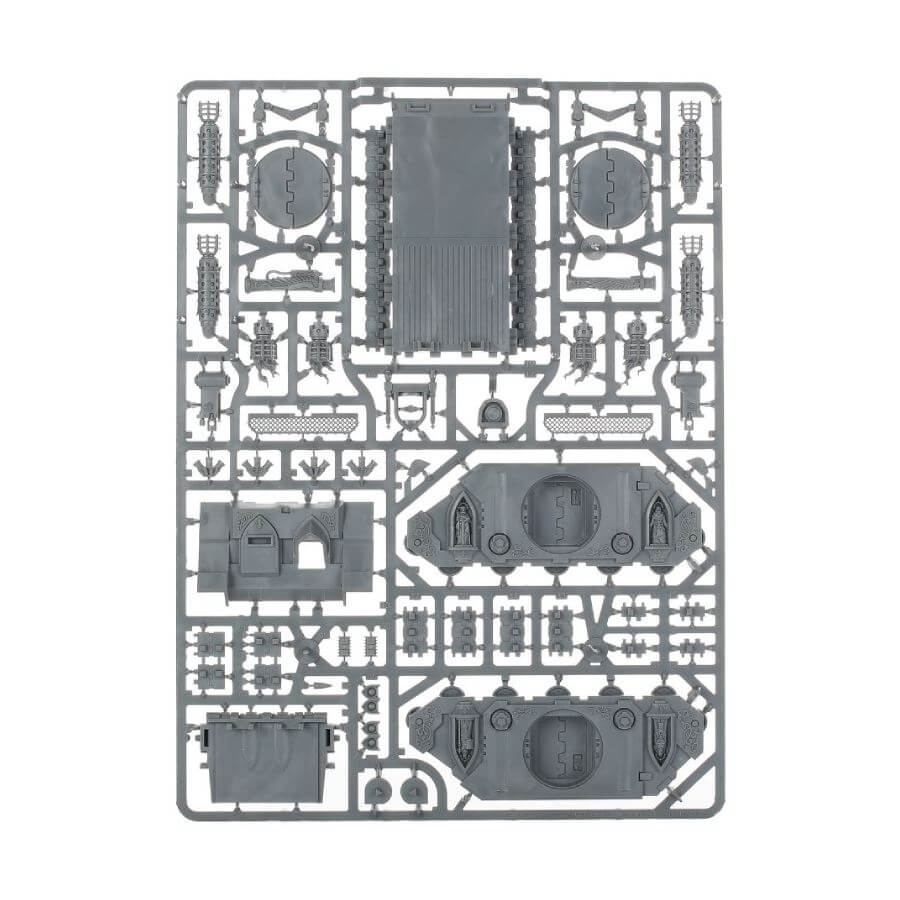
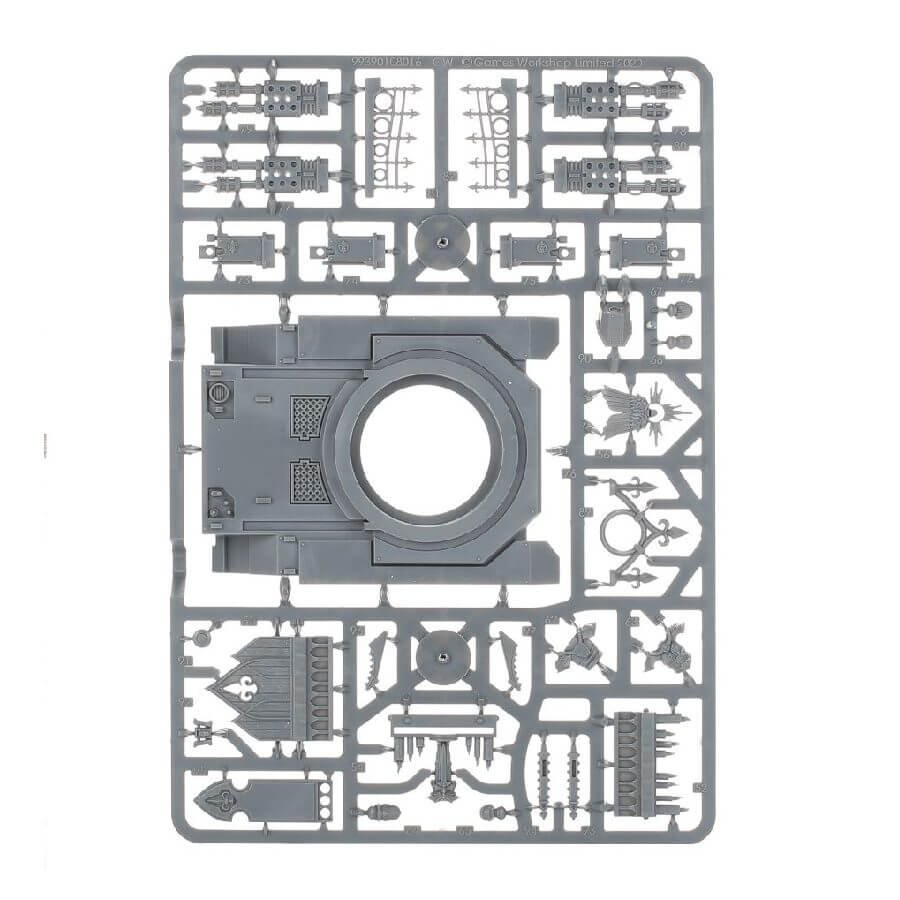
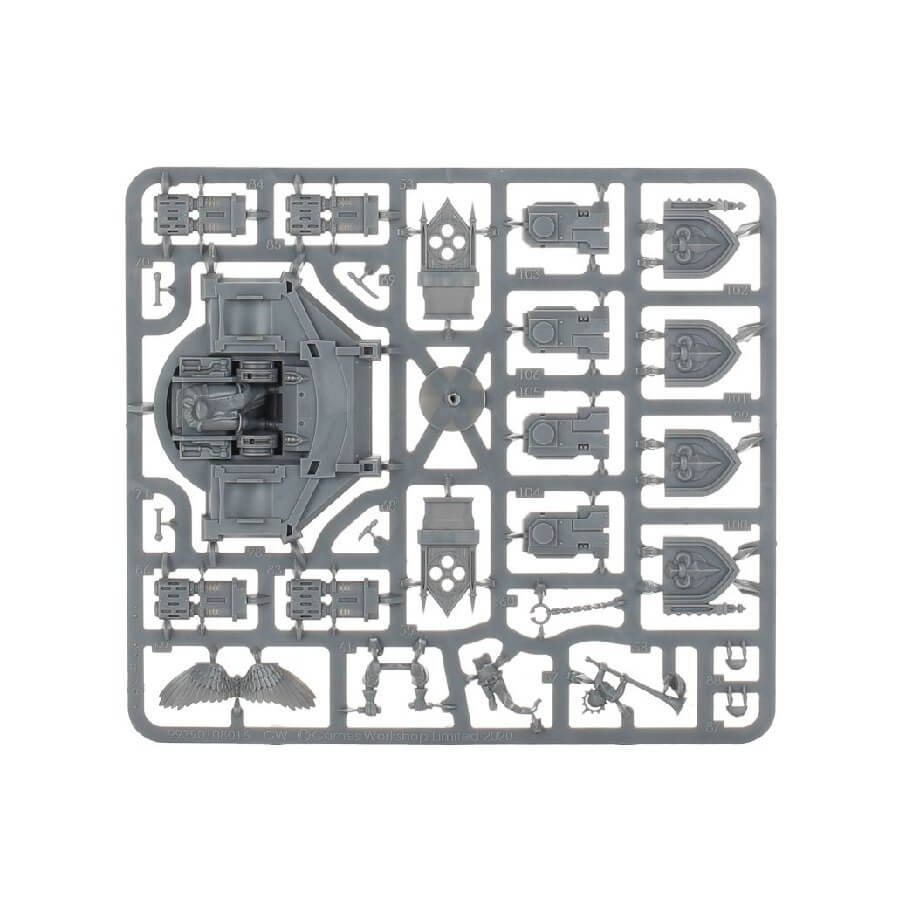
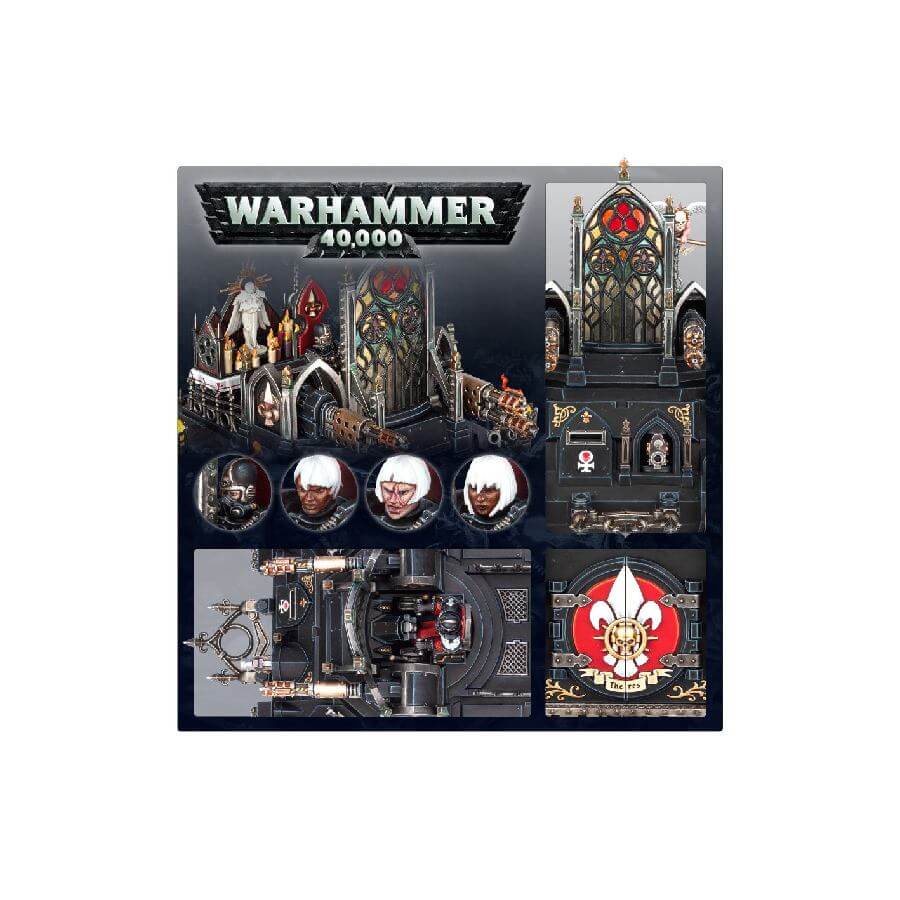
What’s in the Immolator box
- x105 plastic components that make the Immolator, an armoured assault transport, a variant on the Rhino chassis.
- x1 Adepta Sororitas Transfer Sheet is also included
How to paint the Immolator Set
- Step 1: Priming
Begin by priming your Immolator model with Chaos Black spray. For optimal results, hold the spray can approximately 6-8 inches (15-20 cm) away from the model. Apply the primer in thin, even coats to ensure a smooth and consistent base for painting. - Step 2: White Details
Paint the white details of the Immolator with Corax White. Use a fine brush and apply the paint evenly, covering all the white areas. Afterward, apply a layer of White Scar to achieve a brilliant, clean white finish. Multiple thin coats may be needed for a clean, brilliant white finish. - Step 3: Gold and Red Details
For the gold details, like emblems or decorative elements, use Retributor Armour paint. Apply it carefully to highlight these areas. When painting the red details such as stripes or insignia, use Mephiston Red. Ensure precision and neatness in your brushwork to create ornate accents. - Step 4: Darker Gold and Silver Details
Focus on the darker gold details like trumpets or pipes by using Balthasar Gold or Screaming Bell paint. To paint the silver details, such as tracks and exhaust pipes, use Leadbelcher or Ironbreaker. Apply these paints with a steady hand to create a striking contrast against the other colors, adding depth to your model. - Step 5: Bone Details
For the bone details, like braziers or ornamental elements, use Screaming Skull paint. Apply it evenly and with precision. Afterward, shade the bone areas with Nuln Oil to create an aged and weathered appearance. This step adds an elegant touch to your Immolator. - Step 6: Flames
To create a realistic flame effect on the Immolator, begin with Yriel Yellow as the base color for the innermost part of the flames. Hold your brush at an angle and apply the yellow paint with short, flicking strokes to mimic the appearance of flames. Next, transition to Troll Slayer Orange, gradually layering it outward from the yellow. Maintain the flicking motion to achieve a fiery gradient.
Continue by using Evil Sunz Scarlet to intensify the red portions of the flames. Apply this paint in a flicking manner as well, concentrating on the outer edges of the flames. Finally, add Wild Rider Red to enhance the fiery brilliance. Use this color sparingly at the very tips of the flames for maximum impact. Remember to blend the colors smoothly for a realistic flame effect. - Step 7: Varnishing
To protect your beautifully painted Immolator and give it a finished look, apply a varnish. When using Munitorum Varnish Spray, follow the manufacturer’s instructions carefully. Apply the varnish in light, even coats, allowing each coat to dry before applying the next. This will safeguard your paintwork and provide a professional finish to your Immolator model. Ensure the model is entirely dry before handling or displaying it.