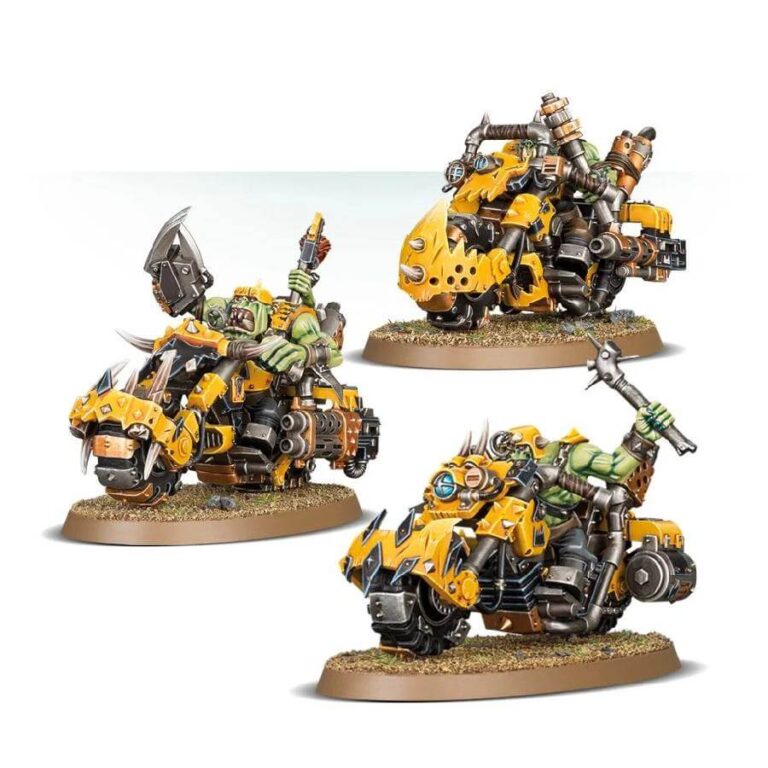
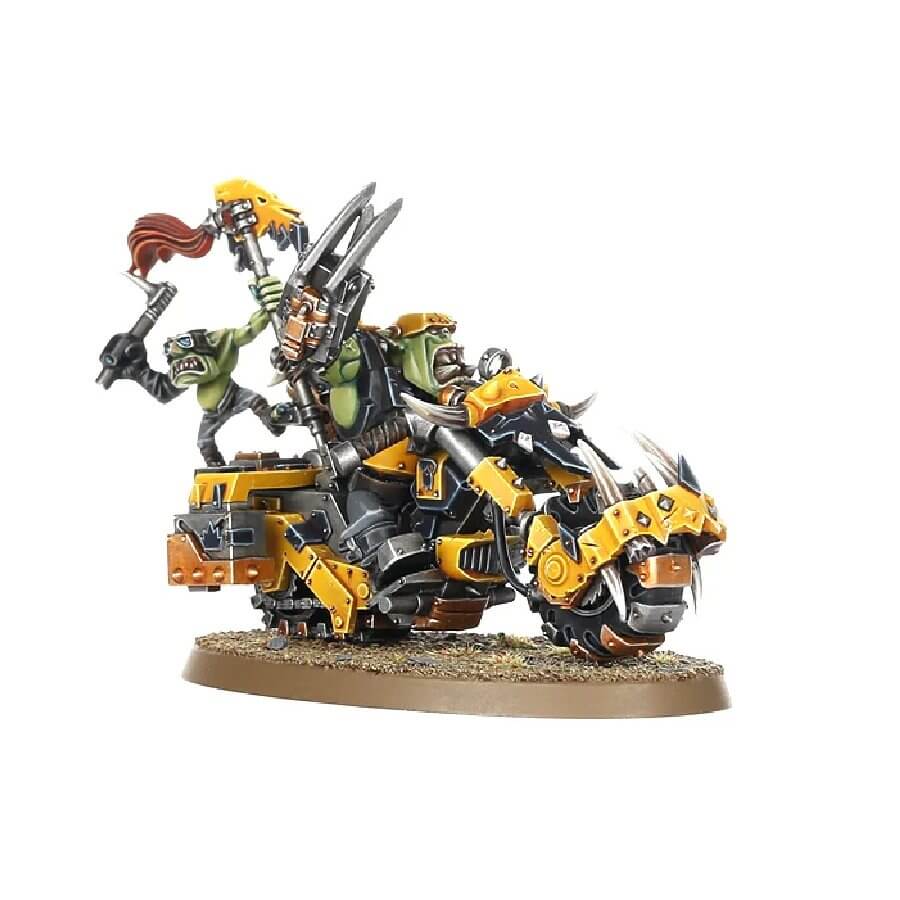
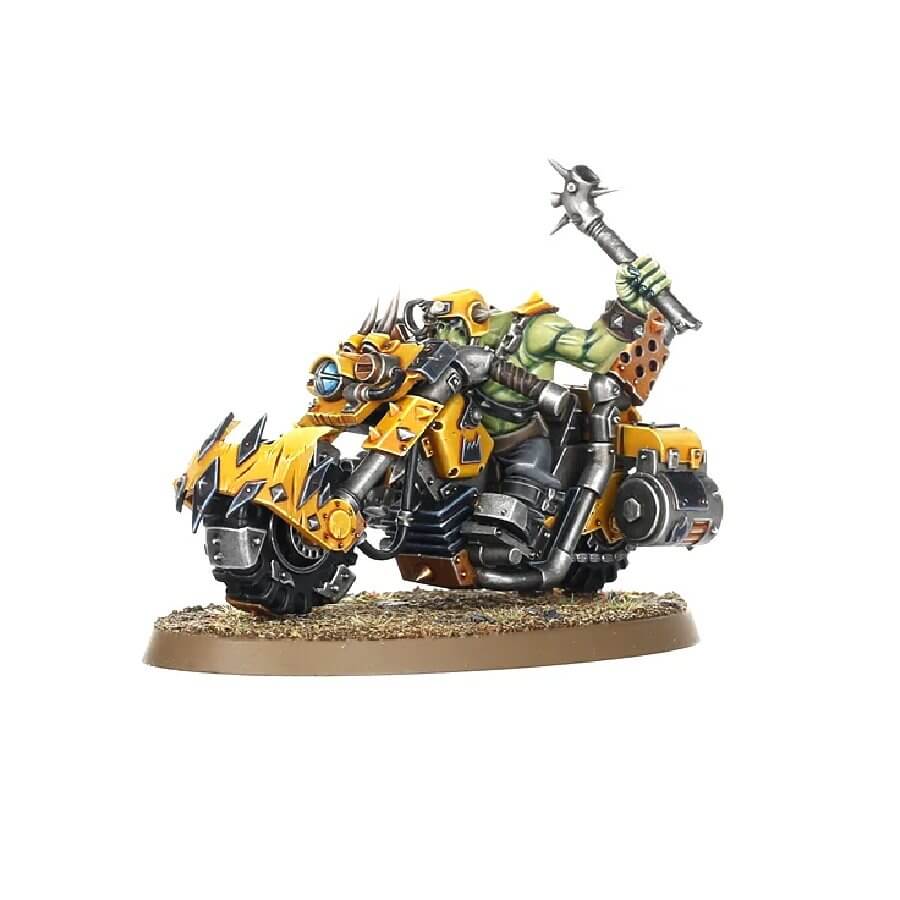
Riding a warbike is an experience like no other for an ork, a thrilling combination of prestige and pure speed. These adept riders treat their personal steeds with great care, knowing that the warbike not only symbolizes prestige but also provides a direct rush of adrenaline. Nothing rivals the exhilaration of charging toward the enemy with guns blazing, as the Warbiker darts through the battlefield, leaving an indomitable mark that only dive-bombing from a fighta-bomma can match.
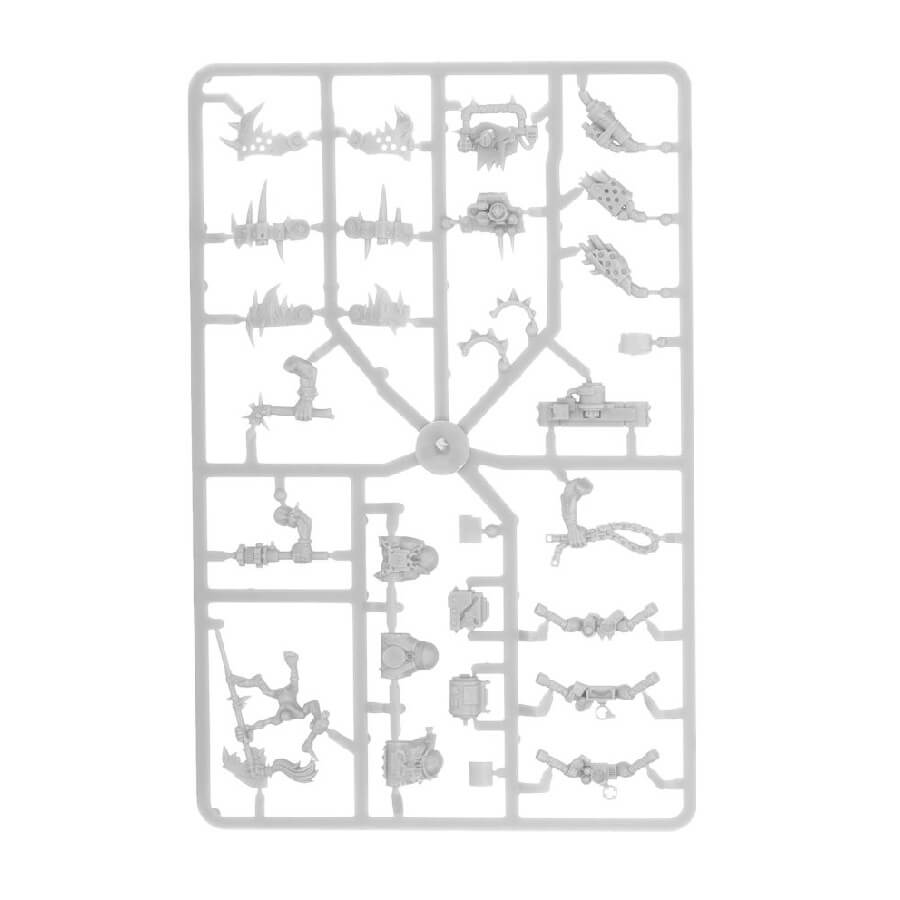
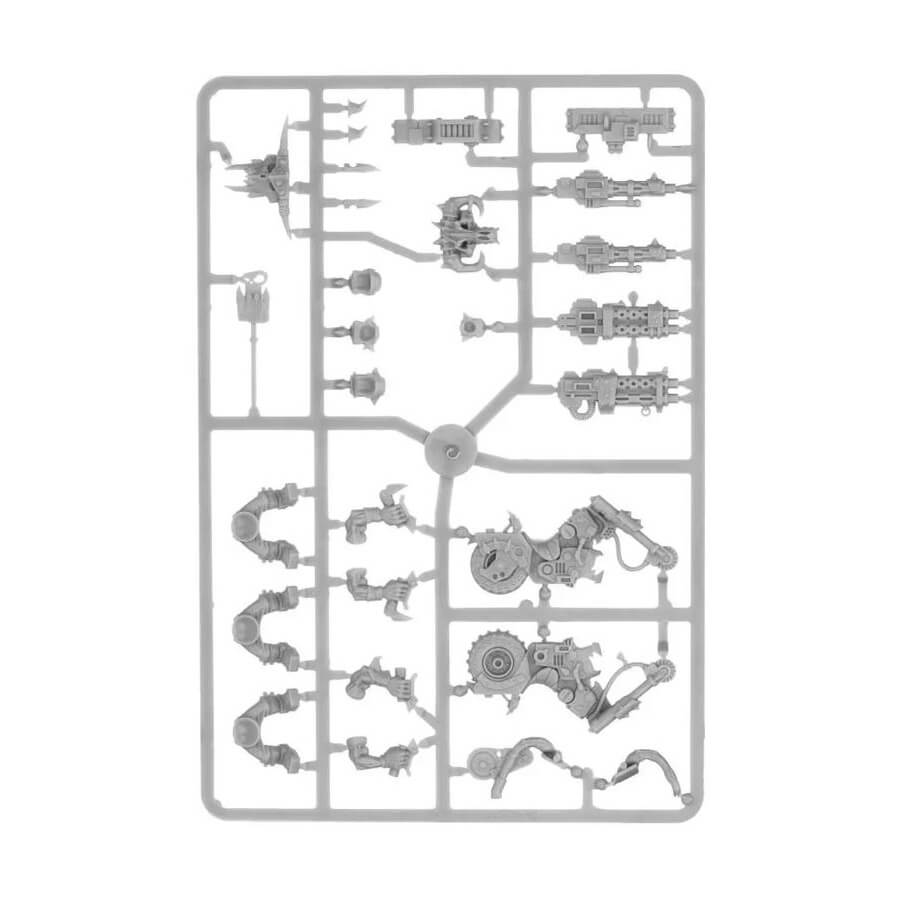
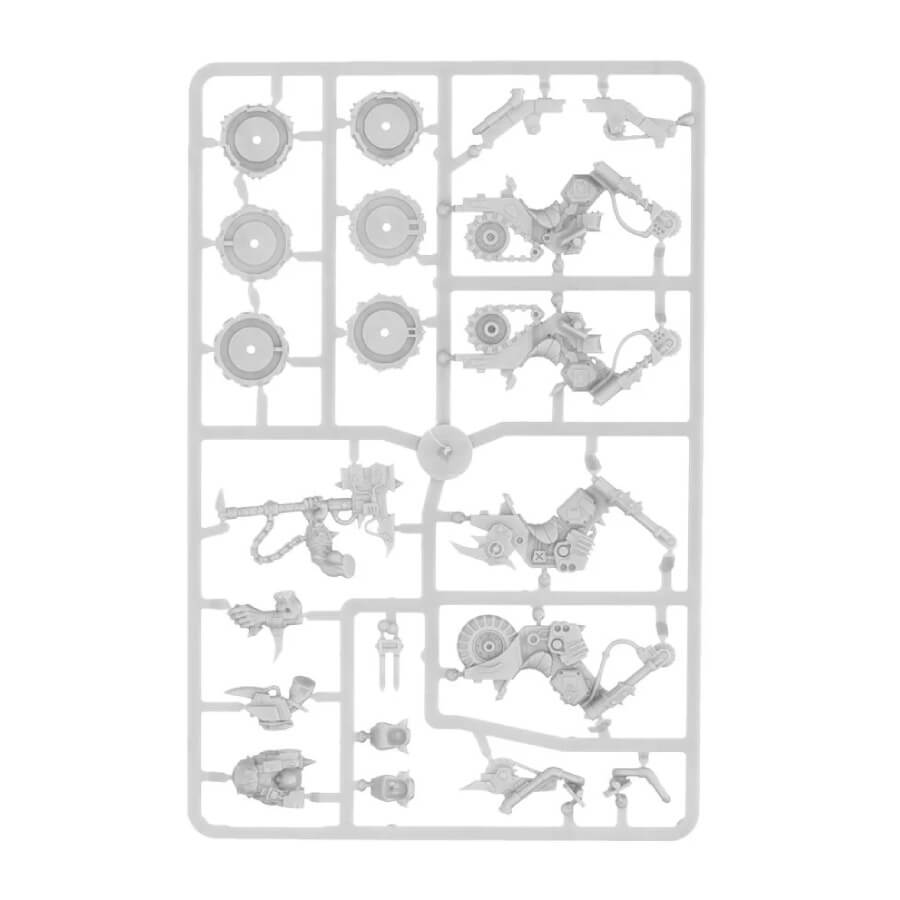
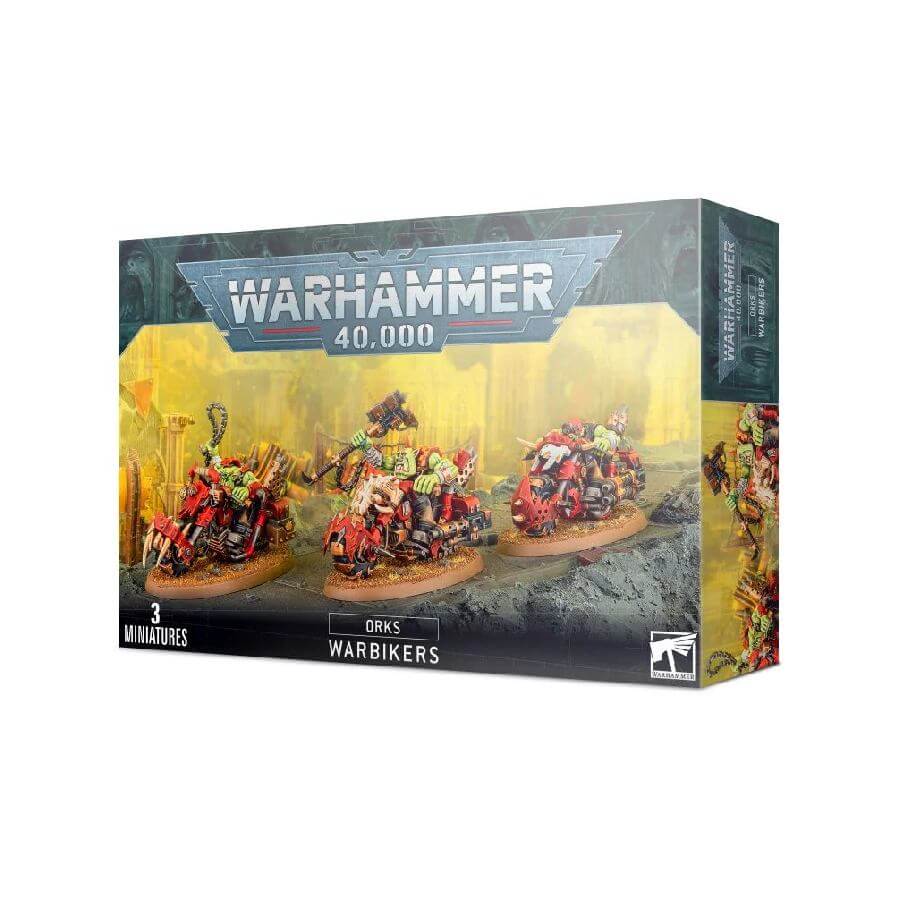
What’s in the Ork Warbiker Mob box
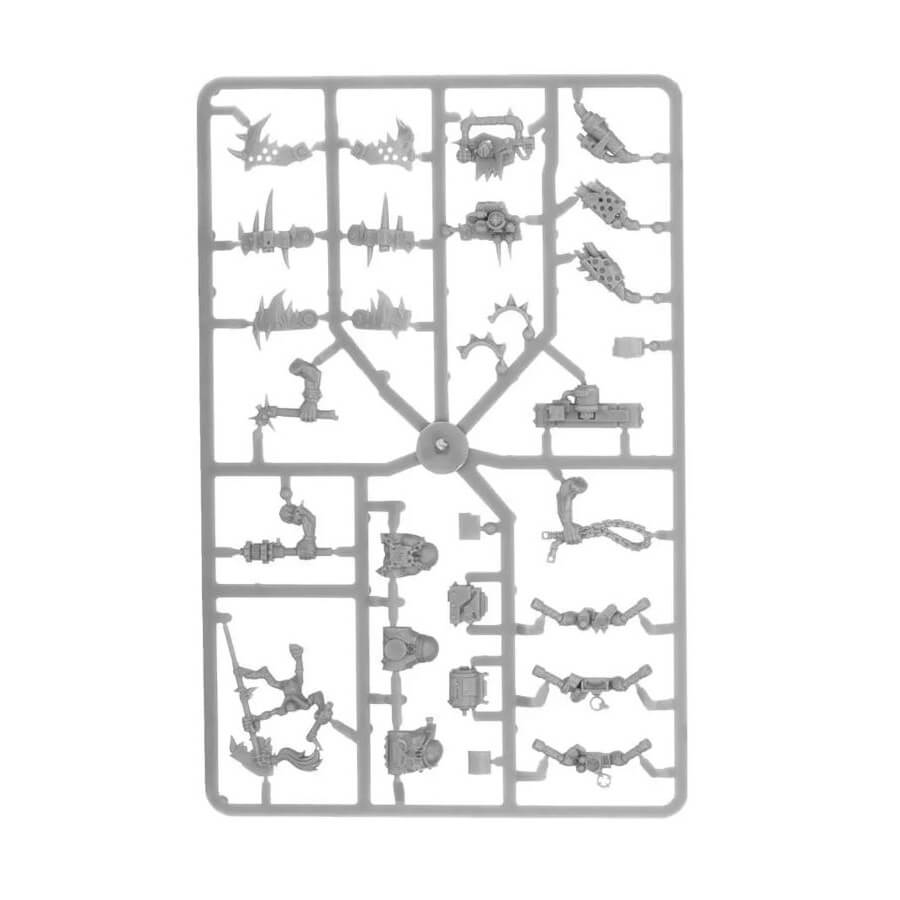
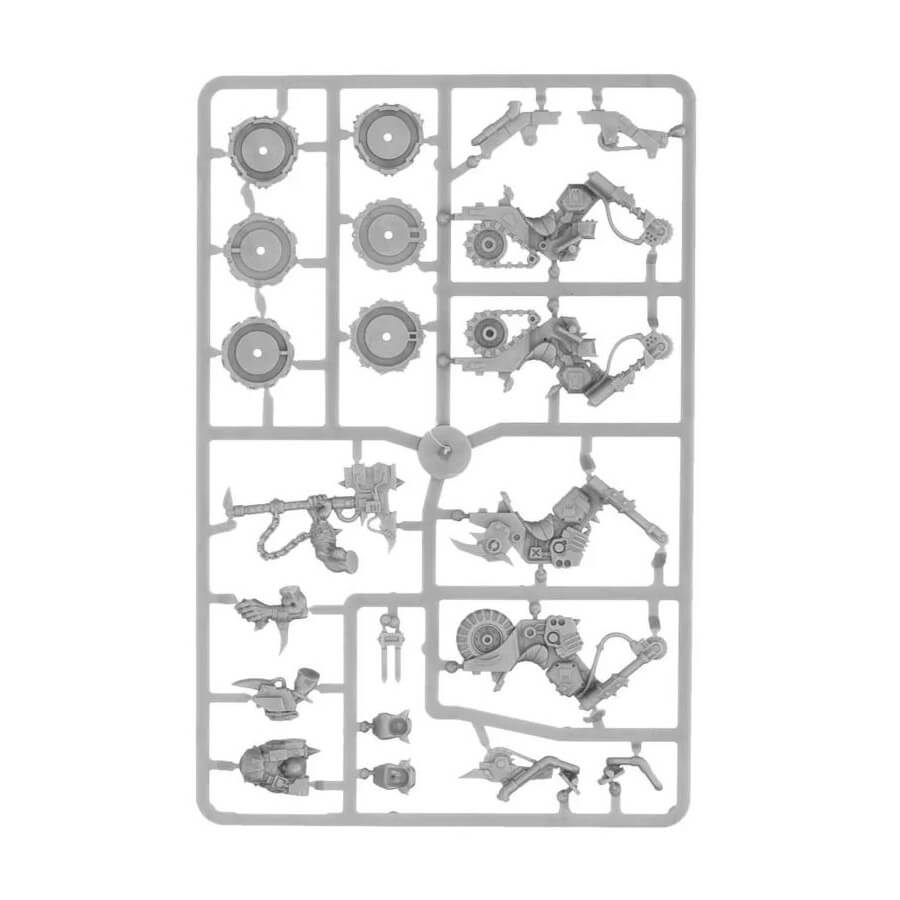
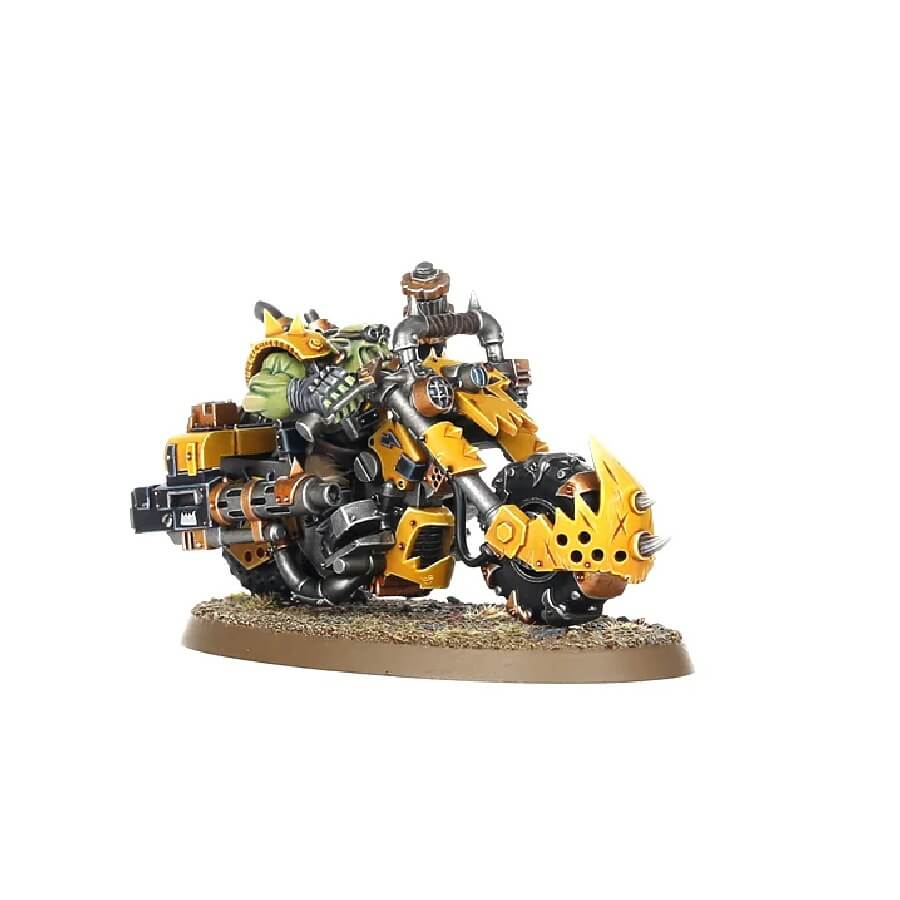
- x146 plastic components that make 3 Ork Warbikes, and includes options for an Ork Nob on Warbike, a variety of wargear options and extra details.
- x3 Citadel 75mm oval bases.
How to paint the Ork Warbiker Mob set
- Step 1: Basecoat the Ork Riders
Start by applying the base colors to the Ork riders on the bikes. For the Ork skin, use Waaagh! Flesh, and for their clothing, use Abaddon Black. Don’t forget to paint any other details, such as belts, pouches, and accessories. - Step 2: Shade the Ork Skin
To add depth to the Ork skin, apply a wash of Agrax Earthshade over the green basecoat. Make sure to focus on the recesses and areas with shadows. This will give the skin a more realistic and rugged look. - Step 3: Highlight the Ork Skin
After the wash has dried, use Warboss Green to highlight the raised areas of the Ork skin. Concentrate on the nose, cheekbones, knuckles, and other prominent features. This will make the skin stand out and add a touch of vibrancy. - Step 4: Highlight the Clothing
For the Ork’s clothing, such as the jackets or pants, use a lighter shade like Eshin Grey to create highlights. Focus on edges and folds, as these areas would catch more light. This will make the clothing look more textured and detailed. - Step 5: Paint the Ork Eyes
Carefully paint the Ork eyes using Yriel Yellow. It might be easier to dab a small dot of paint on the eyes using a fine brush or a toothpick. If you’re feeling confident, you can add a tiny dot of Mephiston Red in the center of the yellow for a fiery look. - Step 6: Paint the Bike Parts
Now it’s time to paint the various parts of the bikes. Use Leadbelcher for the metallic components, like the exhaust pipes and engine parts. For any red areas on the bikes, such as the fuel tanks, use Mephiston Red. Use Retributor Armour for any gold panels on the bikes. - Step 7: Shade and Highlight the Bike Parts
Apply Nuln Oil wash over the metallic parts to enhance the shadows and create a metallic look. For the red areas and gold panels , apply Agrax Earthshade wash to add depth.
Once the washes are dry, use lighter shades like Ironbreaker for the metallic parts, Evil Sunz Scarlet for the red areas, and Auric Armour Gold for the gold panels to highlight the edges and raised areas. - Step 8: Final Touches and Basing
Add any final details to the Ork riders and bikes, such as teeth, belts, and other small features. If you wish to base the miniatures, you can use textured paints or materials like sand and rocks. Consider painting the base with a brown shade like Steel Legion Drab, and add some tufts of grass or other decorations for a more scenic look. - Step 9: Varnish (Optional)
To protect your work and give your miniatures a nice finish, consider applying a layer of varnish. A matte varnish will give a non-shiny appearance, while a gloss varnish will make the colors look more vibrant and reflective.
