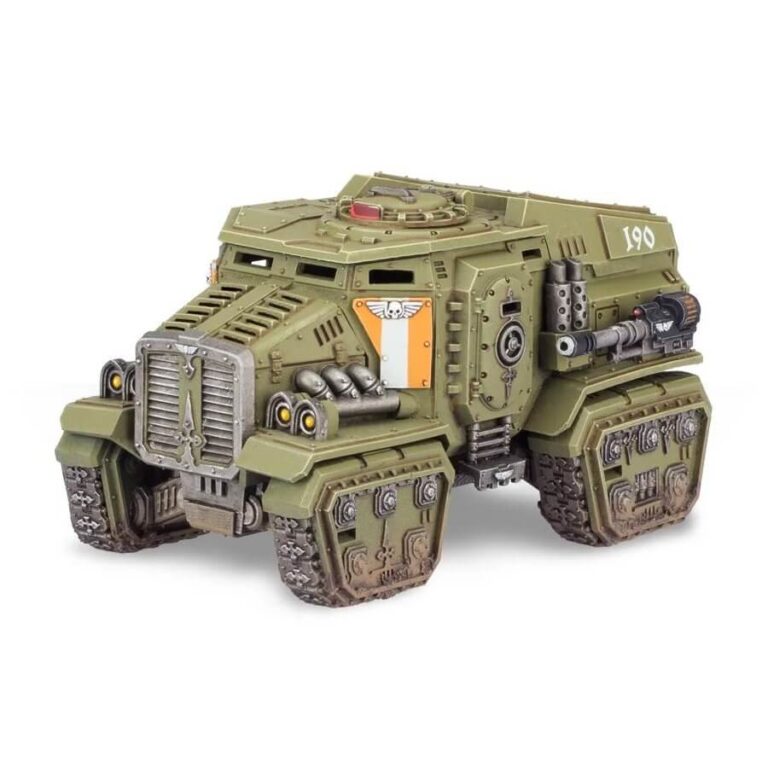
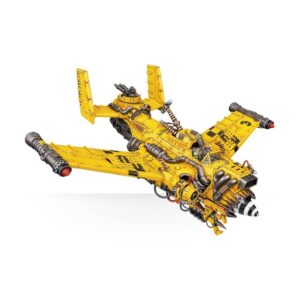
Introducing the Taurox, a swift and versatile armored transport designed to exploit gaps in the enemy battle line or provide support where the Astra Militarum needs it most. With its sturdy tracks, this formidable vehicle effortlessly traverses challenging terrain, while its autocannons unleash a barrage of firepower, obliterating threats and ensuring the safety of its passengers as they disembark with lightning speed.
This multipart plastic kit allows you to construct your own Taurox, a high-speed transport armed with a pair of autocannons. These powerful weapons can be mounted on the turret or positioned on either side of the hull, and if desired, you can further bolster its defensive capabilities with a pintle-mounted storm bolter. The kit boasts a fully-detailed interior, complete with a skilled driver, a versatile hatch that can be built open or closed, and a turret gunner who can be positioned at a height of your choosing. Additionally, the Taurox offers a range of customizable accessories such as armor plates, bull bars, and even a sledgehammer, allowing you to personalize your vehicle to your liking.
But that’s not all! This kit also offers an exciting alternative option: the ability to construct a Taurox Prime. This variant serves as a dedicated assault vehicle for the Militarum Tempestus, providing enhanced capabilities tailored specifically to their needs.
What’s in the Taurox box
- x112 plastic components that make 1 Taurox Prime – a dedicated assault vehicle for the Militarum Tempestus.
How to paint the Taurox set
- Step 1: Prime the Model
Apply a thin and even coat of primer to the Taurox model. Primer helps the paint adhere better and provides a smooth surface for painting. You can use a primer such as Chaos Black or White Scar. - Step 2: Basecoat the Main Body
Choose a base color for the main body of the Taurox. For example, you can use Mephiston Red to create a red base. Using a medium-sized brush, apply the base color to the main body, making sure to cover all surfaces evenly. - Step 3: Shade the Main Body
Shading adds depth and definition to your model. Apply a shade such as Nuln Oil or Carroburg Crimson to the recessed areas of the main body. Use a small brush and focus on areas like panel lines and corners, allowing the shade to settle and create shadows. - Step 4: Highlight the Main Body
Highlighting brings out the details and adds contrast. Choose a lighter color, like Evil Sunz Scarlet, for highlighting the raised areas of the main body. Use a small brush and apply the paint to edges and prominent surfaces, such as edges of panels or raised details. - Step 5: Paint the Details
Now, focus on smaller details such as weapons, hatches, and accessories. Select appropriate colors for each detail. For example, you can use Leadbelcher for metallic parts, such as the weapons, and Abaddon Black for tires and other black elements. - Step 6: Drybrush the Metal Parts
Drybrushing adds a worn or weathered effect to metallic surfaces. Use a drybrush and lightly pick up a metallic paint like Ironbreaker or Runefang Steel. Remove most of the paint from the brush by wiping it on a paper towel, then gently brush it over the raised edges of the metal parts to highlight them. - Step 7: Apply Wash to the Tires
Apply a wash like Nuln Oil or Agrax Earthshade to the tires. This will darken the recessed areas and add depth to the rubber. Use a small brush and carefully apply the wash, making sure it settles evenly. - Step 8: Finish with Details and Weathering
Add any final details, such as symbols or additional colors, to the model. You can also apply weathering effects like dry pigments or sponge chipping for a battle-worn look. Experiment and have fun with this step to make your Taurox unique.

