Szeras’ unique talents occasionally render him an esteemed figure, granting him the power to dictate his own terms, often culminating in the orchestration of a harvesting raid against a chosen world. A dark preference for Aeldari subjects prevails, as their innate characteristics offer the most intriguing outcomes within Szeras’ experiments. Upon capture, these subjects endure agonizing lifetimes within the blood-soaked laboratory catacombs of Zantragora.
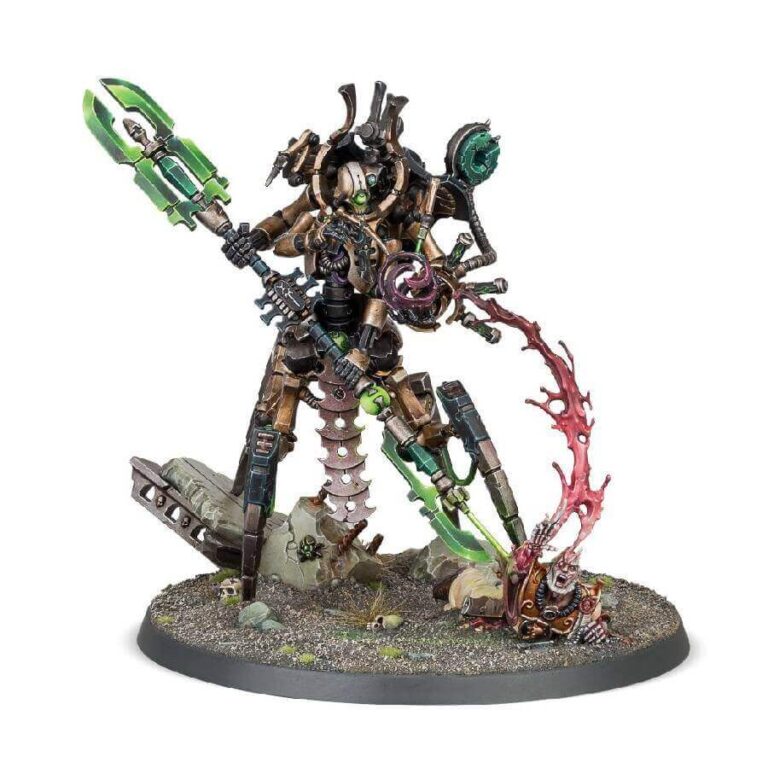
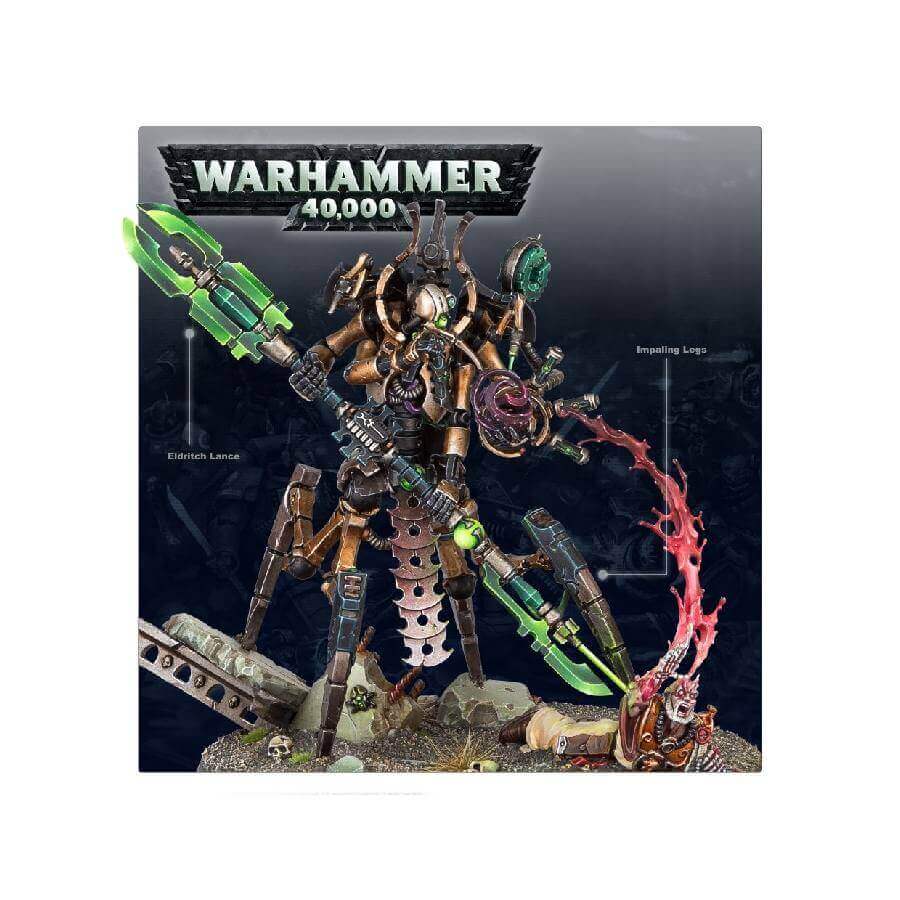
Within the Necrons army, Illuminor Szeras emerges as a formidable HQ option, capable of elevating his warriors to unprecedented levels of battlefield potency through mechanical augmentation. His arsenal boasts the eldritch lance, an ancient and fearsome weapon capable of either striking down foes in close combat or unleashing devastating ranged attacks with uncanny accuracy.
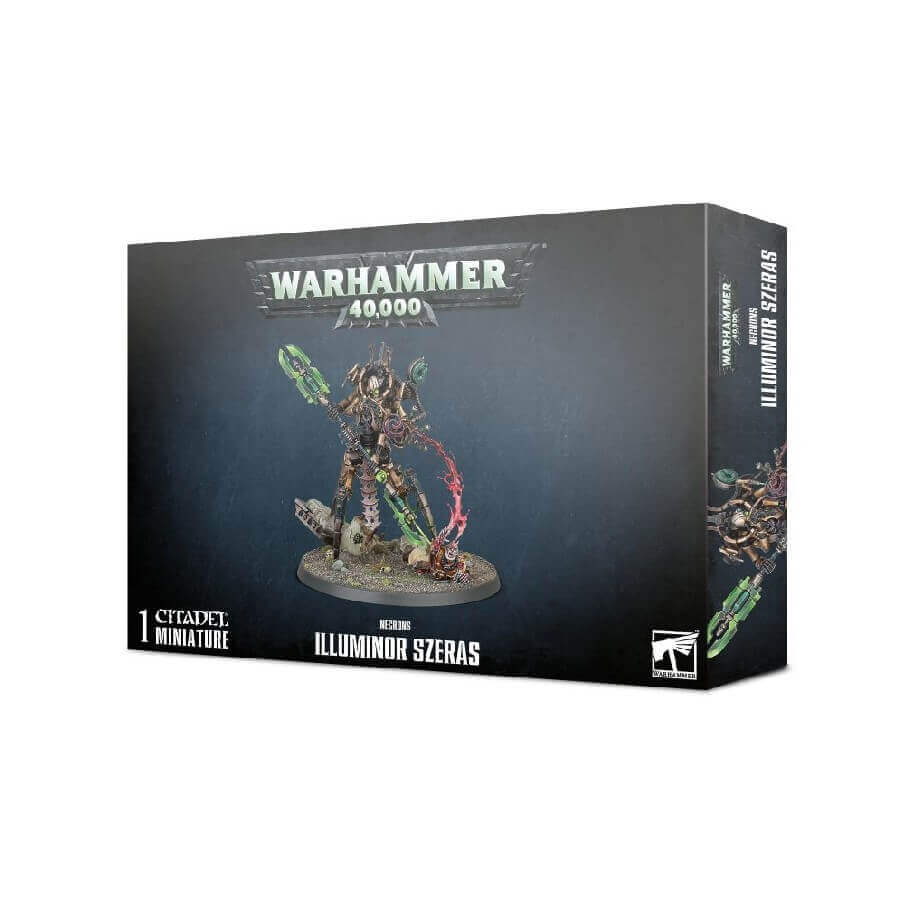
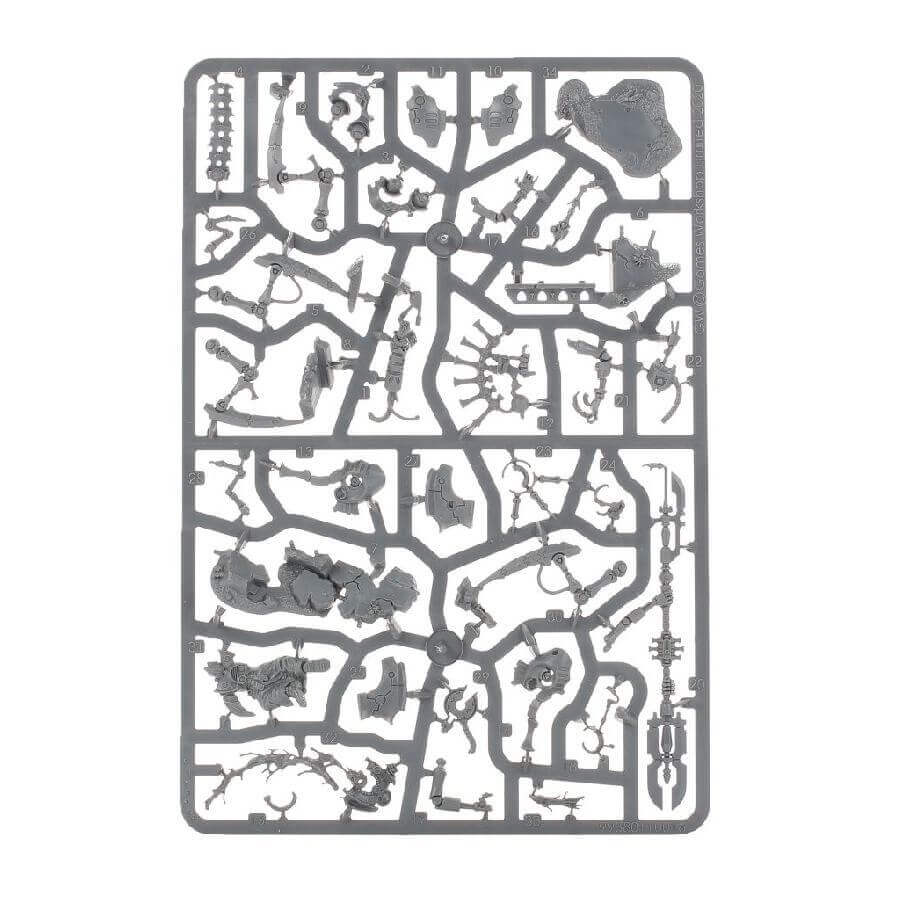
What’s in the Illuminor Szeras box
- x34 plastic components that make one Illuminor Szeras model.
- x1 Citadel 80mm Round Base.
How to paint the Illuminor Szeras set
- Step 1: Prime Your Model for a Solid Foundation
Begin your painting journey by applying Chaos Black Spray primer to your Necron model. This essential step prepares the surface, ensuring that subsequent layers of paint adhere smoothly. - Step 2: Base Coat – Armor with Rich Brass Scorpion
Paint the armor plates using Brass Scorpion. Ensure that the coverage is uniform and consistent, laying the groundwork for the intricate metallic appearance of the armor. - Step 3: Shading – Armor for Depth and Dimension
Apply Agrax Earthshade to the armor, focusing on recesses and crevices. This shading technique adds a sense of depth and definition, enhancing the three-dimensional quality of the model. - Step 4: Layering – Armor for Subtle Texture
Layer Brass Scorpion once more, this time concentrating on leaving the shaded areas untouched. This approach creates contrast between the raised and recessed portions, infusing the armor with a visually appealing texture. - Step 5: Highlighting – Armor with a Metallic Gleam
Elevate the visual impact of the armor by applying small highlights of Runelord Brass to edges and raised surfaces. This technique imparts a striking metallic sheen, catching the light and enhancing the realistic effect. - Step 6: Enhancing Metallic Details – Mechanical Parts
Utilize Leadbelcher or other metallic paints to accentuate the mechanical details, such as joints and machinery. This distinct differentiation between the armor and metallic parts adds intricacy to the model. - Step 7: Shading – Intensifying Metallic Realism
Deepen the shadows on the metallic elements by shading them with Nuln Oil. This creates a dynamic interplay of light and shadow, contributing to the lifelike appearance of the miniature. - Step 8: Blades – Crafting Striking Weaponry
Begin painting the eye, glowing elements and the blades with a base coat of Moot Green, laying the foundation for their vibrant and eye-catching appearance. - Step 9: Layering – Blades for Gradual Transition
Layer Warpstone Glow onto the center of the blades. This gradual transition from Moot Green to Warpstone Glow creates a captivating gradient effect, enhancing the visual interest of the weaponry. - Step 10: Shading – Enhancing Glowing Elements
Apply subtle shading with Biel-Tan Green Shade around the edges of the glowing areas. This delicate touch enriches the luminosity and draws attention to the captivating effect. - Step 11: Intricate Extra Details – The Captive Specimen
Capture the essence of the captive specimen by painting its skin with Bugman’s Glow and its clothing or restraints with Baneblade Brown. This nuanced approach adds depth and realism to this additional element. - Step 12: Shading – Dimension to the Specimen
Heighten the realism of the specimen by shading its skin with Reikland Fleshshade and its clothing with Agrax Earthshade. This step introduces shadows and nuances, breathing life into the captive figure. - Step 13: Ethereal Life-Pulling Jet
Craft the ethereal life-pulling jet using Emperor’s Children, a pink hue that contrasts strikingly with the mechanical components. This touch imparts an otherworldly and mysterious quality. - Step 14: Elevating the Base with Realistic Detailing
Enhance the base’s visual appeal by considering textures like Astrogranite Debris or Agrellan Earth. To add a touch of realism, incorporate small rocks or grass tufts, creating a complete and immersive environment. - Step 15: Preserving Your Masterpiece with Varnish
Conclude your painting process by applying a protective varnish. Choose Ardcoat for a glossy finish that harmonizes with the armor’s metallic appearance, preserving your work of art for future enjoyment.