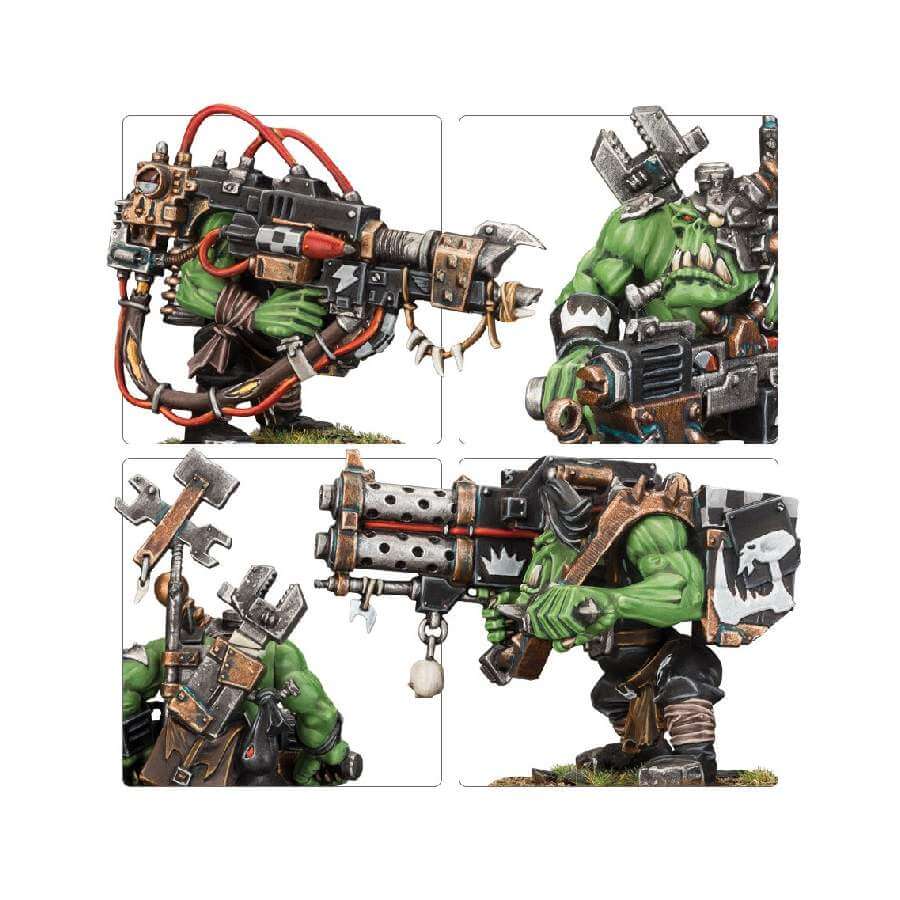
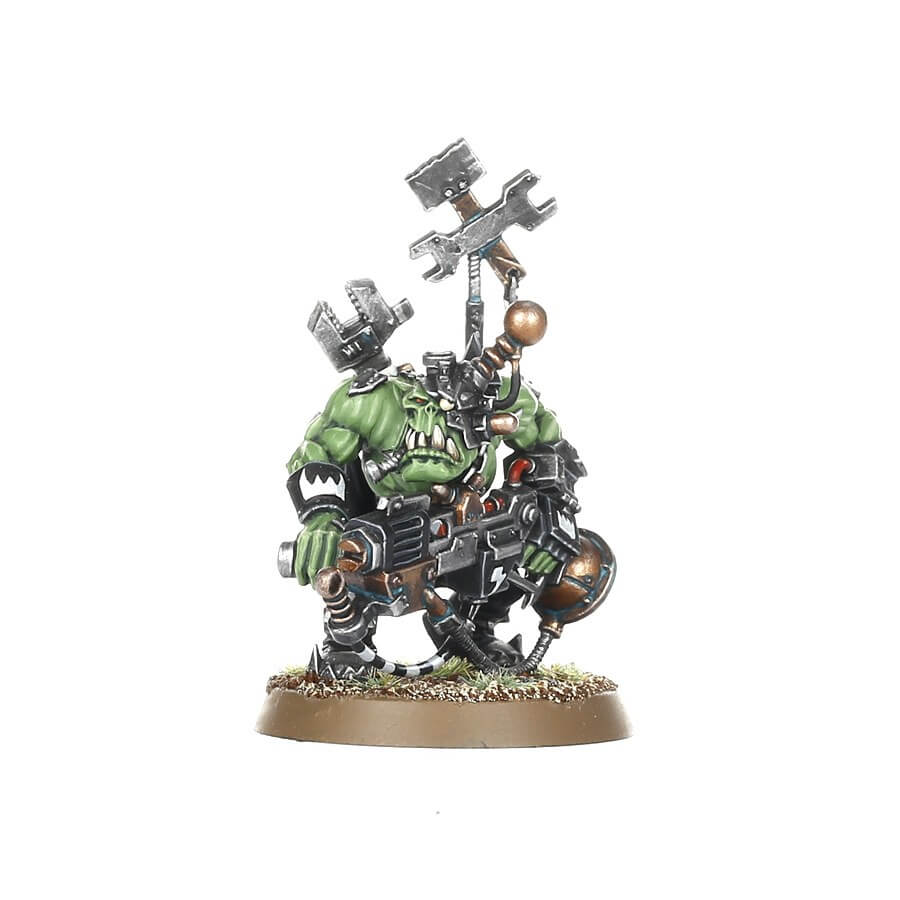
Ork Meks, the mad geniuses of the Ork clans, are the masterminds behind the creation of the most devastating weapons. From the intricately designed Burnas to the thunderous shoulder-mounted Deffguns, these Meks never fail to attract eager customers.
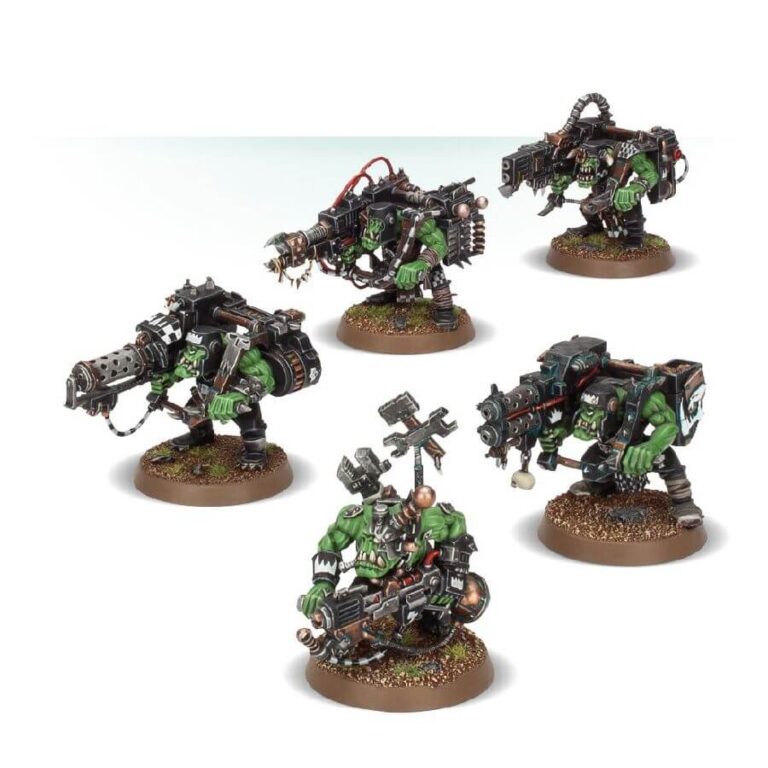
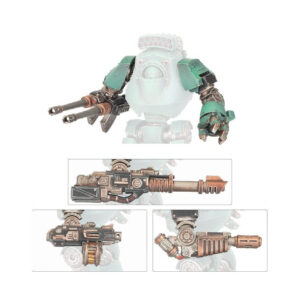
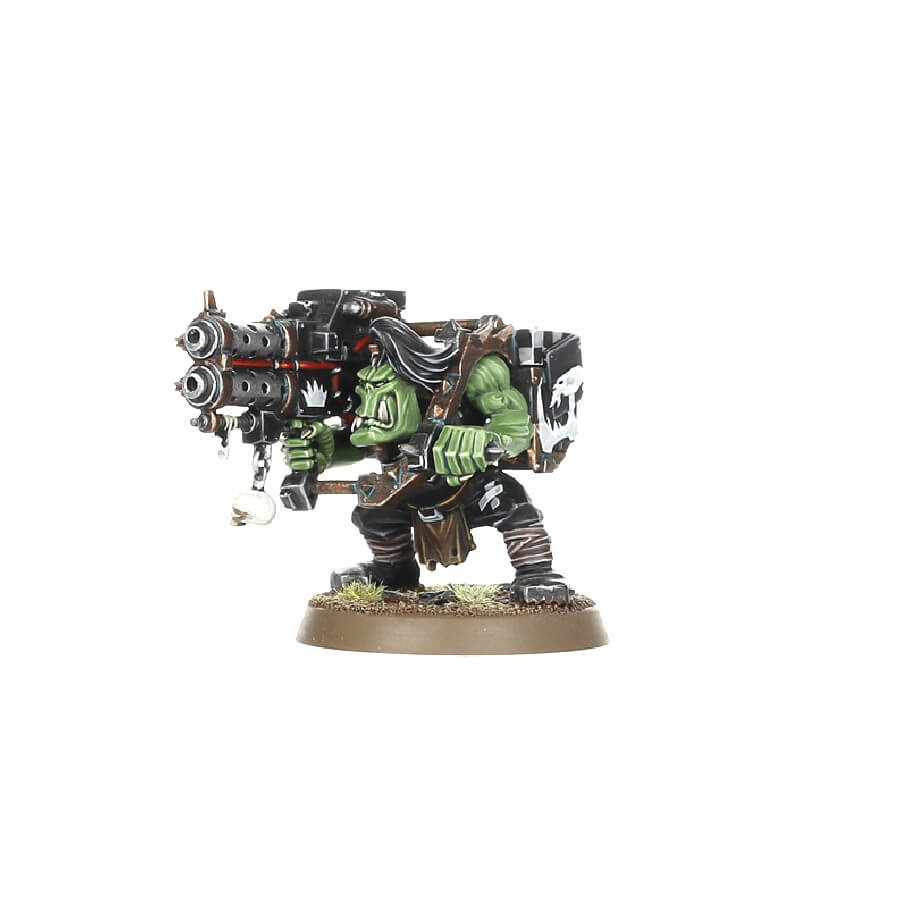
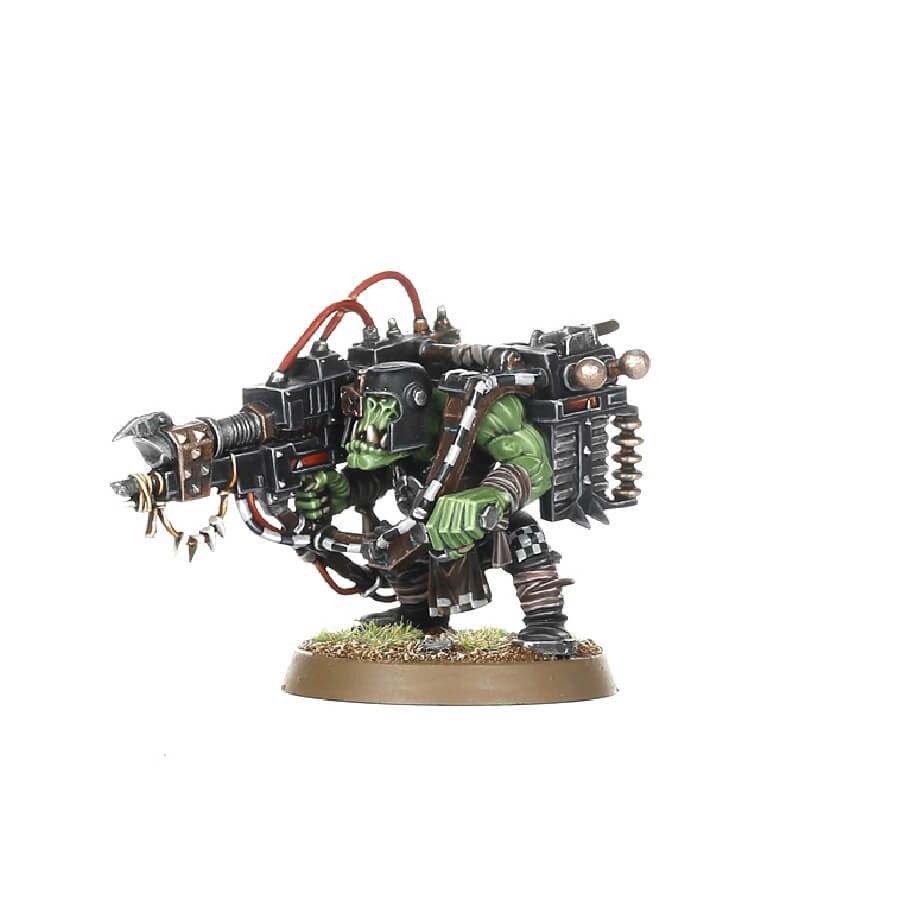
These rugged Ork models exhibit a wiry and muscular build, adorned with a curious assortment of contraptions held together by crude leather straps or makeshift bandages. Some don unusual masks and goggles, while others proudly display their tools of the trade, with spanners and wrenches jutting out from their heads or firmly affixed to their bodies. Each Mek wields a colossal deffgun, and their toothy grins occasionally peek through the maze of gizmos and gadgets.
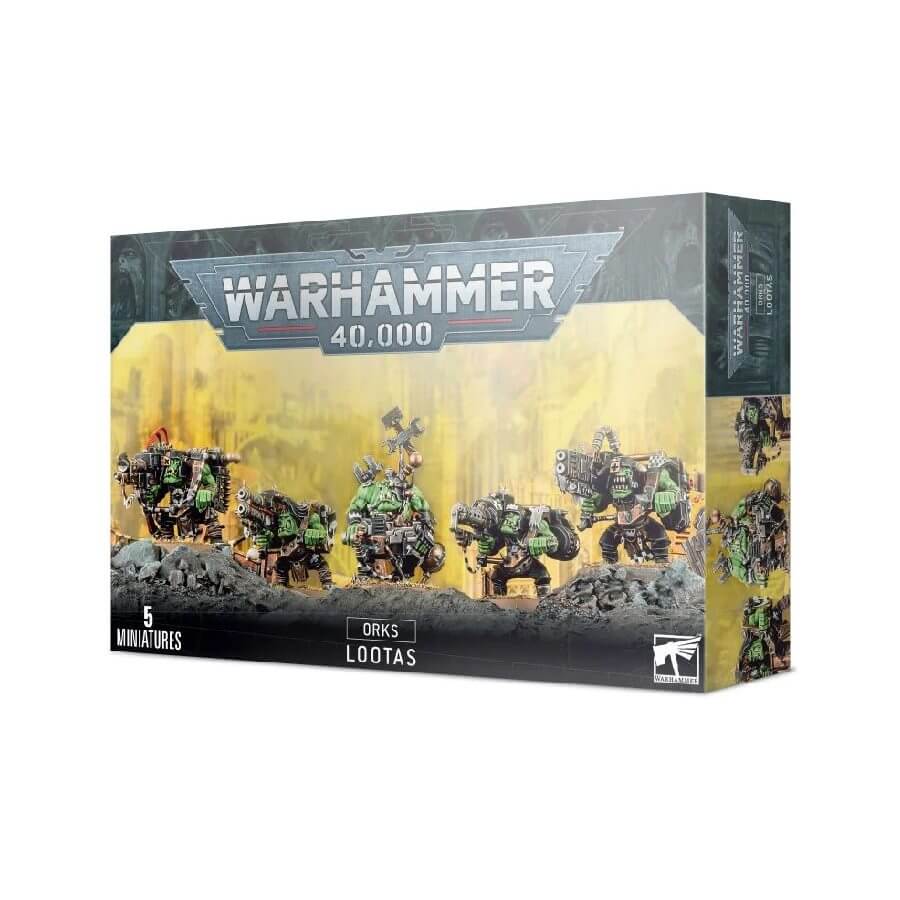
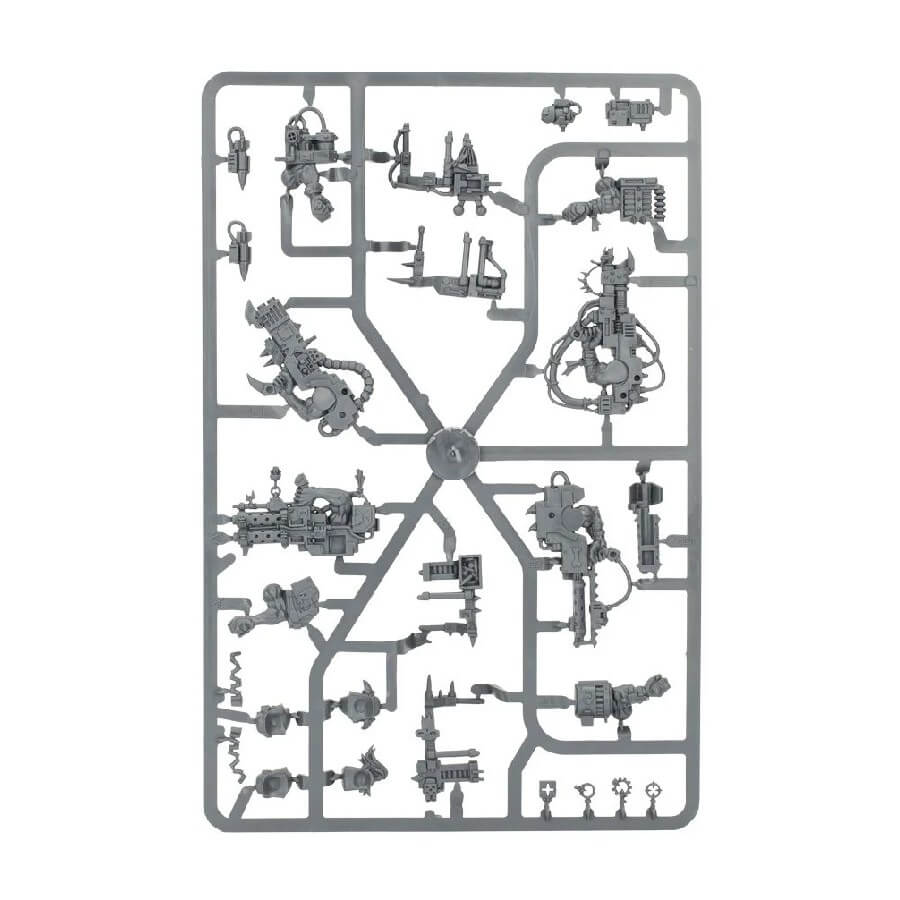
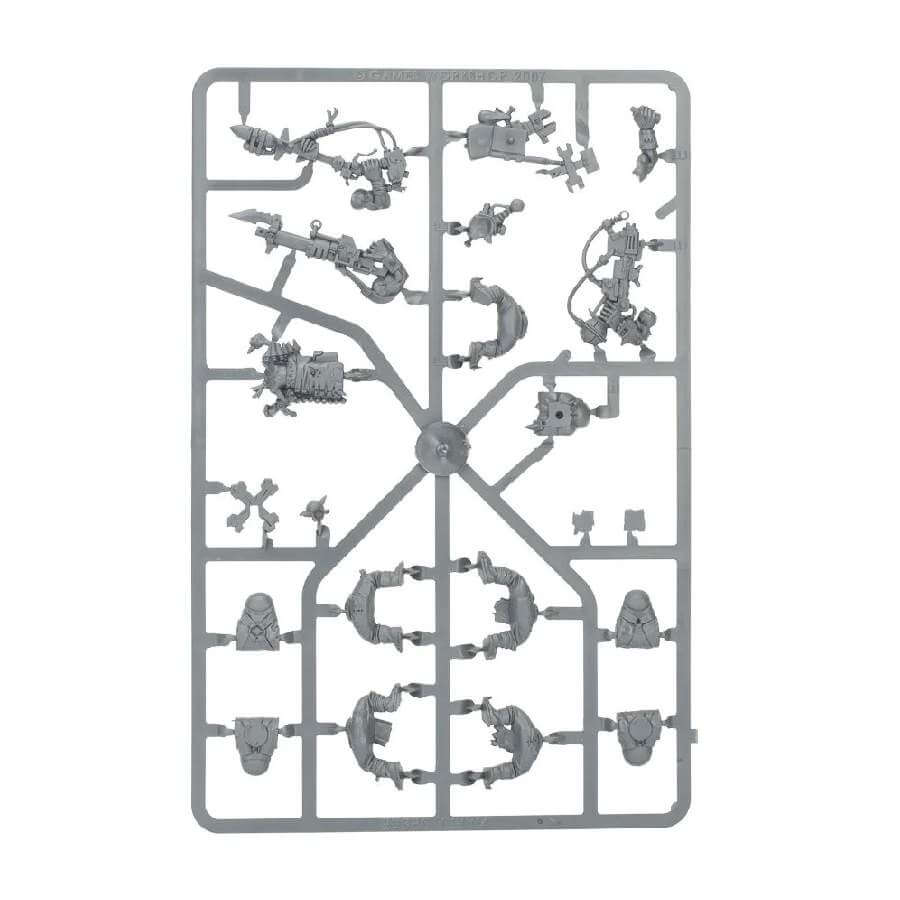
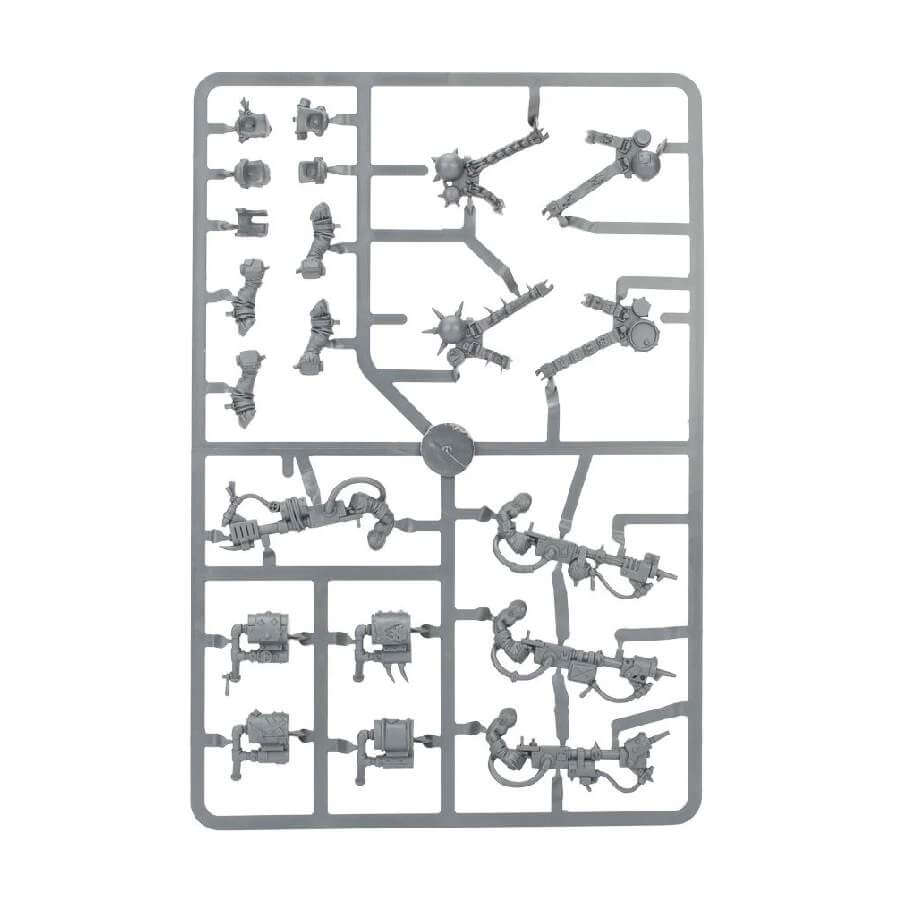
What’s in the Ork Lootas box
- x69 plastic components that 5 models: either 4 Lootas or 4 Burna Boyz, as well as an Ork Mek armed with a kustom mega-blasta.
- x5 Citadel 32mm round bases.
How to paint the Ork Lootas set
- Step 1: Base Coat the Skin
Begin by applying a base coat of green paint to the Ork Lootas’ skin. You can use a color like Warboss Green or Waaagh! Flesh for this step. - Step 2: Paint the Clothing and Armor
Use a brush to paint the clothing and armor of the Lootas in various colors to add diversity to their appearance. For example, you can use browns, greys, or metallic colors like Leadbelcher or Balthasar Gold. - Step 3: Detail the Weapons and Equipment
Paint the weapons and equipment of the Lootas using metallic colors such as Ironbreaker or Runelord Brass for a realistic and gritty look. Add additional details and highlights using brighter metallic shades like Stormhost Silver or Gehenna’s Gold. - Step 4: Highlight the Details
Use a fine-tipped brush to paint the details on the Lootas, such as their eyes, teeth, and any small accessories. You can use colors like Mephiston Red or Yriel Yellow for the eyes, and Ushabti Bone for the teeth. - Step 5: Apply the Wash
Apply a wash, like Agrax Earthshade or Nuln Oil, to the entire model to add depth and shading. This will bring out the details and give the Lootas a more weathered and gritty appearance. - Step 6: Drybrush for Texture and Highlights
Use a drybrushing technique to highlight raised areas and add texture to the models. Lightly dip a dry brush into a lighter shade of the base color, such as Skarsnik Green for the skin or Runefang Steel for the metallic areas, and gently brush over the model to pick up the raised surfaces. - Step 7: Add Weathering Effects
Consider adding additional weathering effects, such as drybrushing with a lighter shade of brown or adding rust effects using a color like Typhus Corrosion or Ryza Rust. This will give the Lootas a more battle-worn and rugged look. - Step 8: Base the Models
Base the models using texture paints or other materials to represent the terrain. You can use Citadel Texture paints like Stirland Mud or Armageddon Dust, and add grass tufts or small rocks for extra detail. - Step 9: Apply a Protective Varnish
Finish by applying a protective varnish to seal and protect your paintwork. Choose a matte, satin, or glossy varnish according to your preference and the desired finish for your models.