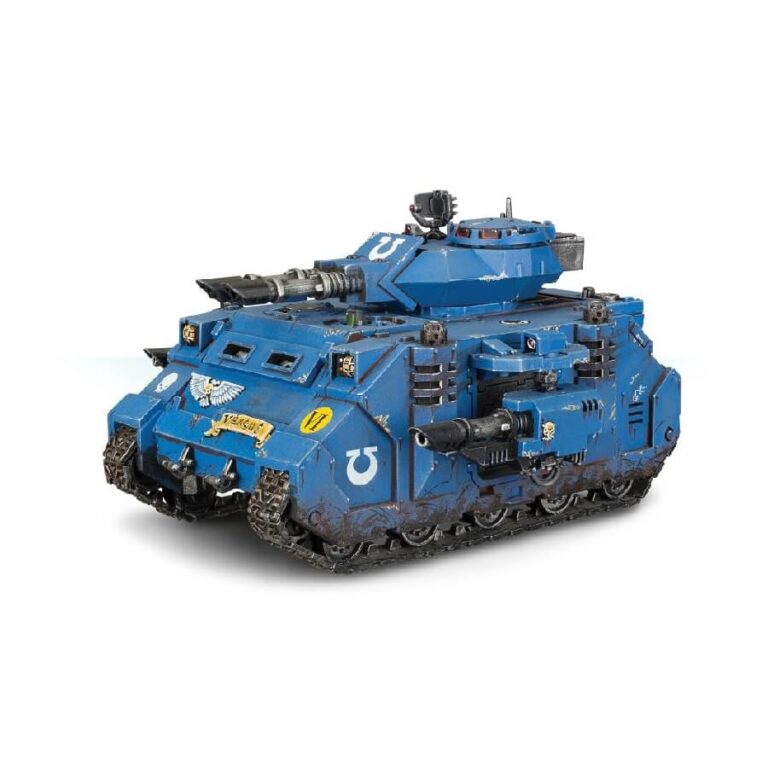
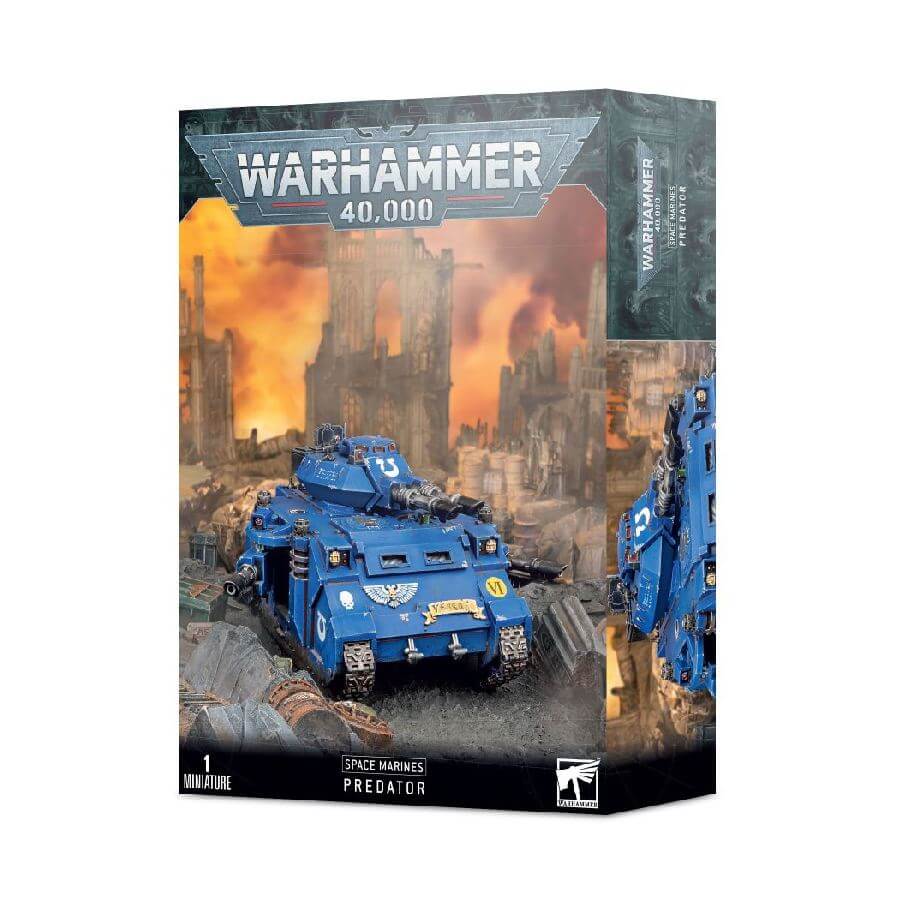
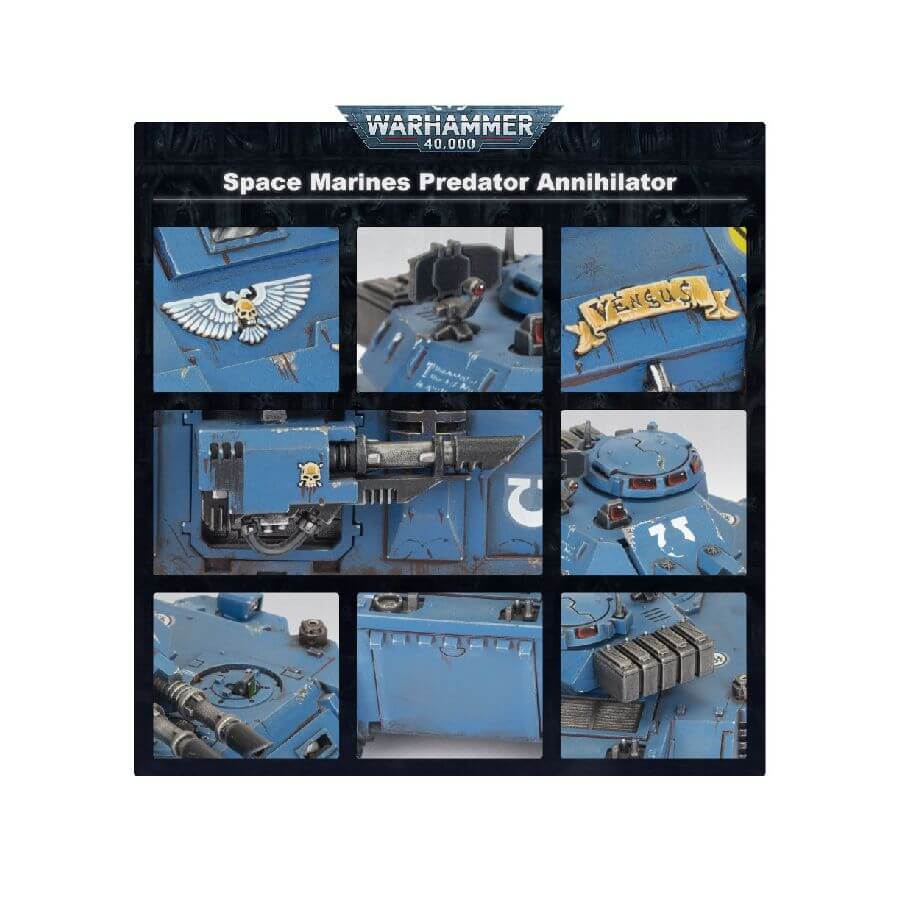
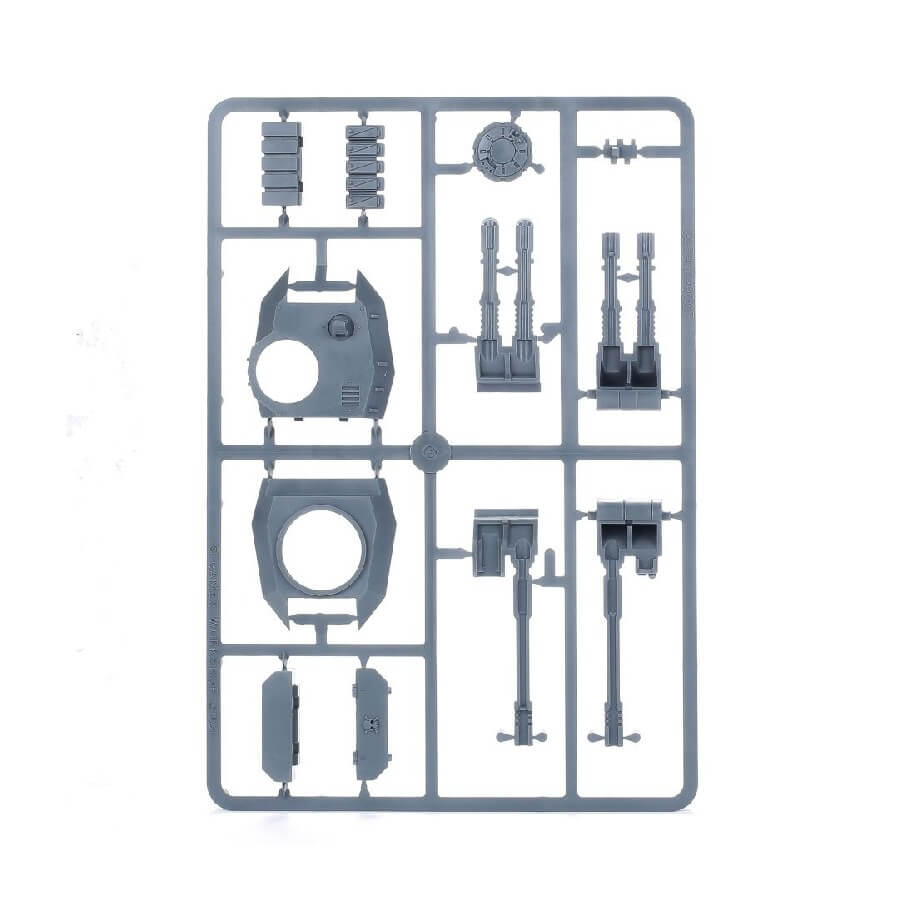
The Predator Annihilator is an excellent Space Marines choice for leading armoured spearheads, as it is highly mobile and can fire continuously. This kit is based on the Rhino chassis, but has improved frontal armor and a heavy turret-mounted weapon, making it ideal for taking out enemy armored columns and bunkers. You can choose to build a Predator Annihilator with twin-linked lascannon or a Predator Destructor with autocannon, and you can add two sponson-mounted heavy bolters or lascannons for additional firepower. The kit also includes an optional storm bolter and hunter-killer missile.
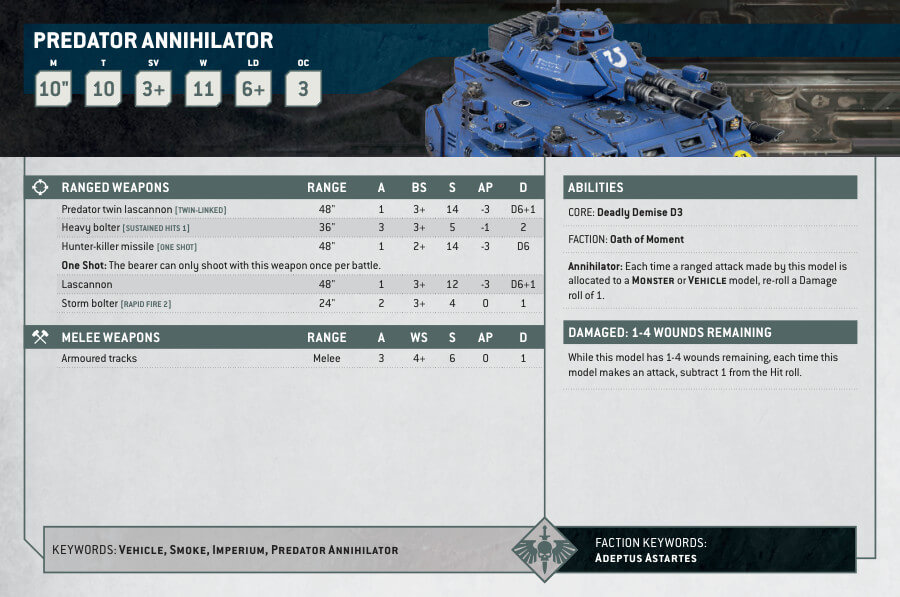
Predator Annihilator Datasheets
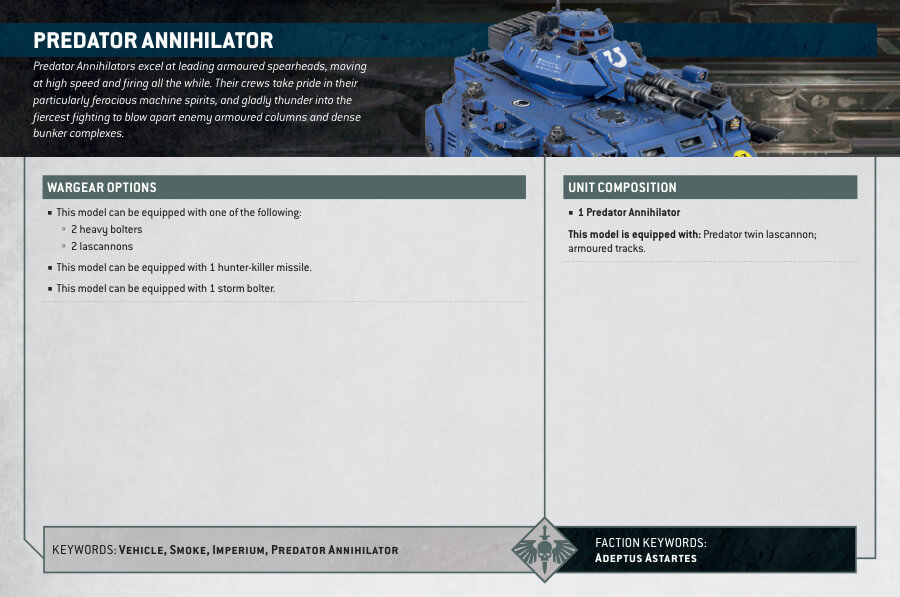
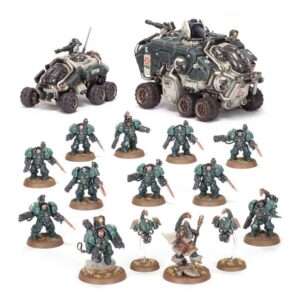
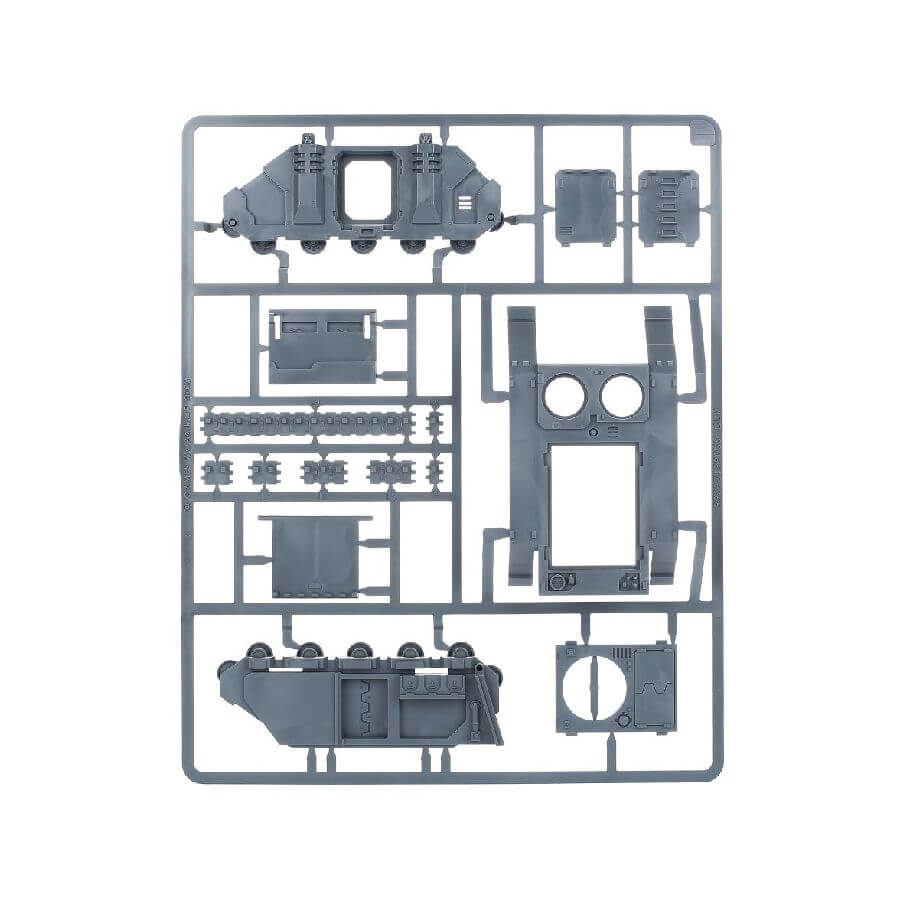
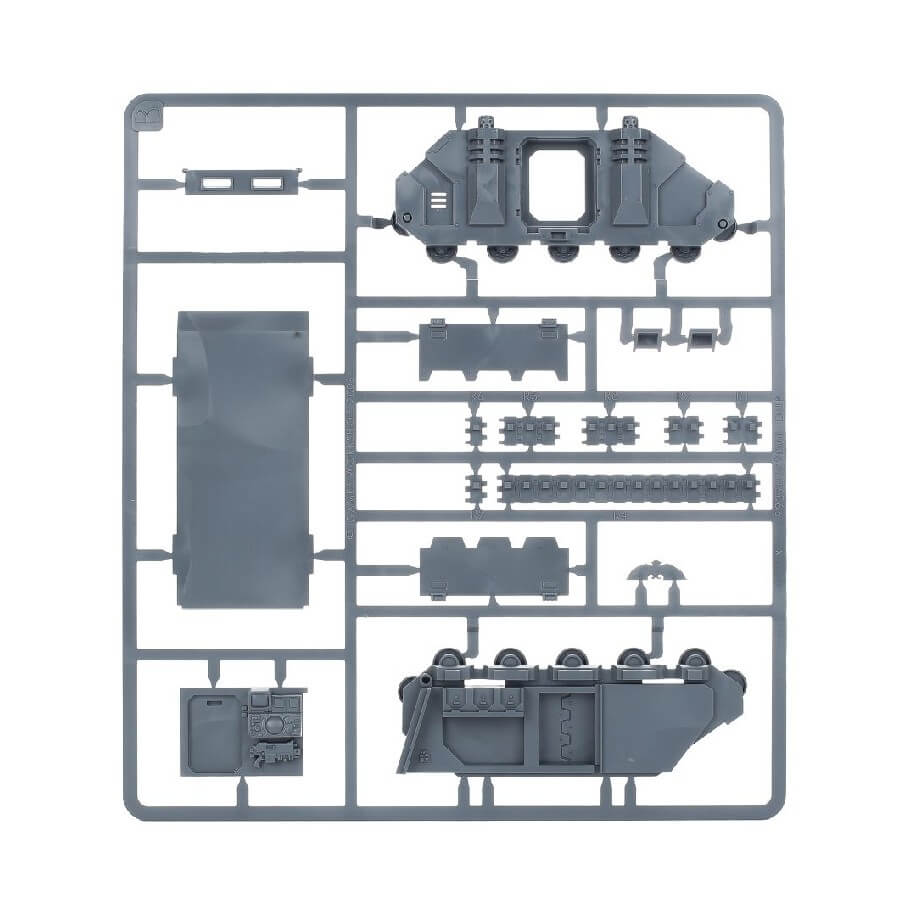
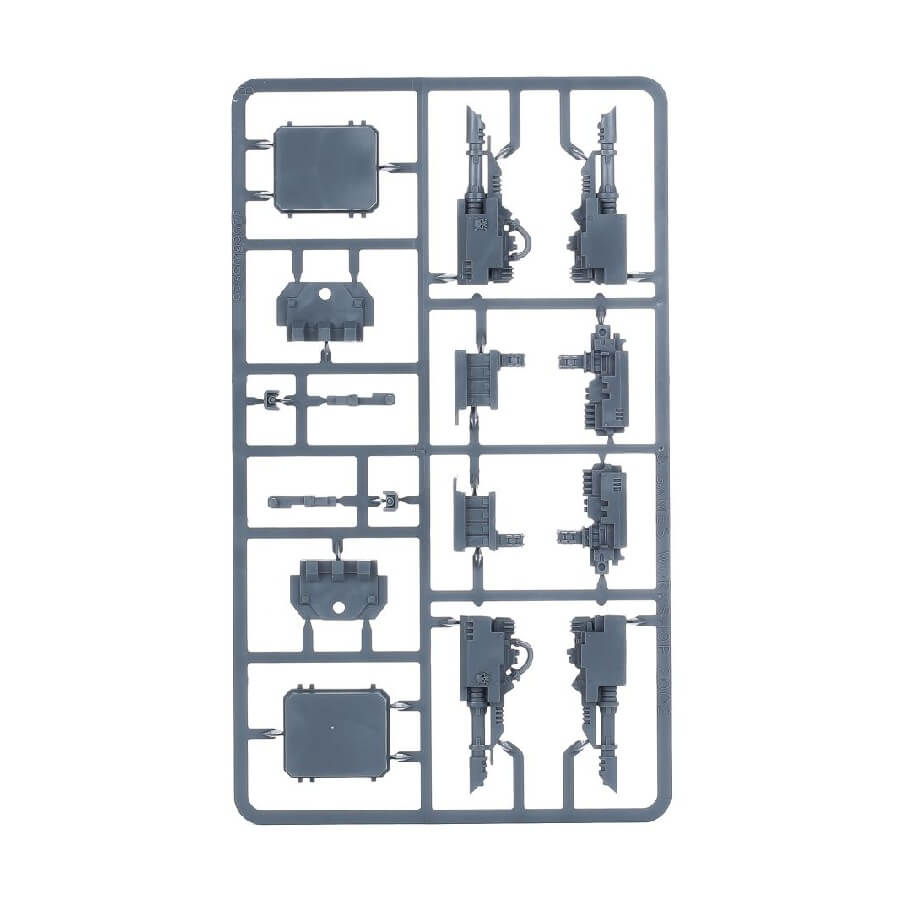
What’s in the Predator Annihilator box
- x94 plastic components you can use to create either a Predator Annihilator or Predator Destructor.
- x1 Ultramarines vehicle transfer sheet to customize your model.
How to paint the Predator Annihilator
- Step 1: Prime the model
Begin by priming the entire miniature with Chaos Black primer. This provides a solid base for the subsequent paint layers and helps the colors adhere better. Allow the primer to dry completely. - Step 2: Main Armor
Using a medium-sized brush, paint the main armor plates of the tank with Macragge Blue. Ensure smooth and even coverage. This will be the base color for the tank’s blue armor. - Step 3: Turret and Black Details
Paint the turret, tracks, and any other black details on the tank with Abaddon Black. Be careful and precise when painting these areas. - Step 4: Metal Parts
For the metal parts of the tank, such as the lascannons, heavy bolters, exhausts, and vents, use Leadbelcher. This paint gives a metallic appearance to these components. - Step 5: Gold Details
Highlight the gold details of the tank, such as the chest eagle on the front plate, the Ultramarines symbols, and any other ornaments or decorations, with Retributor Armour. This paint adds a shining effect to the gold parts. - Step 6: Creating Depth
Apply a wash of Nuln Oil over the entire miniature. This will settle into the recesses and details, creating depth and shadows. It adds a weathered look to the tank. - Step 7: Highlighting Armor
Use Calgar Blue to highlight the edges and corners of the blue armor plates with thin lines. This step makes the blue parts stand out. - Step 8: Highlighting the Black Parts
For the black details, like the turret and tracks, use Eshin Grey to create highlights. Apply thin lines along the edges and corners to add depth. - Step 9: Highlighting the Metal Parts
To make the metal parts shine, use Stormhost Silver. Highlight the edges and corners of these areas with thin lines. This gives a metallic gleam to the tank’s weaponry. - Step 10: Highlighting the Gold Details
To make the gold details even more striking, use Liberator Gold. Highlight the edges and corners of these parts with thin lines. This adds a brilliant sheen to the gold ornaments. - Step 11: Weathering
To make your tank look battle-worn and realistic, you can add some weathering. Take a tiny bit of Abaddon Black on a dry brush and lightly brush it over edges, tracks, and areas that would naturally wear over time. This simulates wear and tear. - Step 12: Varnishing
Apply Ardcoat varnish evenly over the entire miniature to protect your hard work and give your tank a nice finish. This particular varnish provides a glossy and reflective finish, making your Predator Annihilator tank look freshly painted and adding a layer of protection. Allow it to dry completely.